Appearance
Adding an allowlist to your app
With Privy, you can enable an allowlist for your application to gate access to specific email addresses, phone numbers, and/or Ethereum addresses. You can use the allowlist feature to coordinate a beta launch of your product for early-access users, manage an ongoing waitlist, and more!
When you enable an allowlist for your app:
- All existing users will still be permitted to login to your app
- New users must be added to the allowlist by their email address, phone number, or Ethereum address to be permitted to login
- New users who have not been added to your allowlist will not be permitted to login.
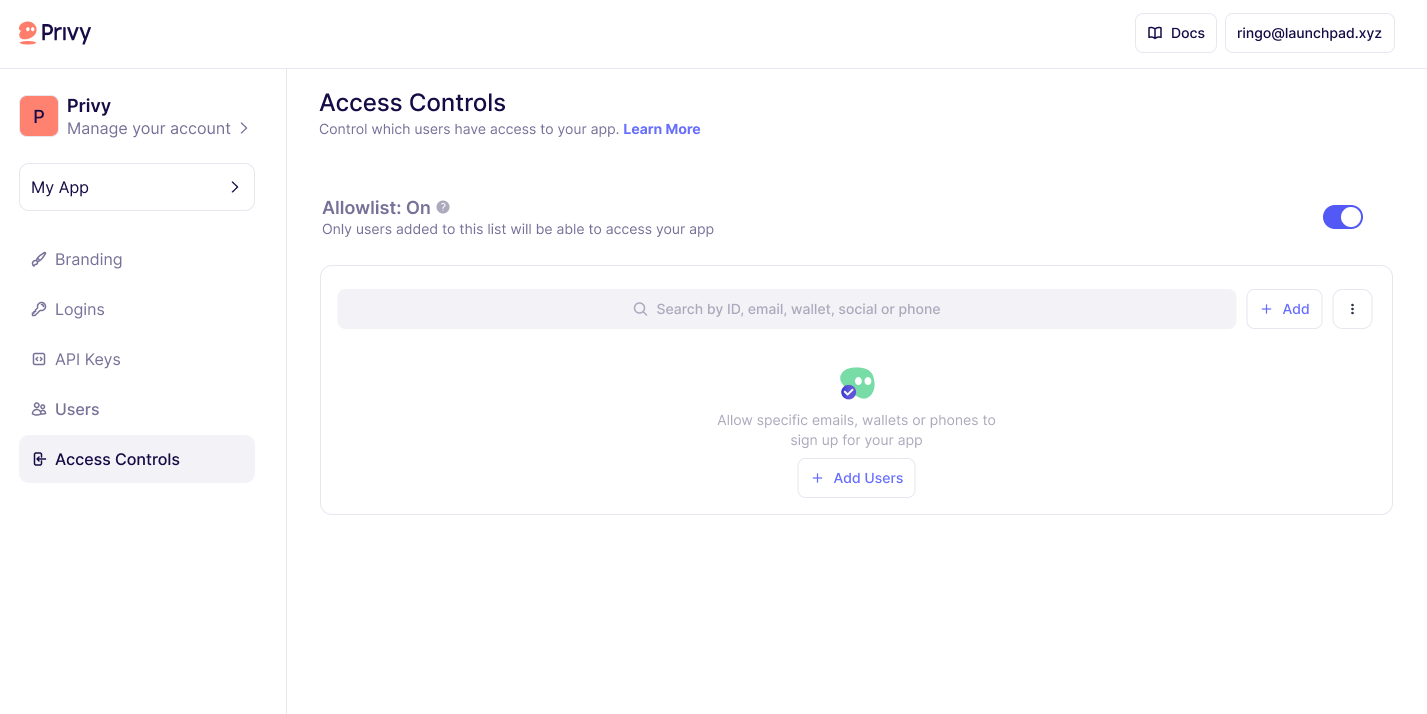
Enabling the allowlist for your app
You can enable an allowlist directly from the Privy developer dashboard. To do so, just navigate to the Users page > Allowlist tab of the dashboard and toggle allowlists on.
Managing the allowlist
There are two main ways to manage the allowlist for your app:
- Using the API, you can easily add users, and get your current allowlist.
- Using the developer dashboard, you can easily add and remove users from your app's invite list page.
All of these actions can easily be performed using the Privy dashboard.
TIP
It's easy to use the Privy API to manage your waitlist with a third party-tool. For instance, if you are using Airtable to manage your waitlist, you can easily integrate it with Privy.
Check out this guide for more!
Customizing the allowlist error screen
When users who are not on the allowlist attempt to login to your app, Privy will show them a screen stating that they have not been invited to the app. You can customize the text on this screen to show the user a more specific message and navigate them to a link where they can provide more information to register for your app.