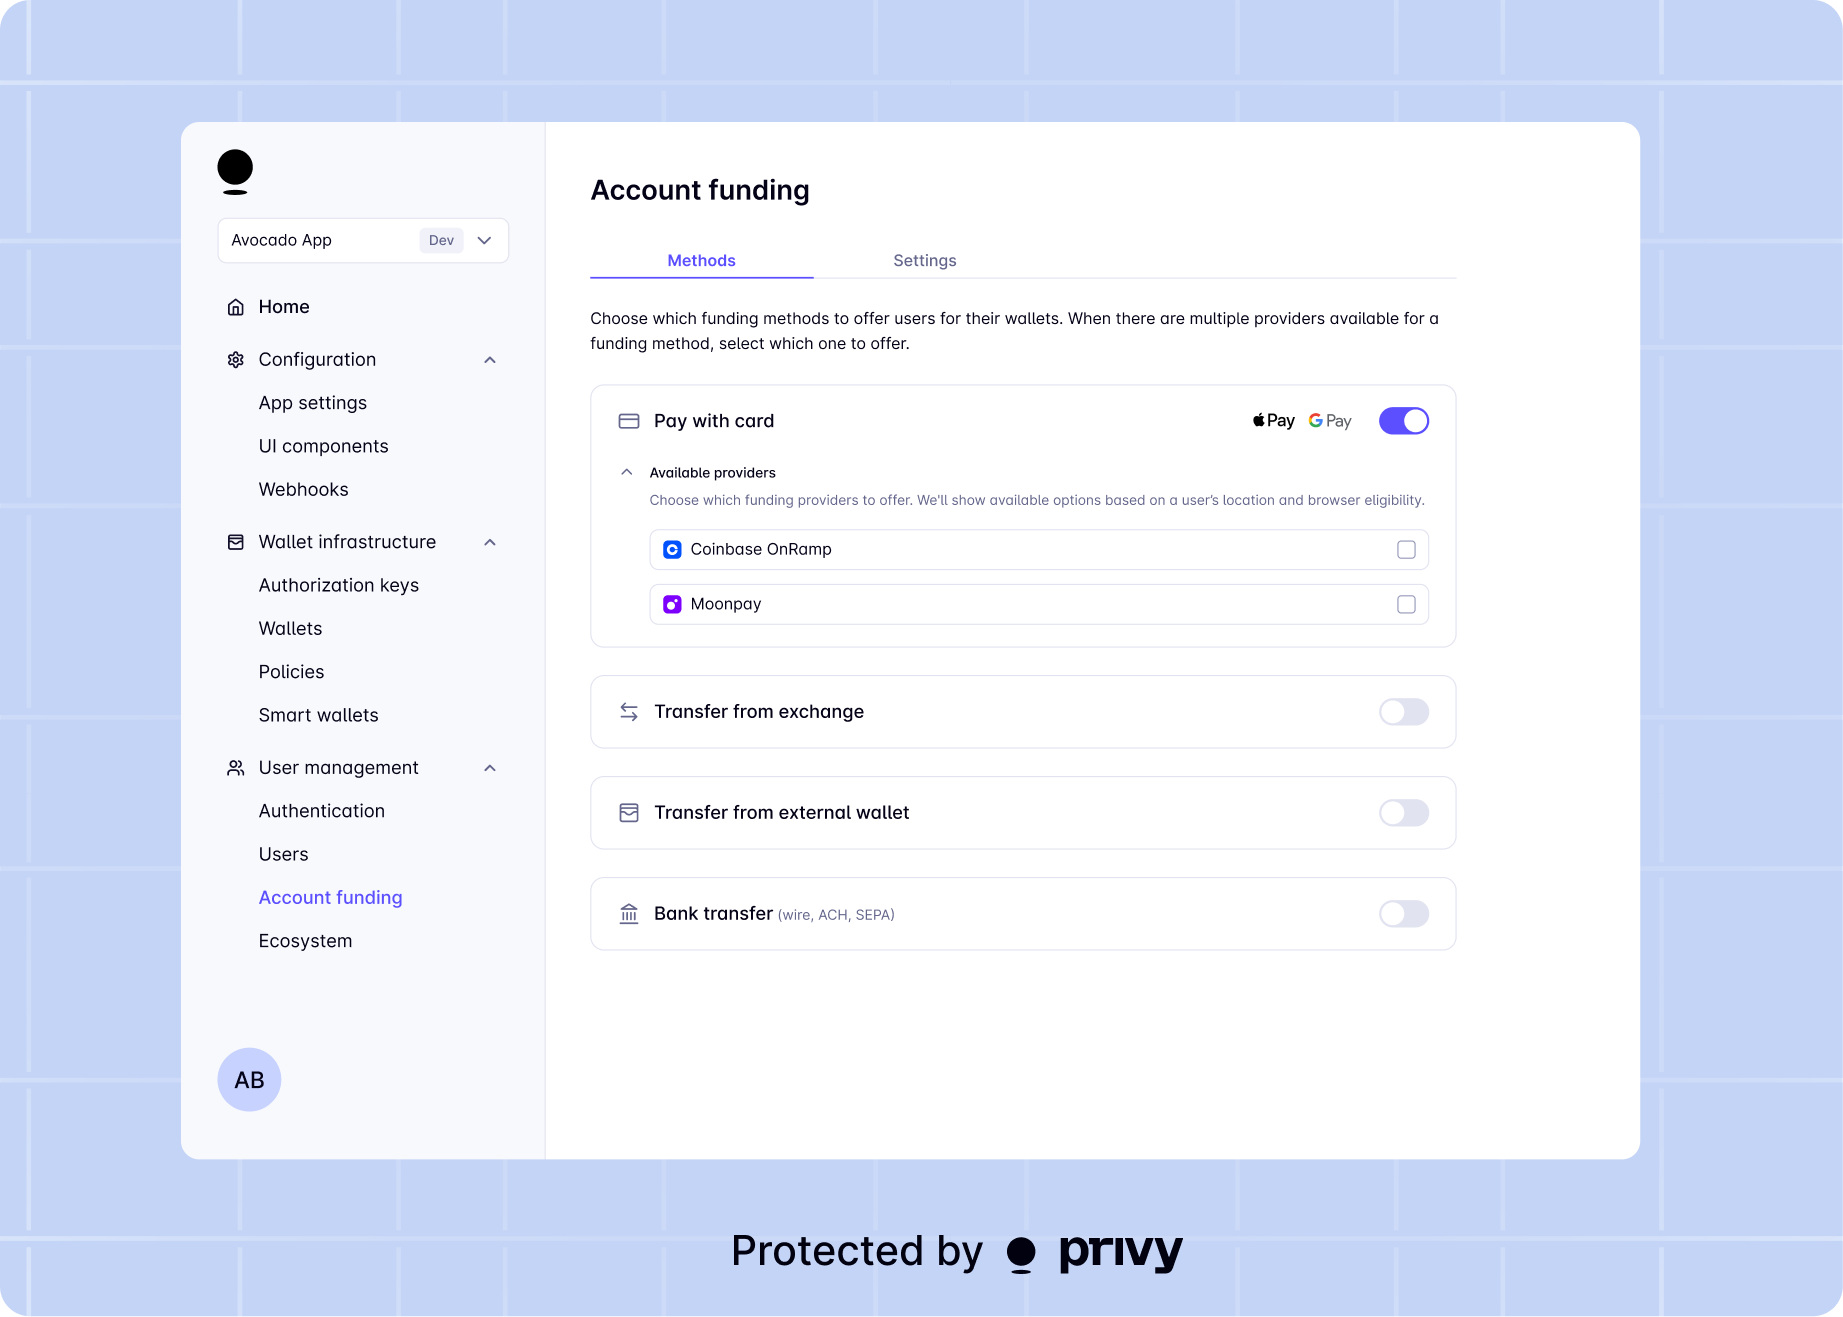
Enable funding methods
To enable funding in your app, select which funding methods you would like to allow by selecting the corresponding option in the Dashboard. Privy will present the options you enable here for your users to select from during a funding flow.We are actively working on bringing Transfer from external wallet to React Native, but this is
currently not yet supported. Enabling this method on your dashboard will not provide this
option to users.
Set a default chain and amount
Once you have selected your funding methods, you can select the chain your users will use. When EVM is selected you’ll need to select a default network. Both for EVM or Solana you’ll need an amount that users should fund their wallets with. Users can update the amount manually if they choose, before confirming. During funding flows, Privy will prompt users to fund their wallets with the native currency of your default chain (e.g. ETH on Ethereum Mainnet, POL on Polygon, SOL on Solana) with the funding amount you specify here. You can always change these values in the Dashboard later or even override them in your app’s code.[For bank transfer method] Set provider API keys
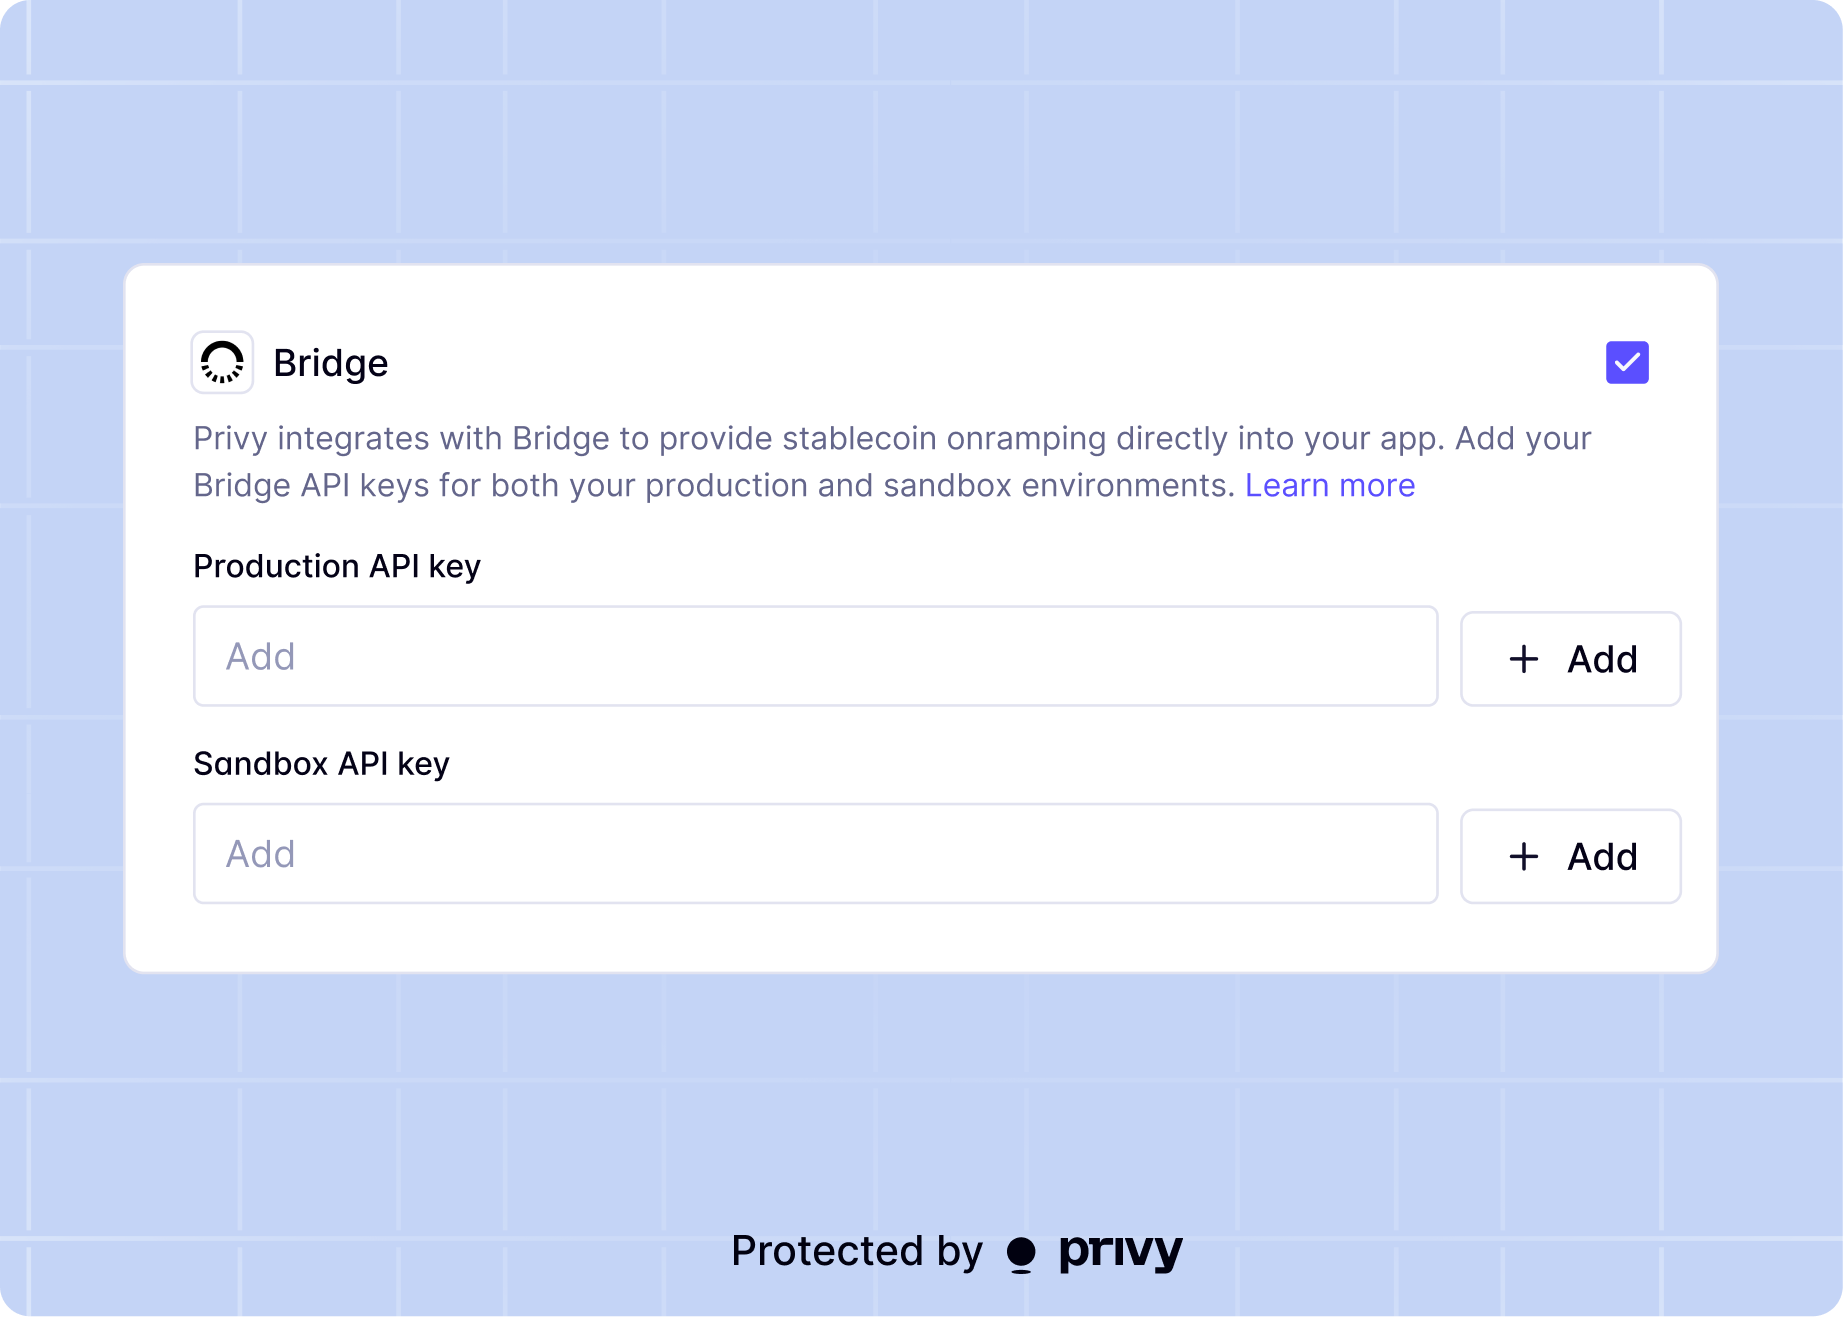
If using the bank transfer funding method, you will be prompted to set your onramp provider API keys in the Dashboard. For Bridge, you can request API access through Bridge’s website.

