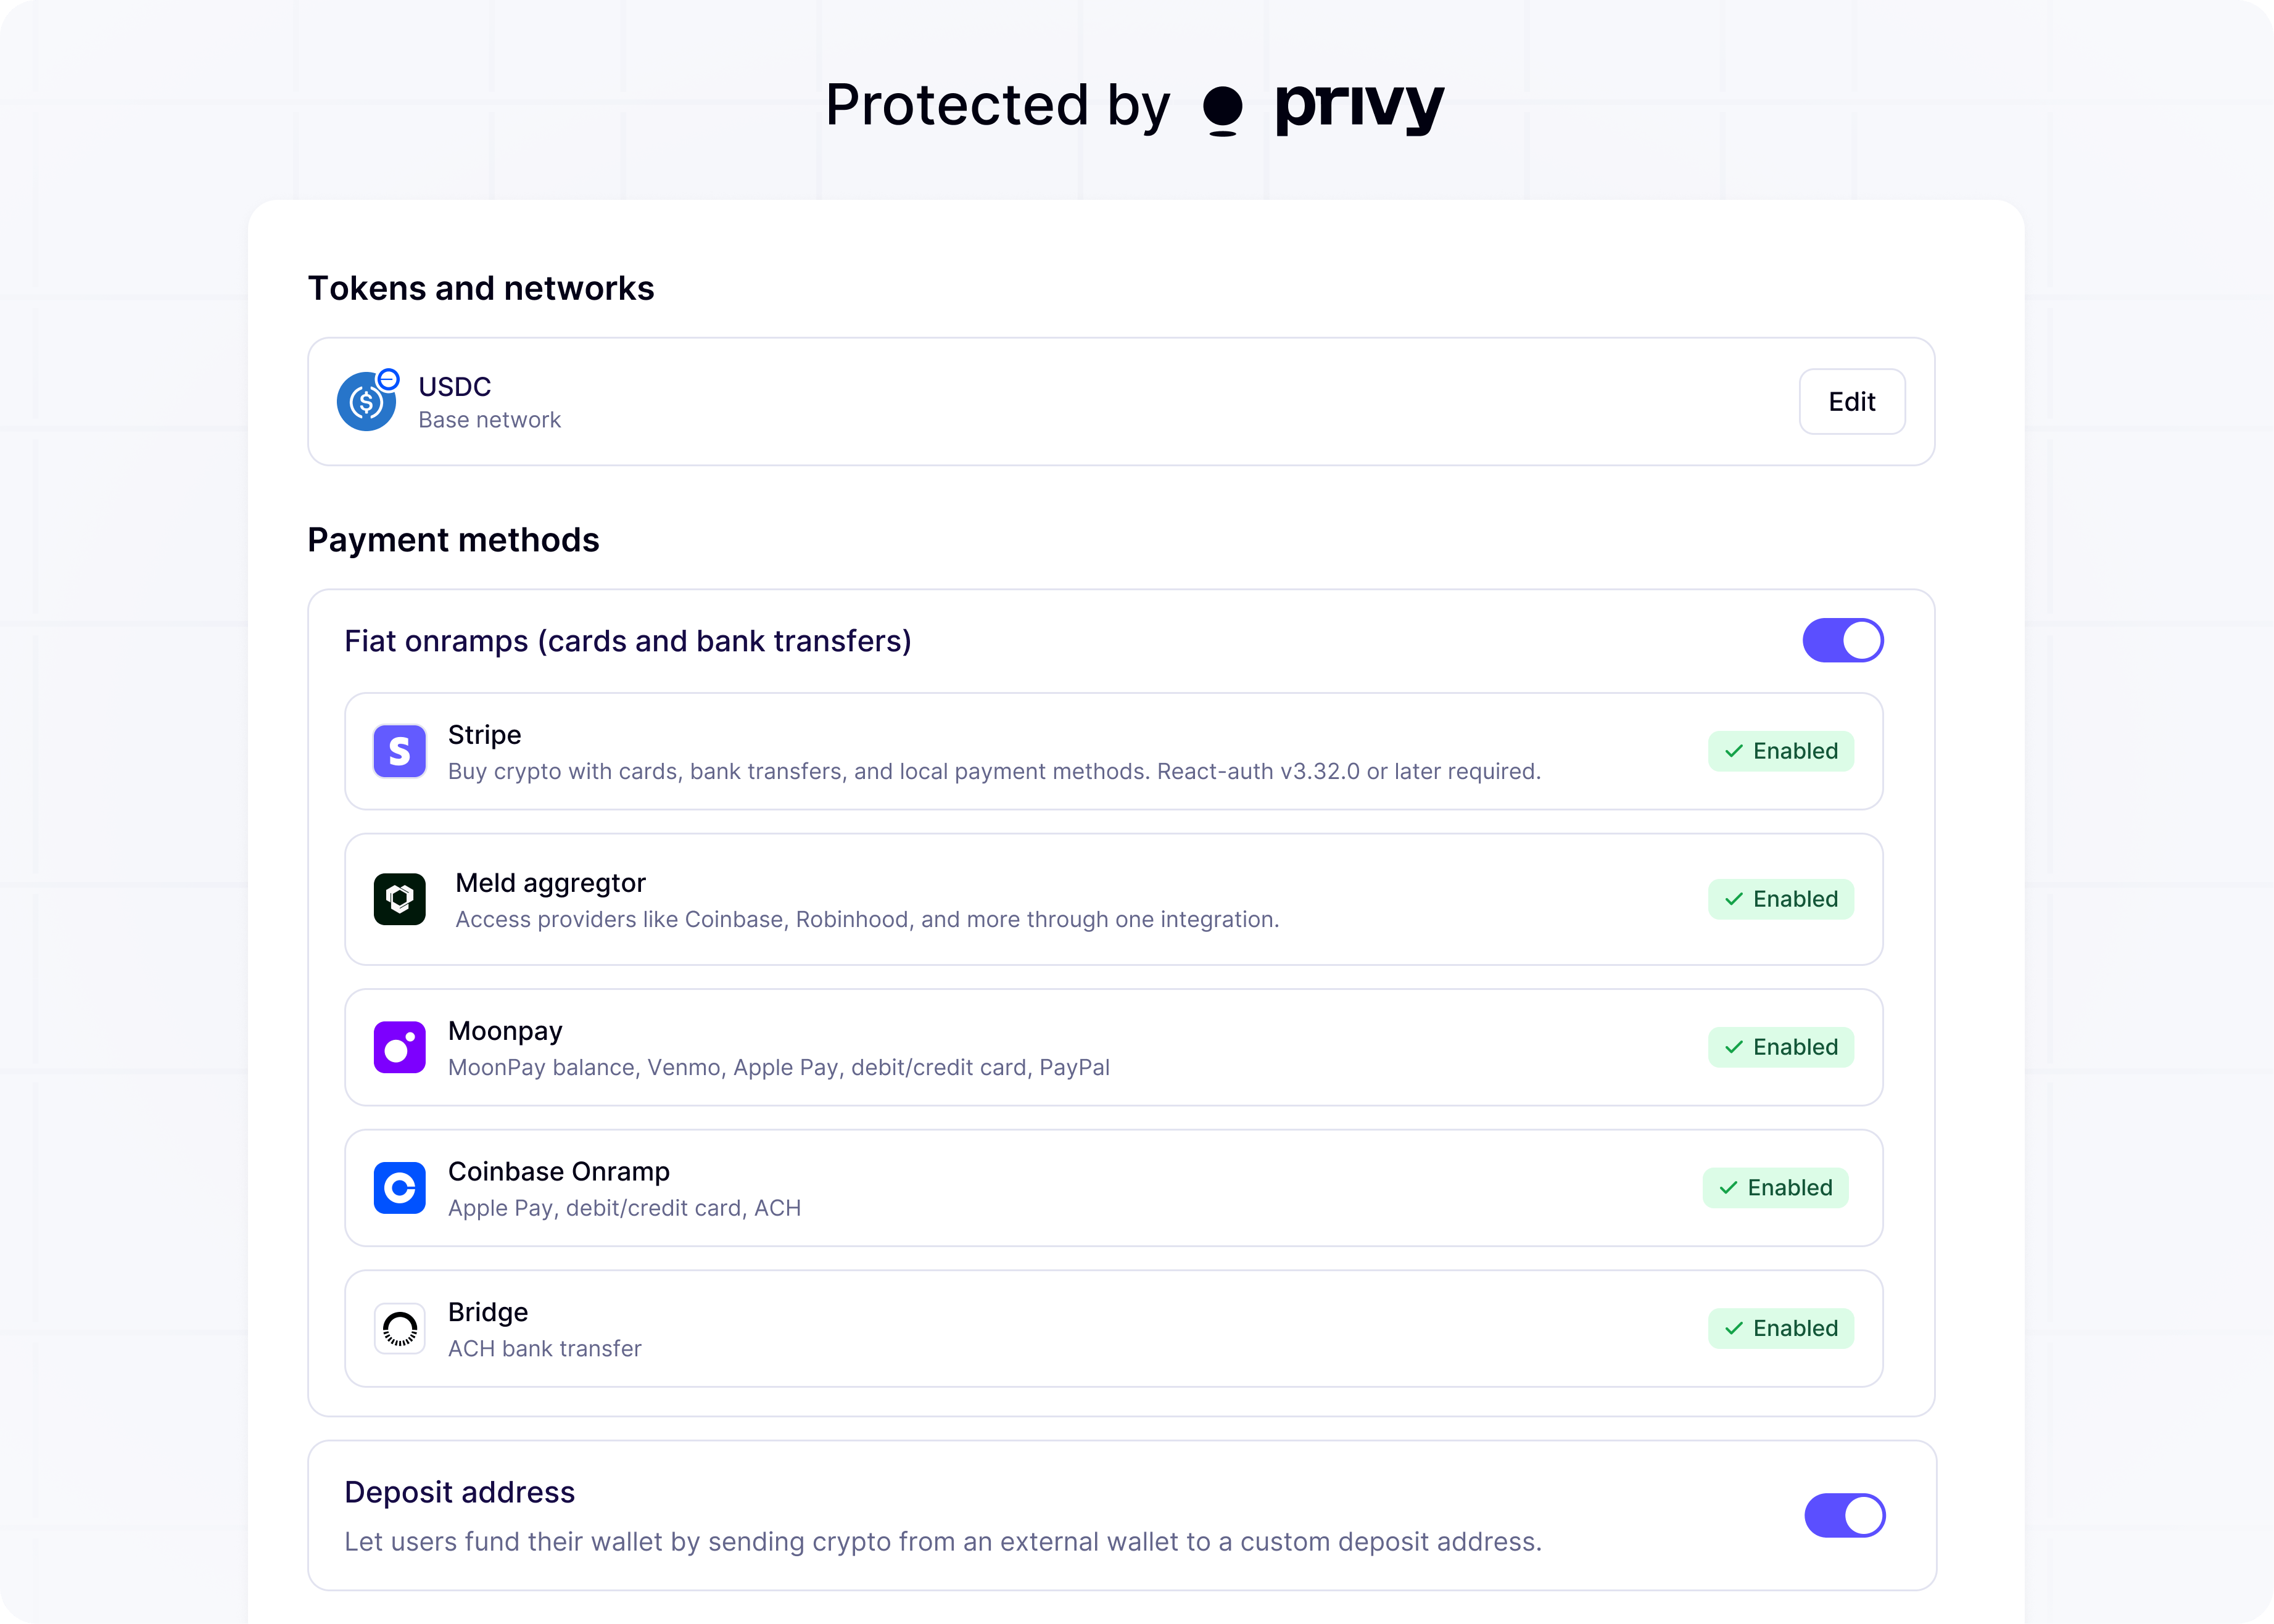
Privy makes it easy to integrate a fiat on-ramp alongside our SDK, helping your users fund their wallets with the tokens they need to engage with your app.
If your app involves on-chain actions like sending transactions or calling smart contracts, your users likely need some way to fund their wallet(s) with crypto, in order to pay gas and make purchases. Fiat on-ramps allow your users to purchase crypto via traditional payment methods, such credit/debit cards and ACH transfers.
In this guide, you’ll find instructions for:
To start, you’ll need to choose a fiat on-ramp provider that meets your app’s requirements. Different on-ramp providers vary in their support of:
You should choose a fiat on-ramp provider based on your needs across the categories listed above. You can check each provider’s documentation to determine if it can support the requirements of your app and your user base. Some providers we recommend working with include Moonpay, Sardine, Stripe, Ramp, Onramper, and Poko.
Once you have chosen an on-ramp provider for your app, set up an account with that provider and retrieve your sandbox API keys to build an integration.
Most providers will provision you with a public API key that can be exposed to your frontend, and a secret API key that should only exist on your server. Some providers may also offer a webhook API key so you can subscribe to updates on your users’ transactions.
For the remainder of this guide, we will assume Moonpay is our chosen fiat on-ramp provider (though you should choose the provider that is best for your app).
The overall integration shape is roughly the same across different providers, and generally looks like:
iframe
within your site. Within the new page/iframe
, your user will complete their purchase flow and any required identity verification steps.Below is a guide of how to implement steps (1)-(3) with Moonpay as a concrete example. For the sake of this demo, assume that, in this app, users are able to login with their email address and are prompted to create a Privy embedded wallet upon logging in (which they will need to fund).
To start, we’ll add a fundWallet
method to our frontend that collects information about our user and our desired on-ramp flow, and sends it to our backend.
In this example app, users login with their email address and create a Privy embedded wallet upon logging in. Thus, we can get the user’s email and wallet address from their user
object and include it in this request. This ensures the user doesn’t have to enter this manually when completing the on-ramp flow later.
In this example app, we also want to redirect the user to the on-ramp URL instead of embedding it in an iframe
. Thus, we can get the URL of the current page (window.location.href
) and include it in this request. This allows the on-ramp provider to redirect the user back to this page once they have completed their purchase.
Depending on your app, you can configure more information about the on-ramp flow as well. For instance:
When completing the on-ramp flow, your user will have to manually enter/select any information that you do not pre-fill here (e.g. wallet address, which asset to purchase, etc.).
We’ll now implement the fundWallet
method to send this data to our backend, authorizing the request with the user’s Privy auth token.
In this example, fundWallet
parses the response returned by the server (we’ll implement this below) and returns the fiat on-ramp URL as a string.
Now, we’ll implement the logic in our backend to construct the fiat on-ramp URL based on the configuration we collected in step (1). In particular, we’ll implement a POST /api/onramp
handler that receives the request from step (1) and responds with the on-ramp URL.
In our handler, we’ll start by parsing the request body for the user’s wallet address
, email
, and redirectUrl
. If you included additional information in your request (e.g. asset type, amount), you should parse the request body for those values as well.
Next, we’ll construct the fiat on-ramp URL where our user can complete their purchase. We’ll start with the base URL given to use by our fiat on-ramp provider (Moonpay):
This generally is a URL at the provider’s domain with your account’s public key appended as a query parameter.
We can then pre-populate details about the user’s on-ramp flow as URL query parameters, based on what we parsed from the request.
For Moonpay, you can find the exact query parameters that can be pre-populated here.
Lastly, after we’ve configured the on-ramp URL for our user, we’ll authorize the URL using the secret key given to us by our fiat on-ramp provider. For Moonpay, we’ll authorize the URL by signing it with the secret key, and appending the signature as a query parameter to the URL:
Other providers may have other ways of authorizing the URL, such as requesting a client token from their API and appending that token as a query parameter in place of a signature. You should check each provider’s documentation to determine the correct mechanism for authorization.
We can finally send the completely configured, authorized on-ramp URL back to our front-end!
With steps (1) and (2) completed, our fundWallet
method in our front-end should now return a configured, authorized on-ramp URL where our user can complete their purchase.
In this example, we will redirect our user to this URL, so that they can complete their purchase in a new tab:
Once the user completes their purchase, they will be redirected back to the redirectUrl
we configured in steps (1) and (2). On this redirect, Moonpay will also append a transactionId
that we can optionally use to monitor the status of the user’s transaction.
If you redirect your user to the fiat on-ramp URL, as we have done here, we suggest that you show them some introductory context about the fiat on-ramp (e.g. in a modal) provider and why they need to purchase crypto for your app.
Alternatively, if you do not want to redirect the user to a new tab, you can instead surface the on-ramp URL within an iframe
embedded within your site:
**That’s it! Your users can now fund the wallets they’ve connected/created through Privy and take on-chain actions in your app. 💪 **
If your app needs users to fund their wallets specifically so they can purchase NFTs, you should consider integrating an NFT Checkout flow in addition to, or instead of, a generic fiat on-ramp flow. NFT checkout flows generally offer a smoother user experience, due to less rigid identity verification requirements, higher payment success rates, and clearer context about what the user gets by purchasing crypto.
Many fiat on-ramp providers, including Moonpay and Sardine, offer NFT checkout integrations as well. The shape of this integration is much like that of the generic fiat on-ramp (outlined in this guide), but you will have to configure additional information about your NFT sale (contract address, token type, payments) in each provider’s dashboard.
See each provider’s documentation for more details, or reach out with any questions.
Check out our fiat on-ramp demo app to see an end-to-end integration of a fiat on-ramp alongside Privy. Take a look at the source code to see how the code snippets from this guide fit into a real app.
This demo app uses a sandbox instance of Moonpay, and you should use certain test values when completing the purchase flow as a user: