[email protected]) or an email domain (e.g. @wayneenterprises.com).
Denylists apply to email, SMS, wallet, and OAuth methods with verified emails only. Login methods
like Telegram and Farcaster are not supported.
Enabling the denylist for your app
You can enable an denylist directly from the Privy developer dashboard. To do so, just navigate to the Users page > Access Control tab of the dashboard and toggle denylists on.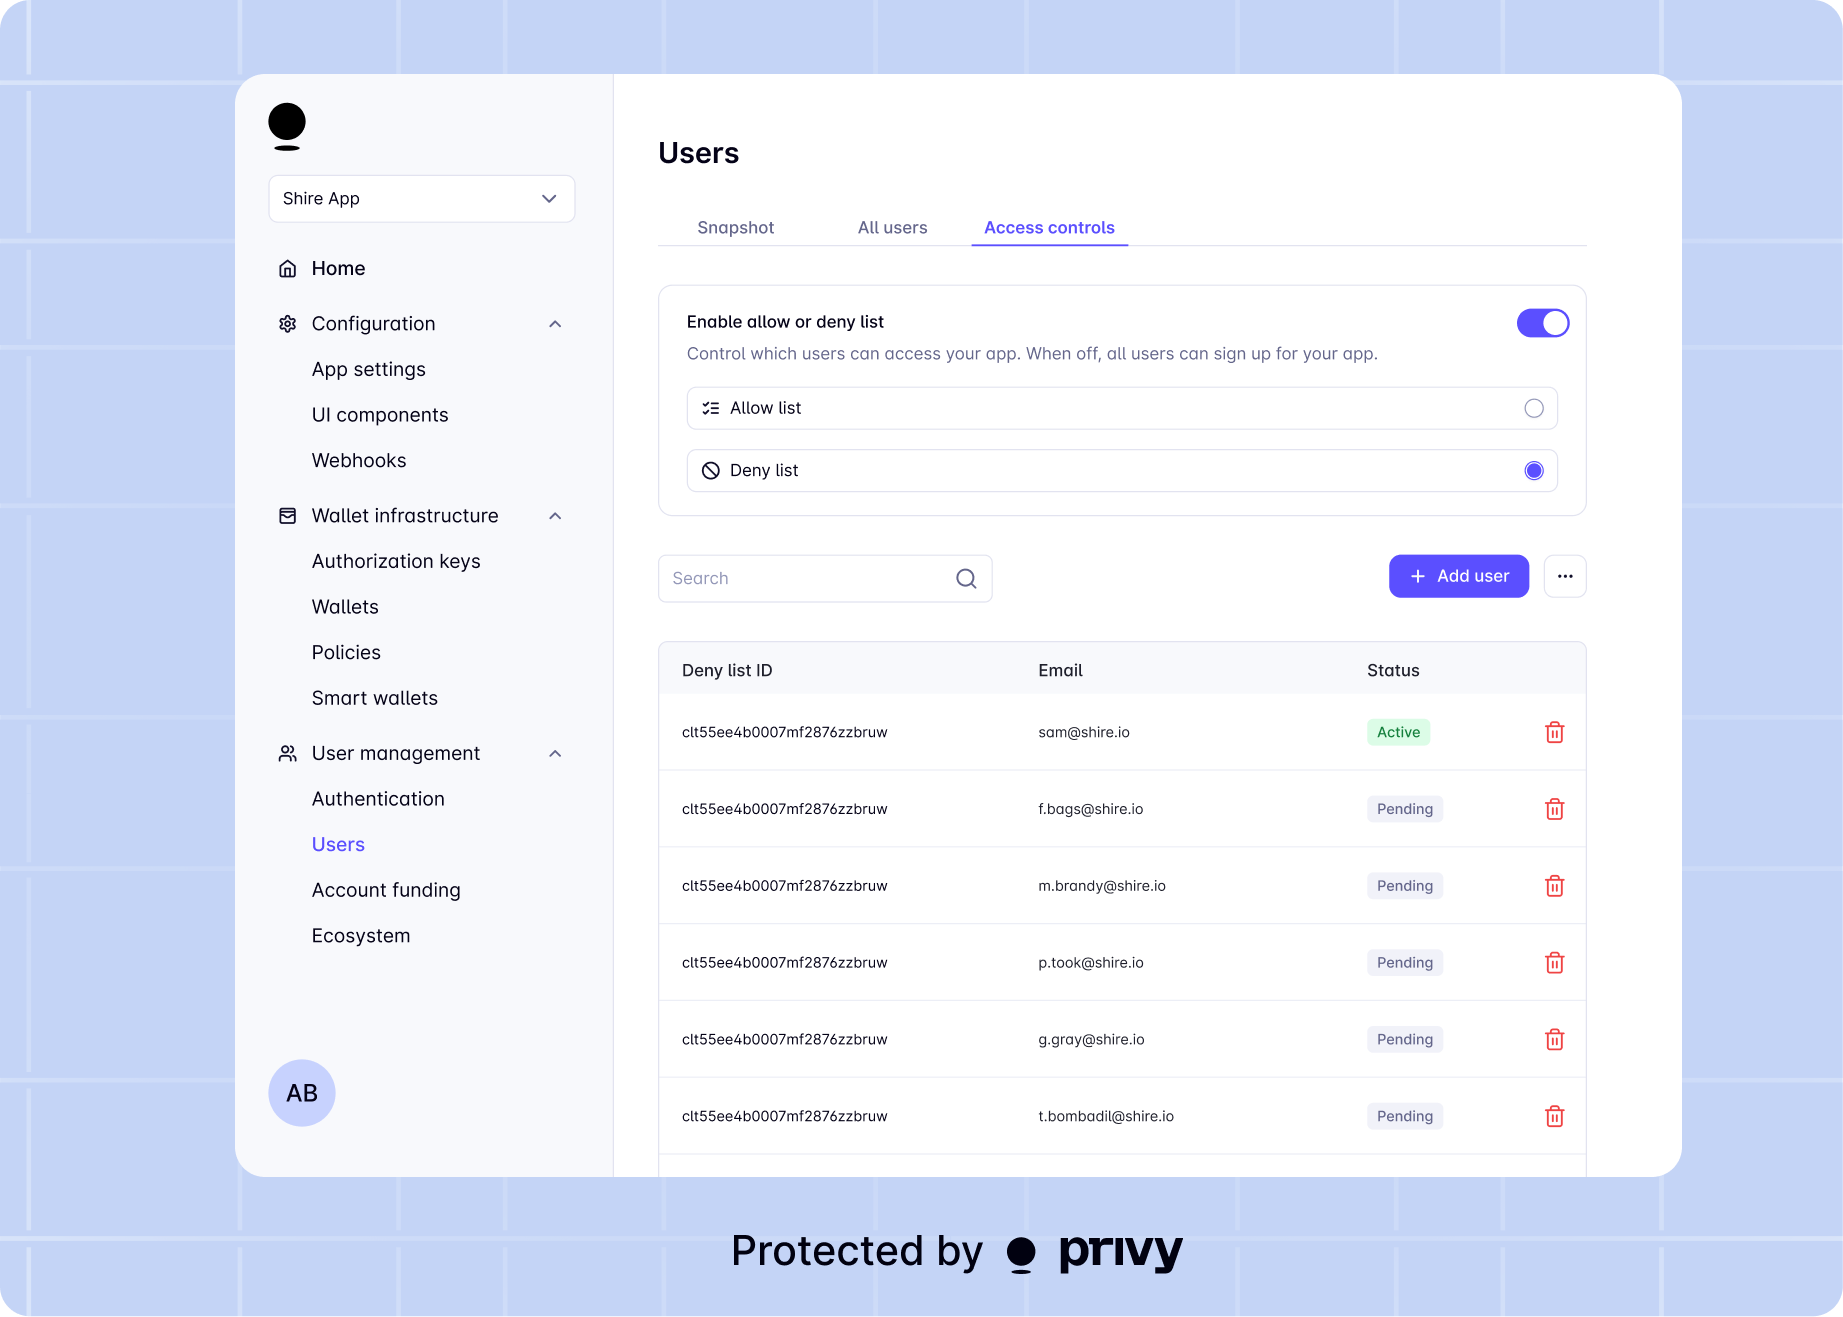
Managing the denylist
There are two main ways to manage the denylist for your app:- Using the API, you can easily add entries, remove entries, and get your current denylist.
- Using the developer dashboard, you can easily add and remove entries from your app’s denylist.
Adding to the denylist
If you do not have a denylist enabled for your app, this request will fail.
POST request to:
Specifies that the request adds an email address, email domain, phone number, EVM wallet address
or Solana wallet address to the denylist.
The email address, email domain, phone number, EVM wallet address or Solana wallet address to add
to the denylist.
Removing from the denylist
If you do not have a denylist enabled for your app, this request will fail.
DELETE request to:
The ID of the denylist entry to be removed. You can obtain this ID by getting your current deny
list.
204. If there is no corresponding denylist entry, the response will include an error.
Getting the denylist
To get your current denylist, make aGET request to:
Parameters
In the request query parameters, specify the following fields:When you request a batch of denylist entries from Privy, the API will return a cursor for the next batch of denylist entries in the
next_cursor field of the response. This will be a denylist ID, which is a string.If you are requesting the first batch of denylist entries for your app, do not include a cursor in your request parameters.If you have already requested a batch of denylist entries and want to request the next batch, set the cursor in your request parameters to be the next_cursor returned by the API in your previous query. If the provided cursor is not a valid denylist ID, the API will return an error.The number of users you would like the API to return. Defaults to 1000.
next_cursor field of the last response as the cursor in your request query parameters:
Response
A successful response will include:The denylist entries as an array
The cursor to be used in your next request to this API
id field returned in this API response.