Balances
Balances and webhooks
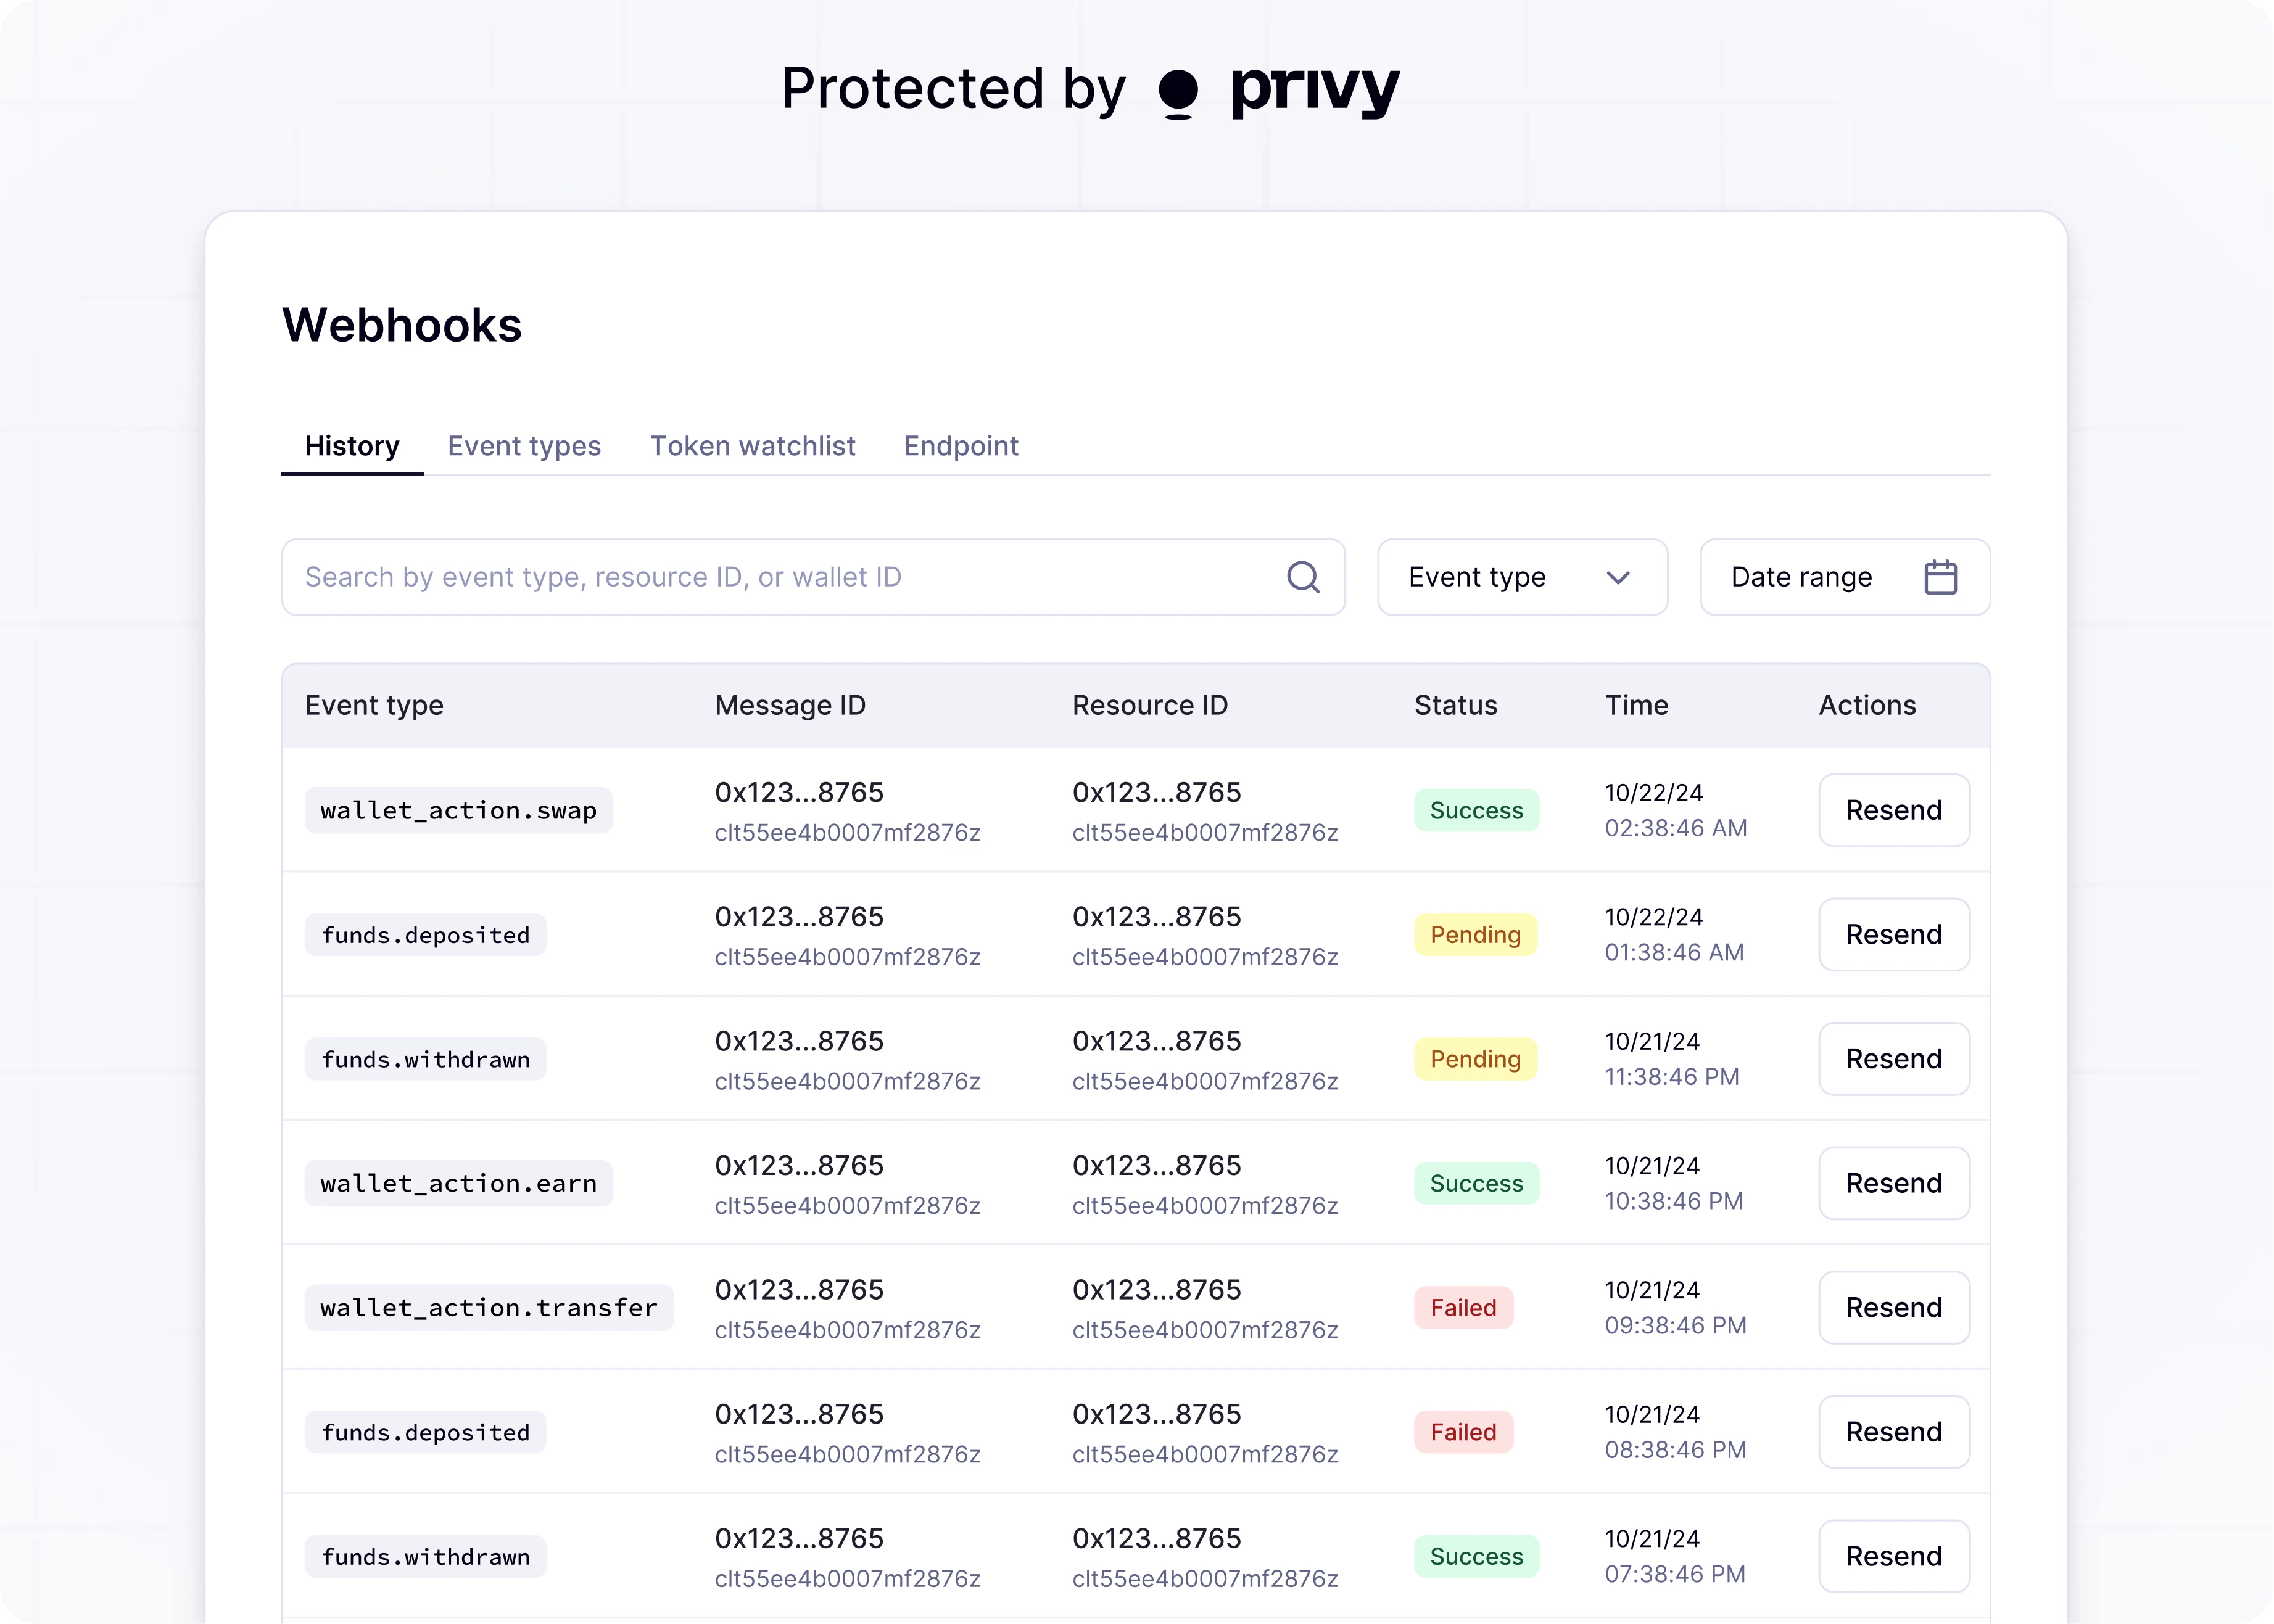
Receive real-time notifications for deposits, withdrawals, and transactions
Privy sends webhooks to notify your app when wallet activity occurs.
Your app can track transaction status changes, incoming deposits, and outgoing withdrawals in real time.
In addition, you can use Privy’s REST API to query the transaction status and wallet balances.
Follow the webhook guide to set up webhooks for your app.