This page walks through a client-side funding integration for Solana wallets. If you are looking
to integrate server-side for funding via bank transfer, see the Funding via bank
transfer page.
Prompting users to fund wallets
With funding methods enabled for your app, Privy will prompt users to fund their wallets at two points in their experience:- Manually, when you call Privy’s
fundWalletmethod documented below - Automatically, when the user attempts to send a transaction but has insufficient funds
Manually invoking funding
Once you’ve enabled a set of funding methods for your app, to invoke the funding flow, use theuseFundWallet hook from the Privy SDK as follows:
- React
- React Native
Prompt the user to fund their wallets by calling Once invoked, the
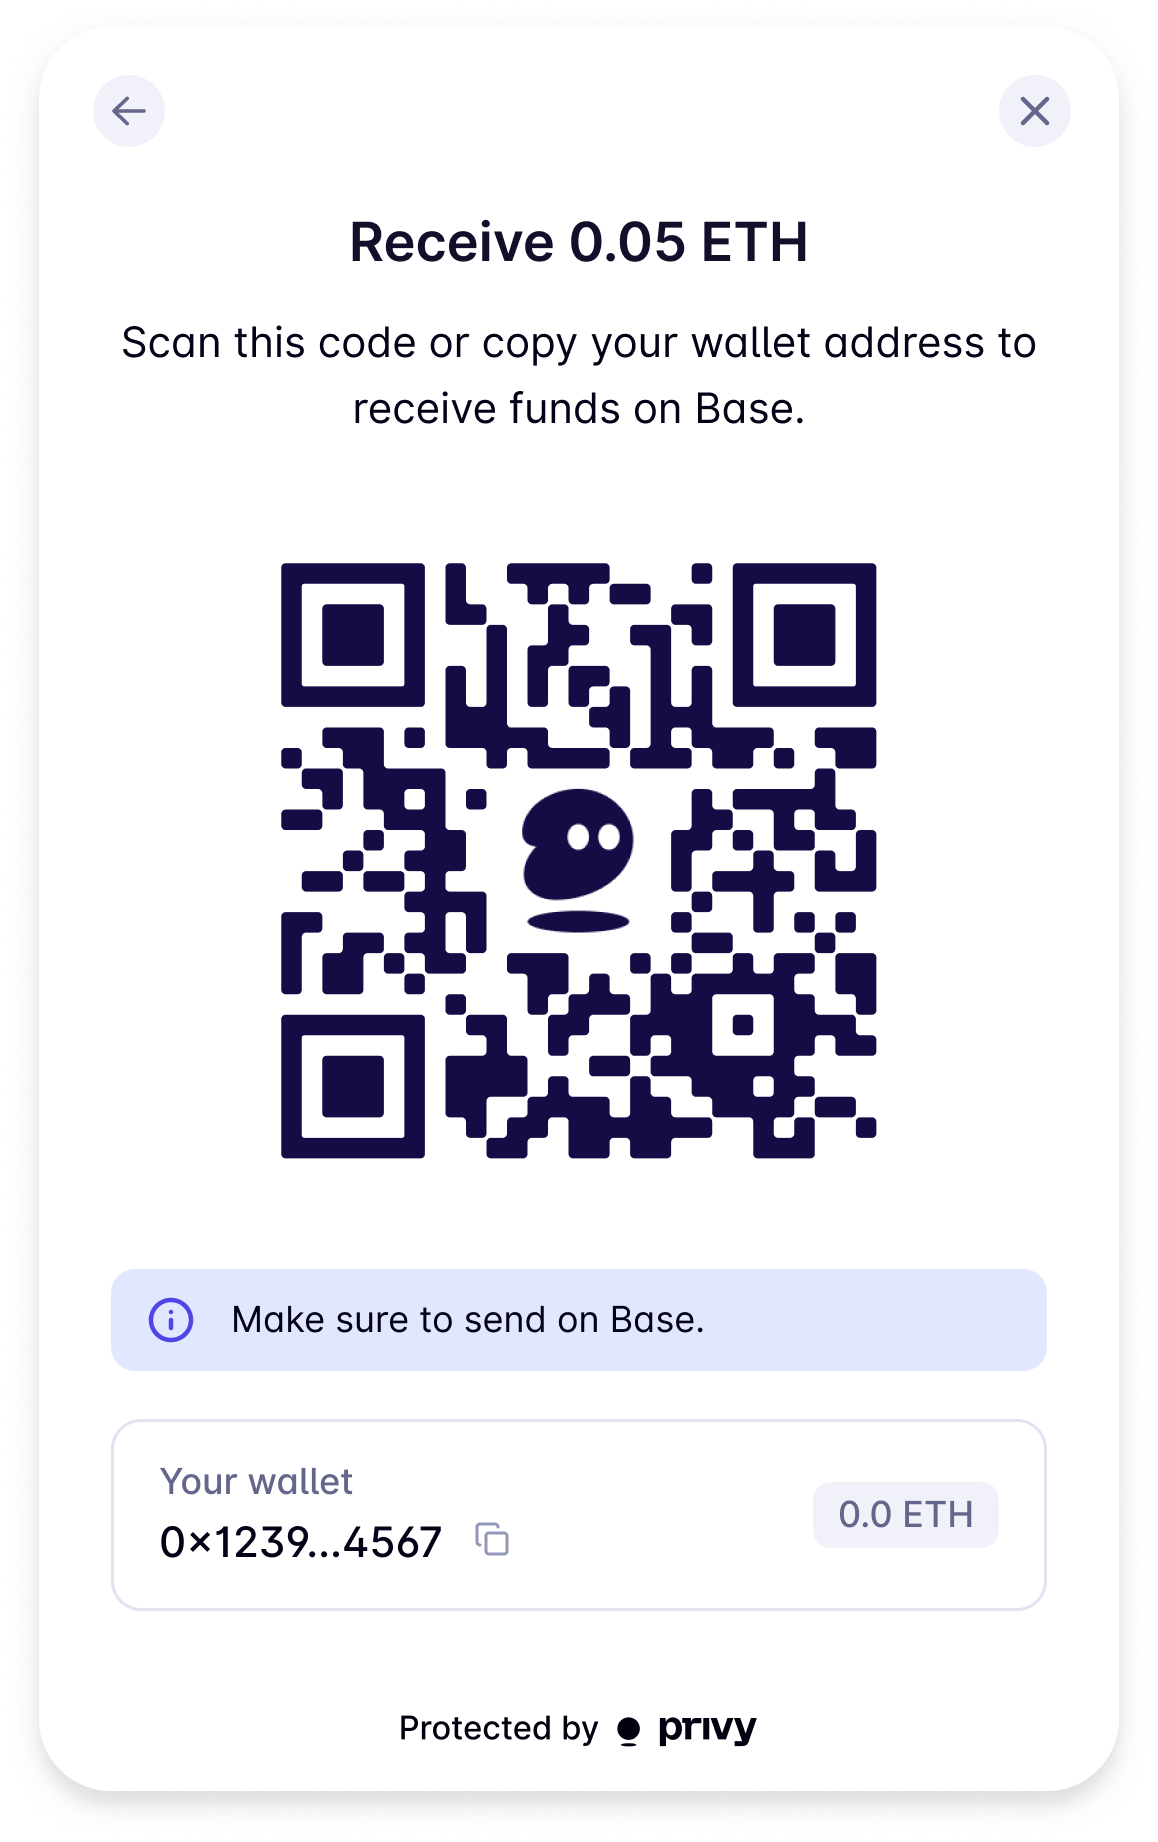
As examples, you can configure the cluster, amount, and provider to fund like below:This will change the default “Receive funds” screen to:
fundWallet.fundWallet method will open a modal that contains a list of funding options the user can take. If only one funding method was enabled for your app, Privy will navigate the user directly to that specific flow.You can pass additional configurations to the funding flow in the options parameter to fundWallet.Automatically invoking funding
With funding methods enabled for your app, if a user attempts to send a transaction but does not have sufficient funds to do so, Privy will show them an “Add funds” button in the transaction modal that enables them to invoke funding flows.Setting a funding amount in code
Optionally, you can pass in a chain, funding amount, and funding asset tofundWallet to override your Dashboard configuration.To do so, in the options parameter to fundWallet, pass an object with the following fields:| Parameter | Type | Description |
|---|---|---|
cluster | {name: Cluster} | Optional. An object for the Cluster on which users should fund their accounts. Defaults to mainnet-beta. |
amount | string | Required if asset is set, optional otherwise. The amount of the asset to fund as a decimal string. Defaults to the amount you configured in the Privy Dashboard. |
defaultFundingMethod | 'card' | 'exchange' | 'wallet' | 'manual' | Optional. Specifying the default funding method will send the user directly to the card / exchange provider, directly open the wallet transfer, or directly open the manual QR wallet transfer screen. Additional configured payment options will be shown after the default funding method. |
card.preferredProvider | 'coinbase' | 'moonpay' | Optional. The preferred card provider to use for funding. If not specified, users will be directed to one of these providers initially and given an option to navigate to a different later. |
uiConfig.receiveFundsTitle | string | Optional. Configure the title of the “Receive funds” screen. |
uiConfig.receiveFundsSubtitle | string | Optional. Configure the subtitle of the “Receive funds” screen. |
Fund with SOL
Fund with Moonpay
Fund with Coinbase exchange immediately
Callbacks
To understand when users have gone through a funding flow, you can use theonUserExited callback that can be provided to the useFundWallet hook. The address, chain, fundingMethod, and balance (value of the wallet being funded) are available via the callback, which fires when users exit the funding flow.For example, if you want to prompt a user to fund their wallet upon logging in for the first time as a part of your onboarding flow:Customizing the “Receive funds” screen
Privy allows to customize the “Receive funds” screen by providinguiConfig options in the fundWallet method. You can set the receiveFundsTitle and receiveFundsSubtitle to customize the title and subtitle of the screen.You can then call fundWallet like so to customize the UI:

