

- All existing users will still be permitted to login to your app
- New users must be added to the allowlist by their email address, phone number, or wallet address to be permitted to login
- New users who have not been added to your allowlist will not be permitted to login.
Allowlists apply to email, SMS, wallet, and OAuth methods with verified emails only. Login methods
like Telegram and Farcaster are not supported.
Enabling the allowlist for your app
You can enable an allowlist directly from the Privy developer dashboard. To do so, just navigate to the Users page > Access Control tab of the dashboard and toggle allowlists on.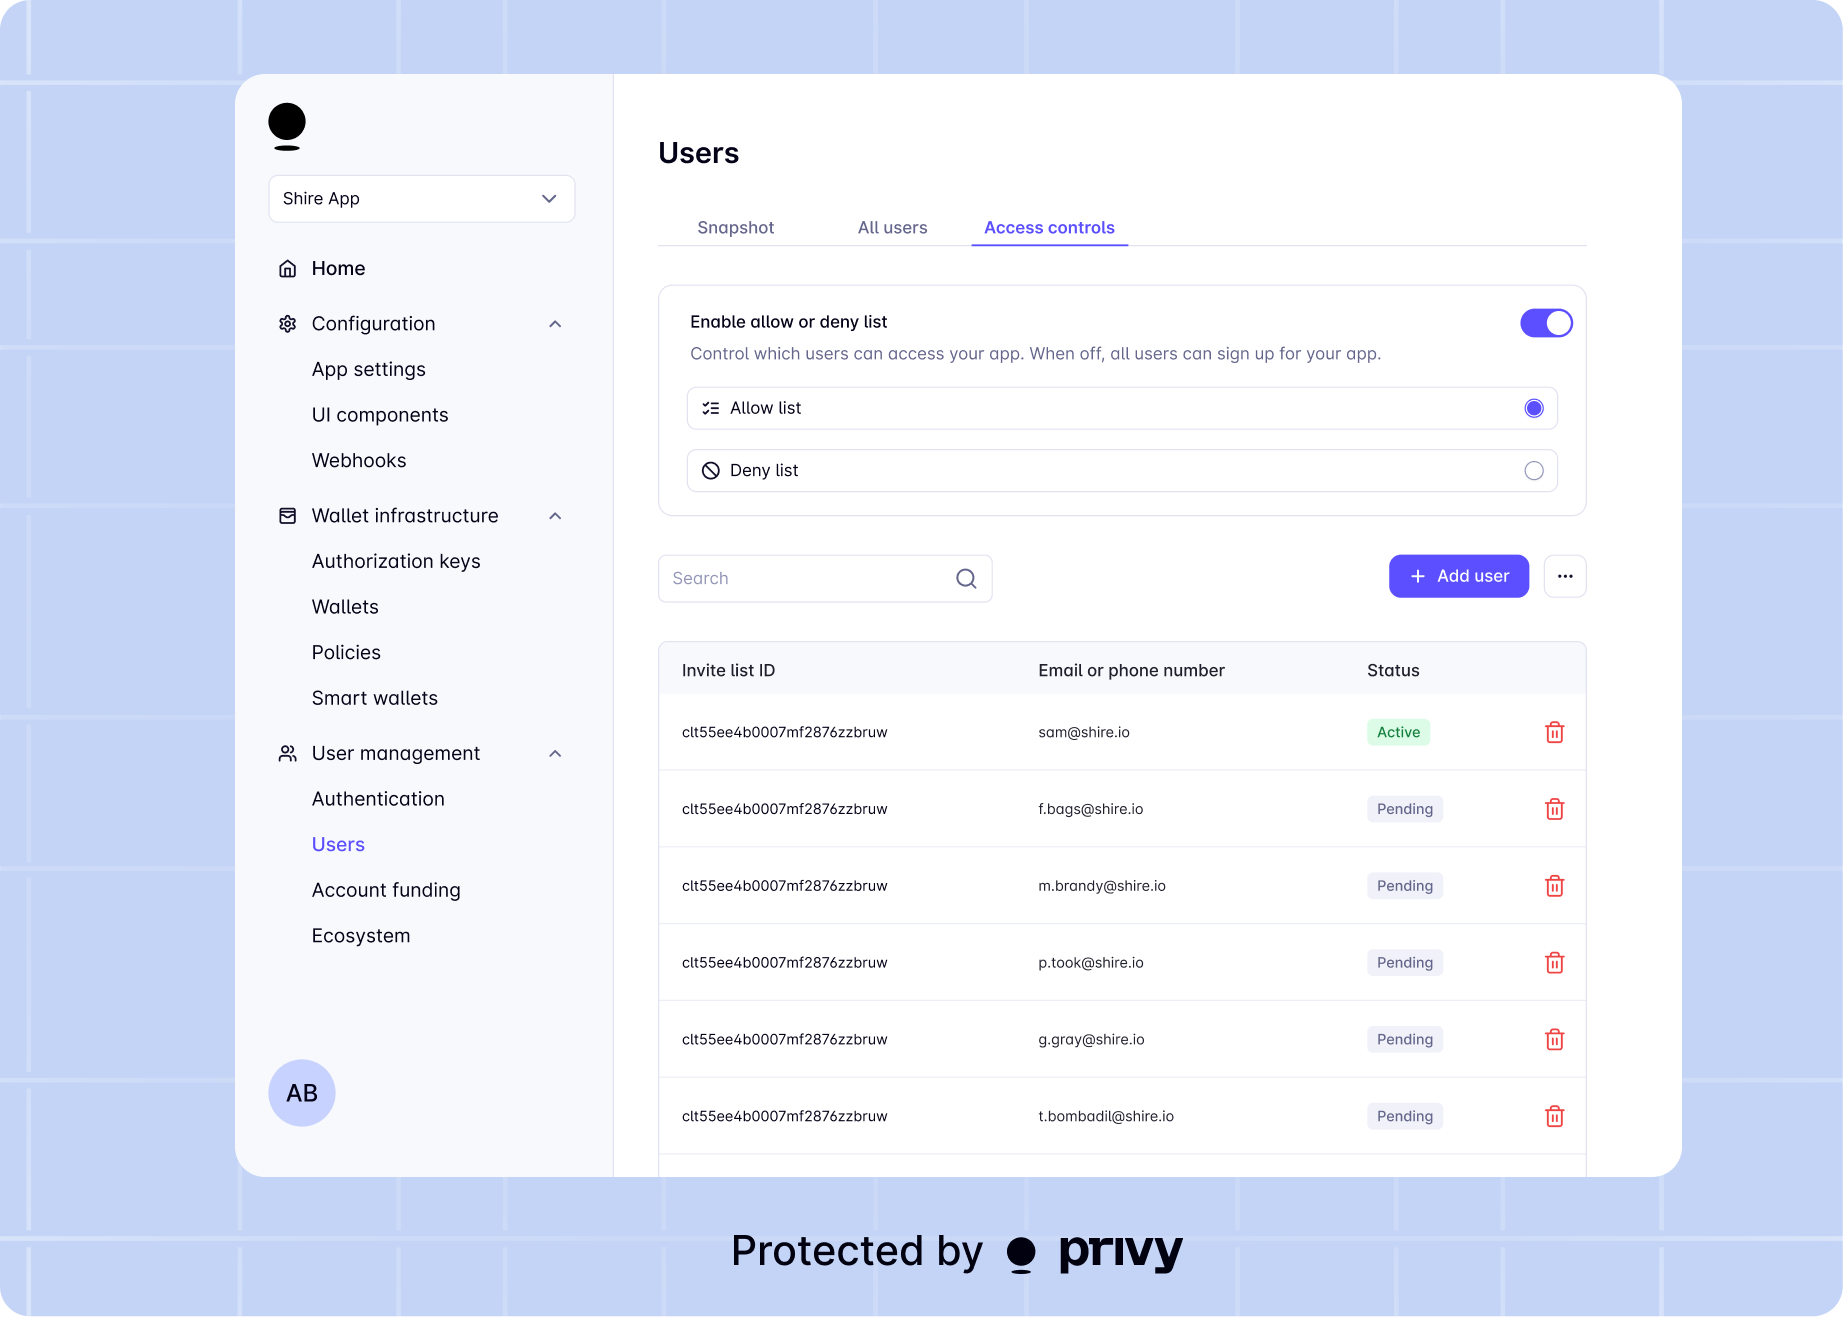
Managing the allowlist
There are two main ways to manage the allowlist for your app:- Using the API, you can easily add users, remove users, and get your current allowlist.
- Using the developer dashboard, you can easily add and remove users from your app’s invite list page.
Adding to the allowlist
Privy allows you to easily add a user’s email address, phone number, or wallet address to the allowlist for your app.Use the As a parameter to the method, pass an object with the following fields:If the invitation is successful, the method returns an allowlist entry object. If the invitation
fails, the method throws an error.
inviteToAllowlist method from the apps() interface to add a user to your allowlist.'email' | 'phone' | 'wallet'
required
The type of account to add to the allowlist.
string
required
The identifier of the account to add to the allowlist. Should be the corresponding email address,
phone number, or wallet address.
Removing from the allowlist
Privy allows you to easily remove a user’s email address, phone number, or wallet address to the allowlist for your app.Use the As a parameter to the method, pass an object with the following fields:If the removal is successful, the method returns a confirmation object. If the removal fails, the
method throws an error.
removeFromAllowlist method from the apps() interface to remove a user from your allowlist.'email' | 'phone' | 'wallet'
required
The type of account to remove from the allowlist.
string
required
The identifier of the account to remove from the allowlist. Should be the corresponding email
address, phone number, or wallet address.
If a user has successfully logged into your application (e.g. after having been added to the allow
list), you must delete their user object,
rather than deleting their allowlist entry—to revoke their access.
Getting the allowlist
Privy allows you to easily get the current allowlist for your app.Use the If the request is successful, the method returns an array of allowlist entry objects. Each entry includes an
getAllowlist method from the apps() interface to get your app’s current allowlist. Pass no parameters to this method.id, a type describing the type of entry ('email', 'phone', or 'wallet'), a value with the corresponding account identifier, and an appId.Customizing allowlist rejection
If your app has an allowlist enabled, new users who attempt to login with an account not in your allowlist will not be permitted to login to your app. You can customize the screen shown to the user when they are denied permission to login, to help contextualize the allowlist within your app. To customize this screen, make aPOST request to
string
The primary text for the error message you’d like to show your user. Defaults to “You don’t have
access to this app”.
string
The secondary text for the error message you’d like to show your user. Defaults to “Have you been
invited?”
string
The text to show on the error confirmation button. Defaults to “Try another account”
string
The URL to navigate the user to, when they click the error CTA. Defaults to just closing the
screen on click, instead of navigating the user to another URL.