Please note that this native smart wallet integration is only available in the React and React
Native SDKs. To configure smart wallets with wallets created using server-side SDKs or APIs,
follow this guide.
Native ERC-4337 support with embedded signers
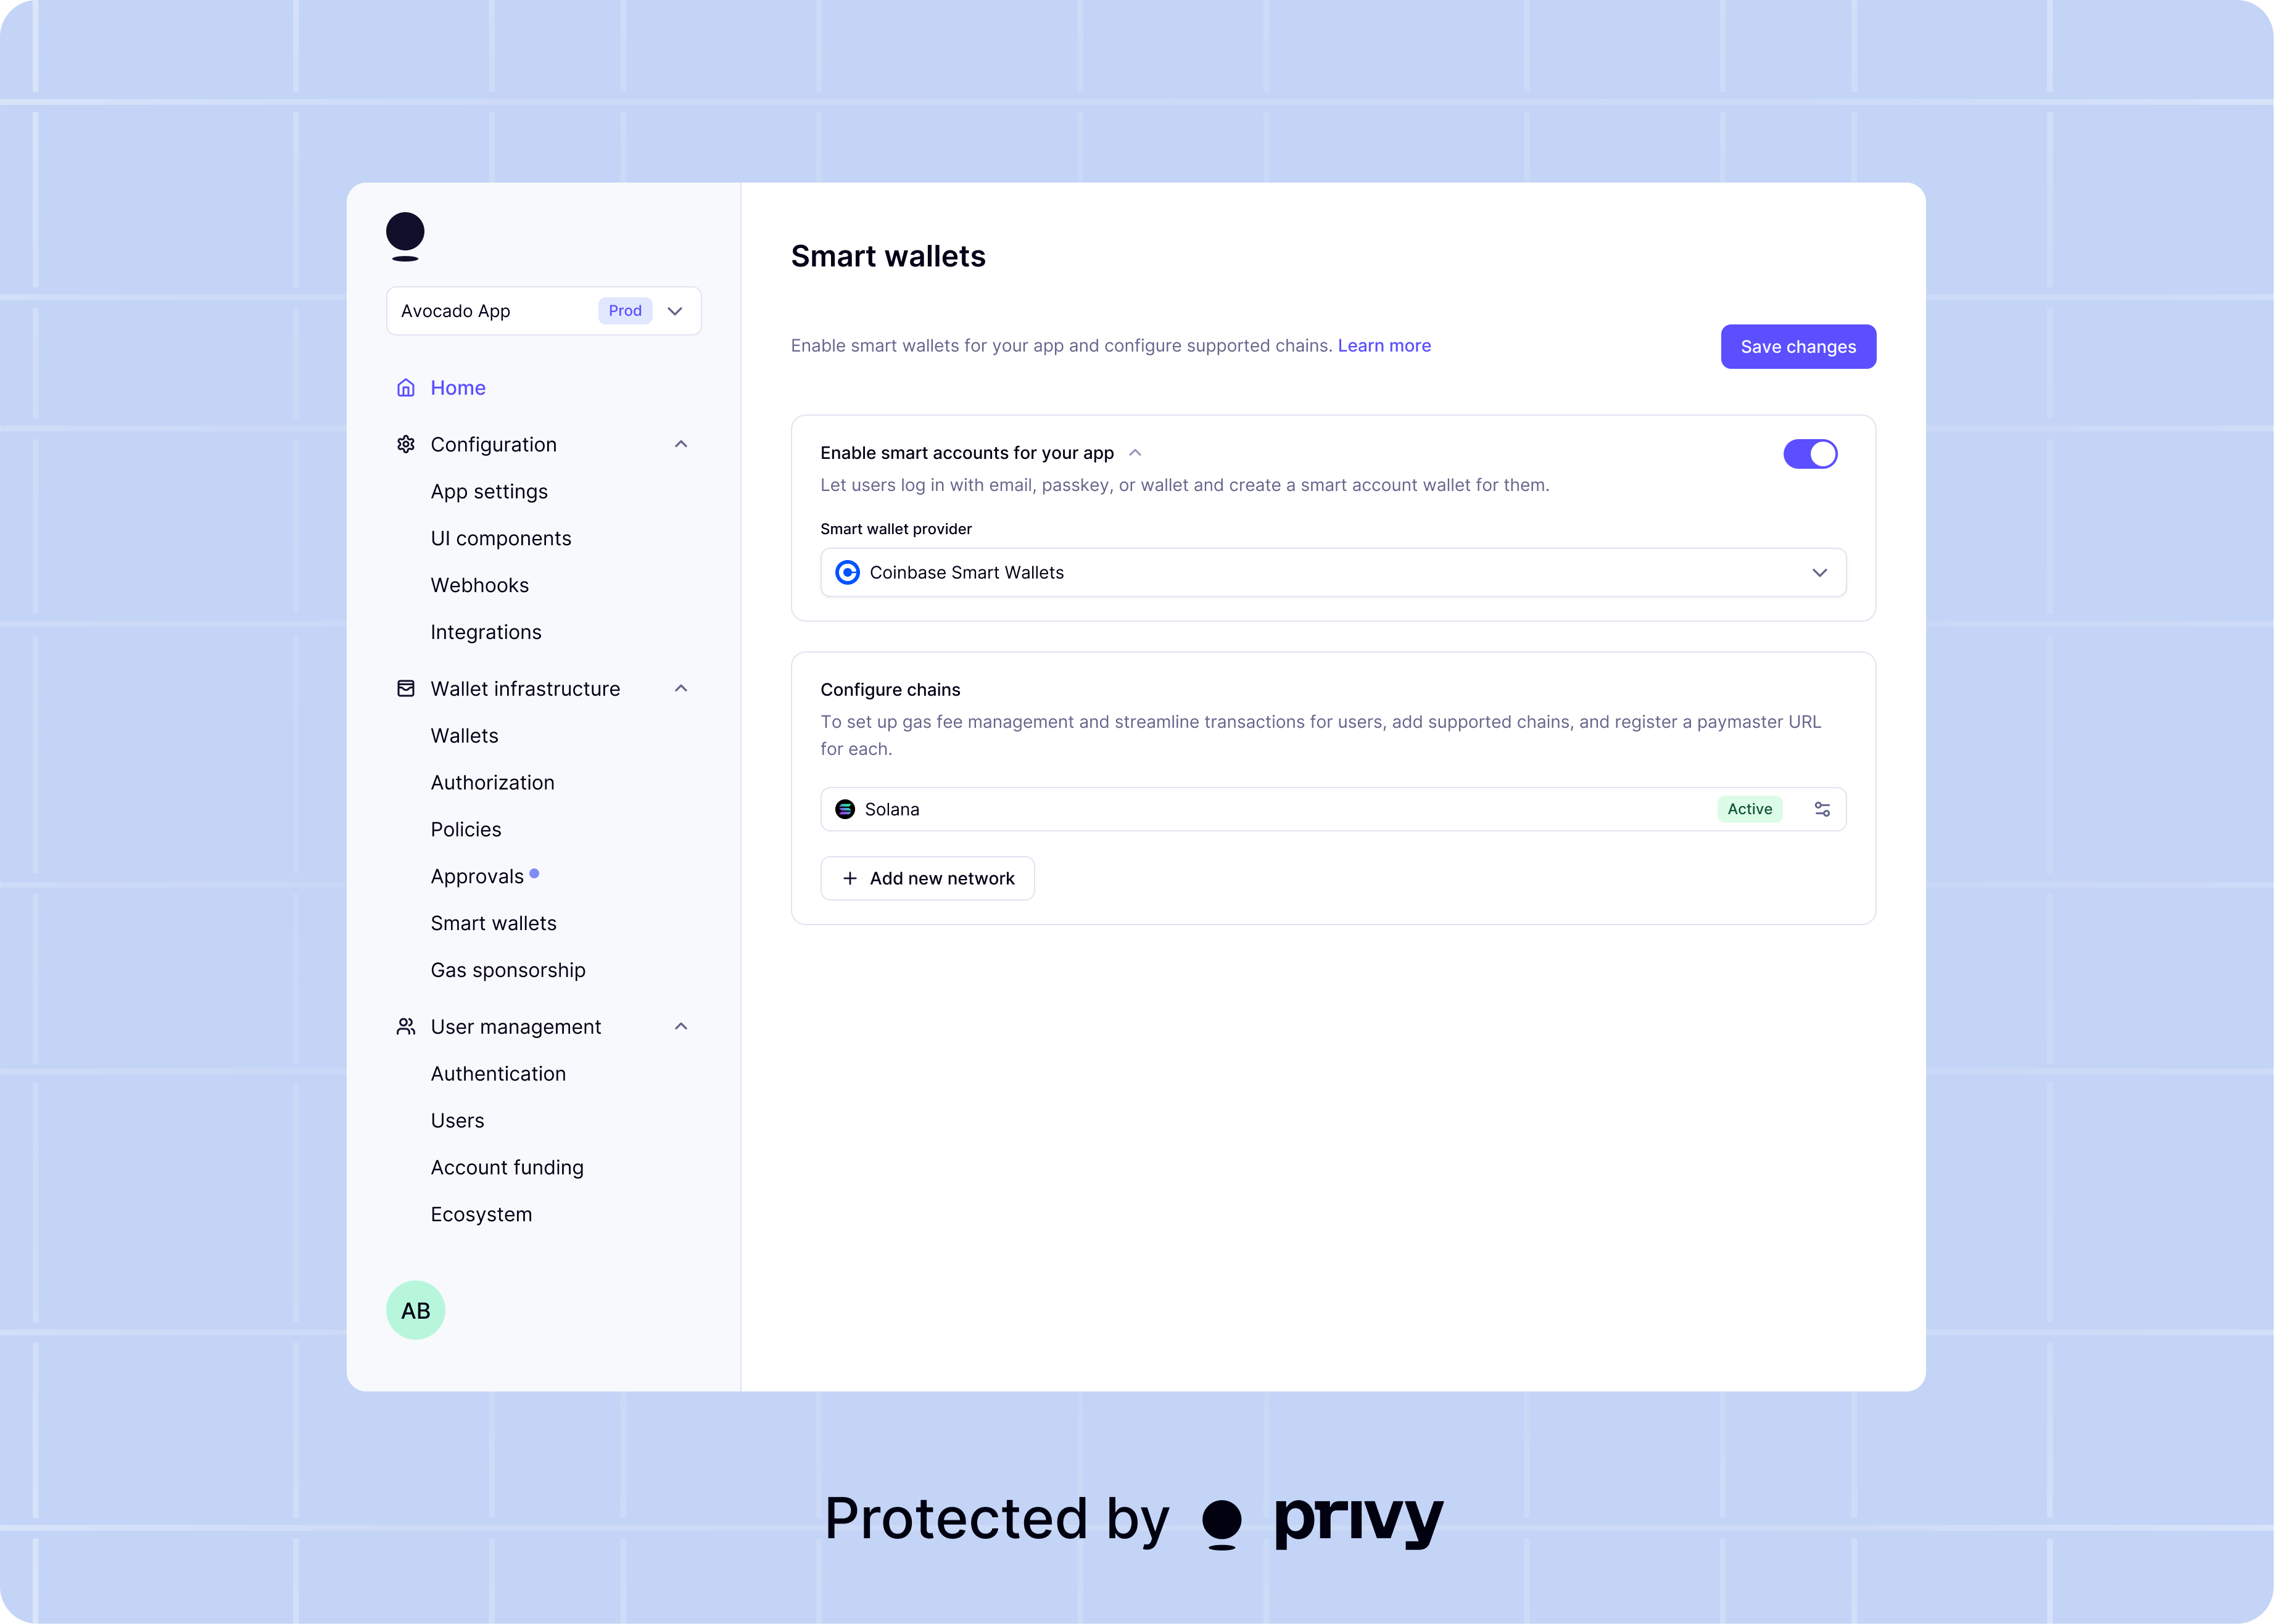
Under the hood, a smart wallet is an ERC-4337-compatible smart contract deployed onchain. This smart contract can be programmed to support features like transaction batching, gas sponsorship, delegating permissions, and more. When using a smart wallet, a user’s assets are held by the smart contract itself. This smart contract is controlled by an embedded signer (an externally-owned account) secured by Privy’s self-custodial wallet infrastructure. Privy automatically takes care of creating signers for users and generating smart contract wallets controlled by these signers. Your app can customize which ERC-4337 account implementation powers your users’ smart wallets, between Alchemy, Kernel (ZeroDev), Safe, Biconomy, Thirdweb, and the Coinbase Smart Wallet.Privy partners with the ERC-4337 account providers above to ensure a smooth experience. If you’d
like us to add support for another, please reach out!