Custodial wallets are an Enterprise plan feature. If you would like to upgrade your account,
please reach out to [email protected].
Onboard with the custodian
If you don’t already have a Bridge account, request access at Bridge here.KYC the wallet beneficiaries
A prerequisite for creating custodial wallets is that the wallet beneficiary must have been KYC’d by the custodian. Register your users with Bridge either directly via the API or via KYC links. ThecustomerId of each beneficiary will be used as the provider_user_id when creating custodial wallets.
Enabling custodial wallets on your Privy app
Request access
First, share your Privy app ID with the Privy team to get custodial wallets enabled on your account. You can find your app ID in the Privy Dashboard.Generate and register Bridge API keys with Privy
If you have already registered a Bridge API key with Privy for the onramp integration, you can
skip this step.
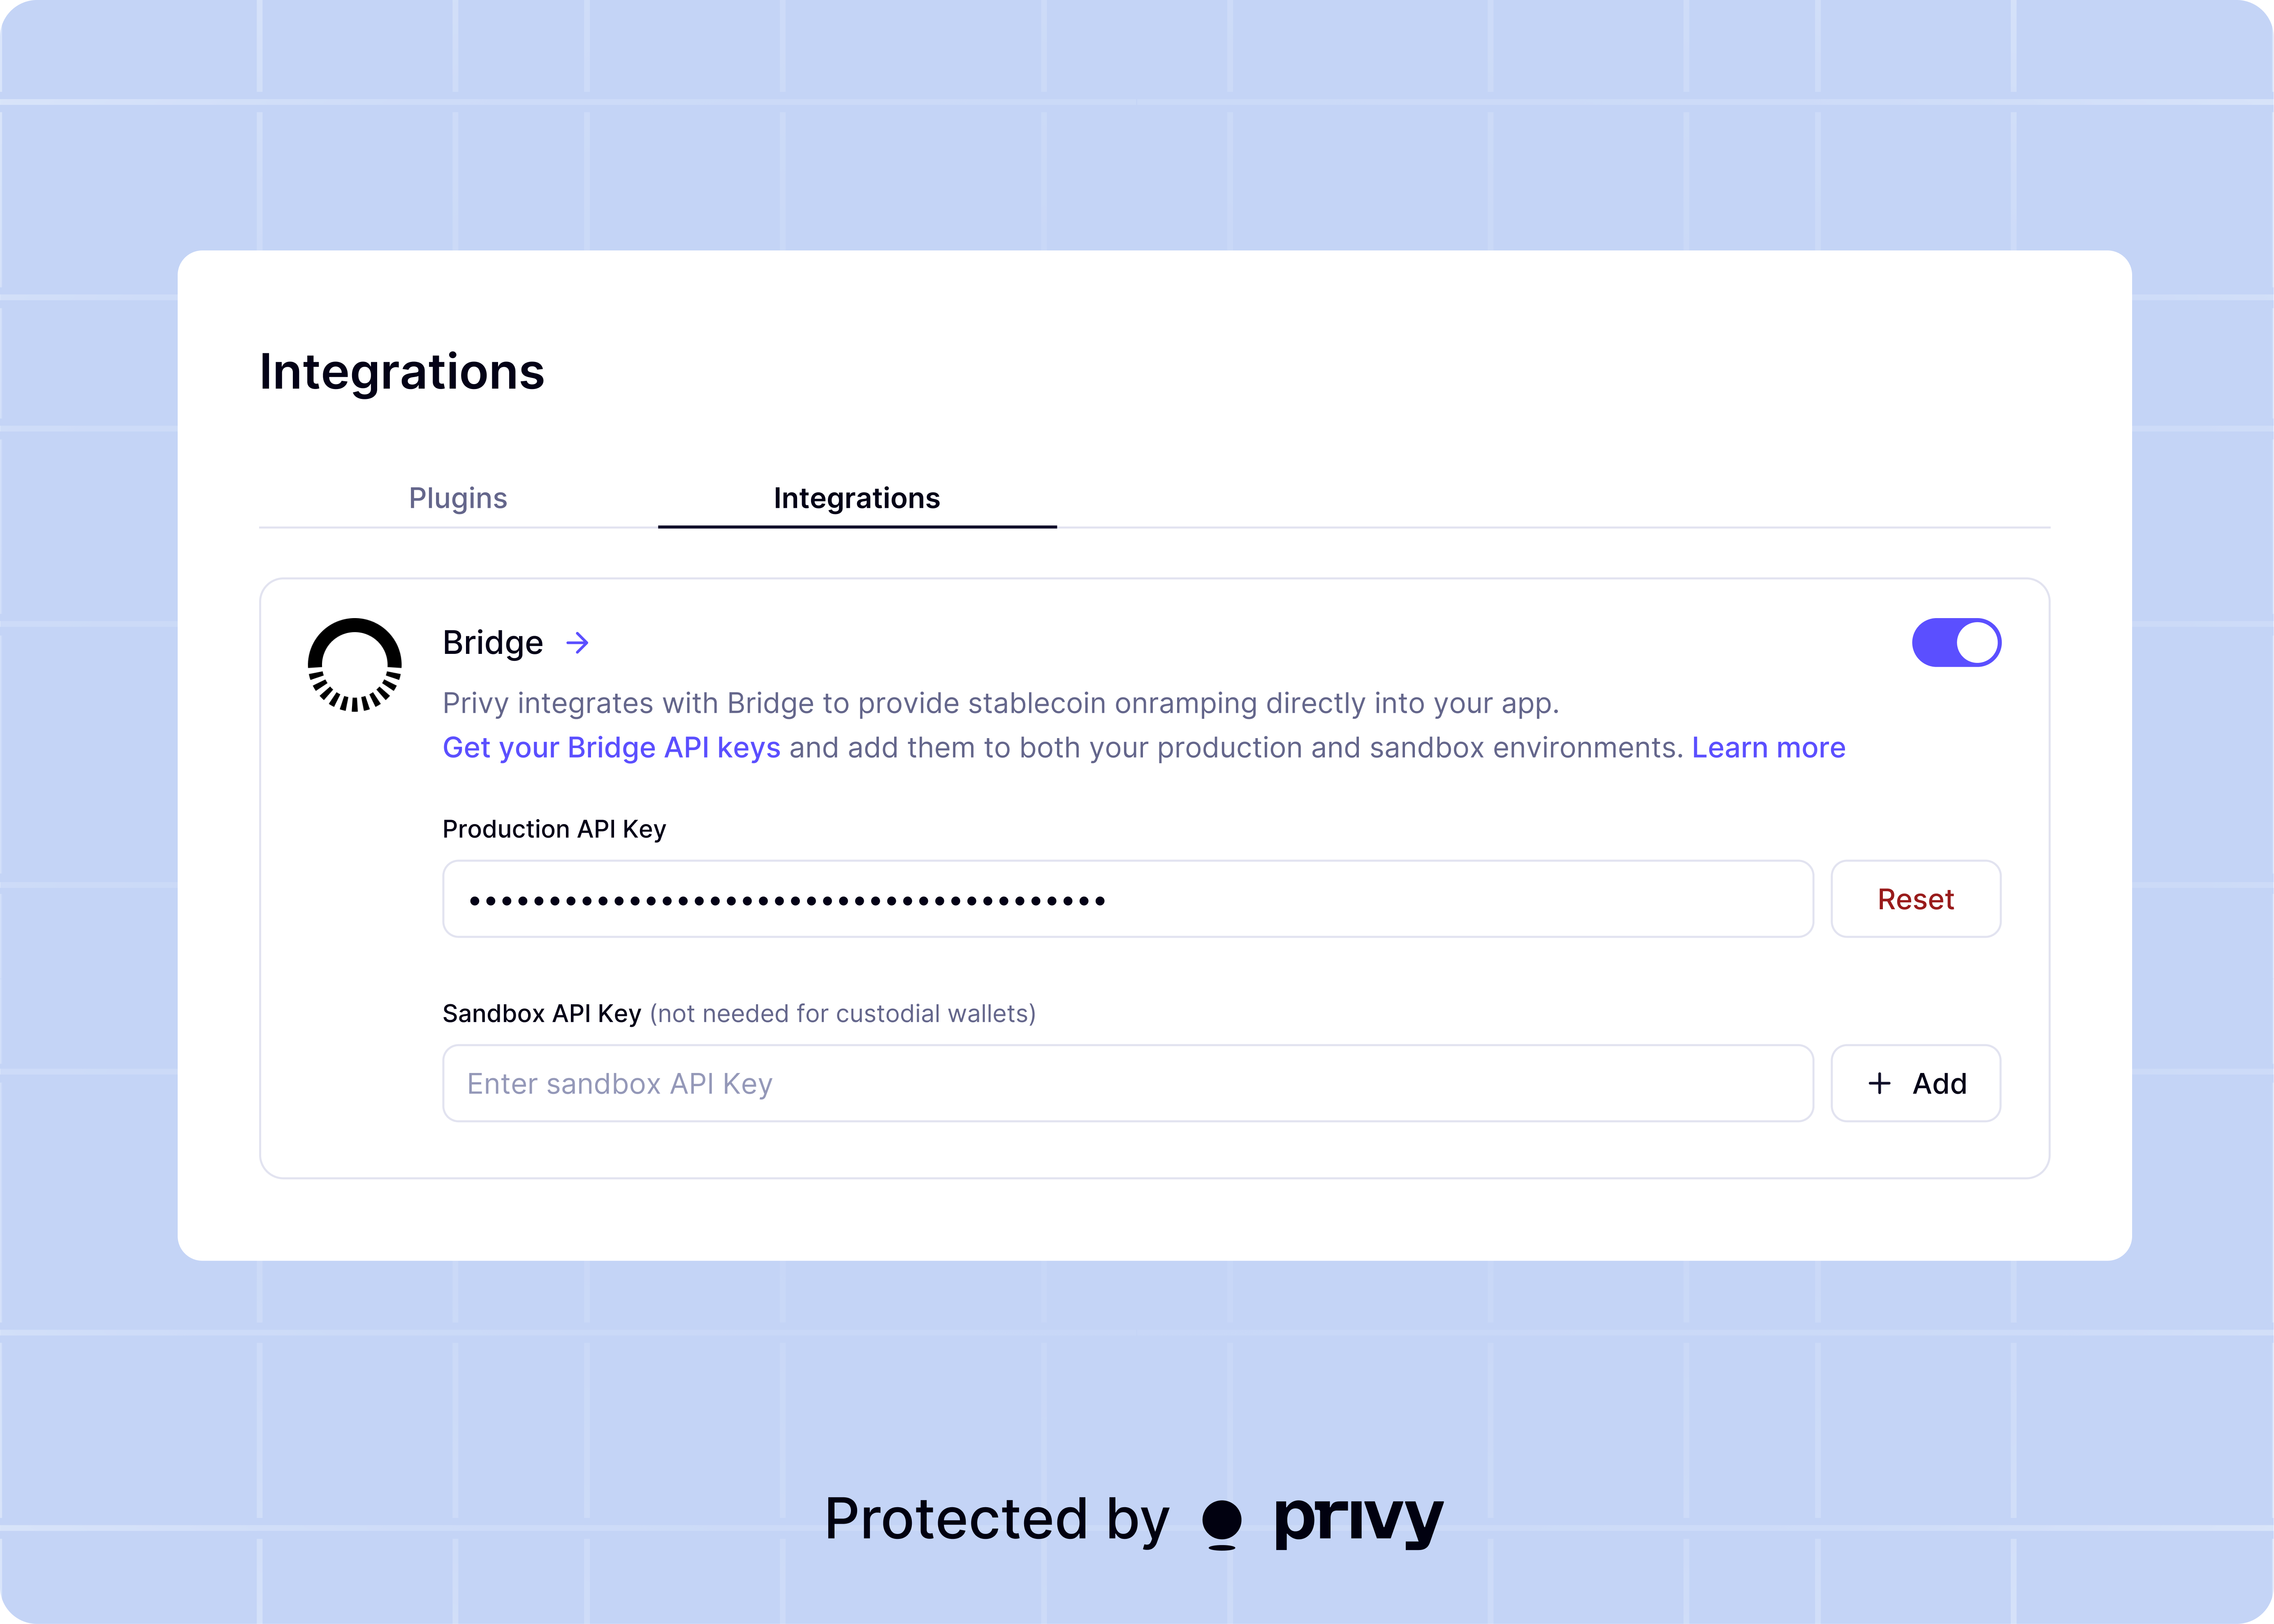
- Get a Bridge API from the Bridge dashboard.
- Register the API key in the Privy dashboard: Configuration > Integrations > Bridge > Production API key.
Turn on custodial wallets for your specific app in the Privy dashboard
Visit Wallets > Advanced and turn on the Custodial wallets toggle. Select Bridge as the provider.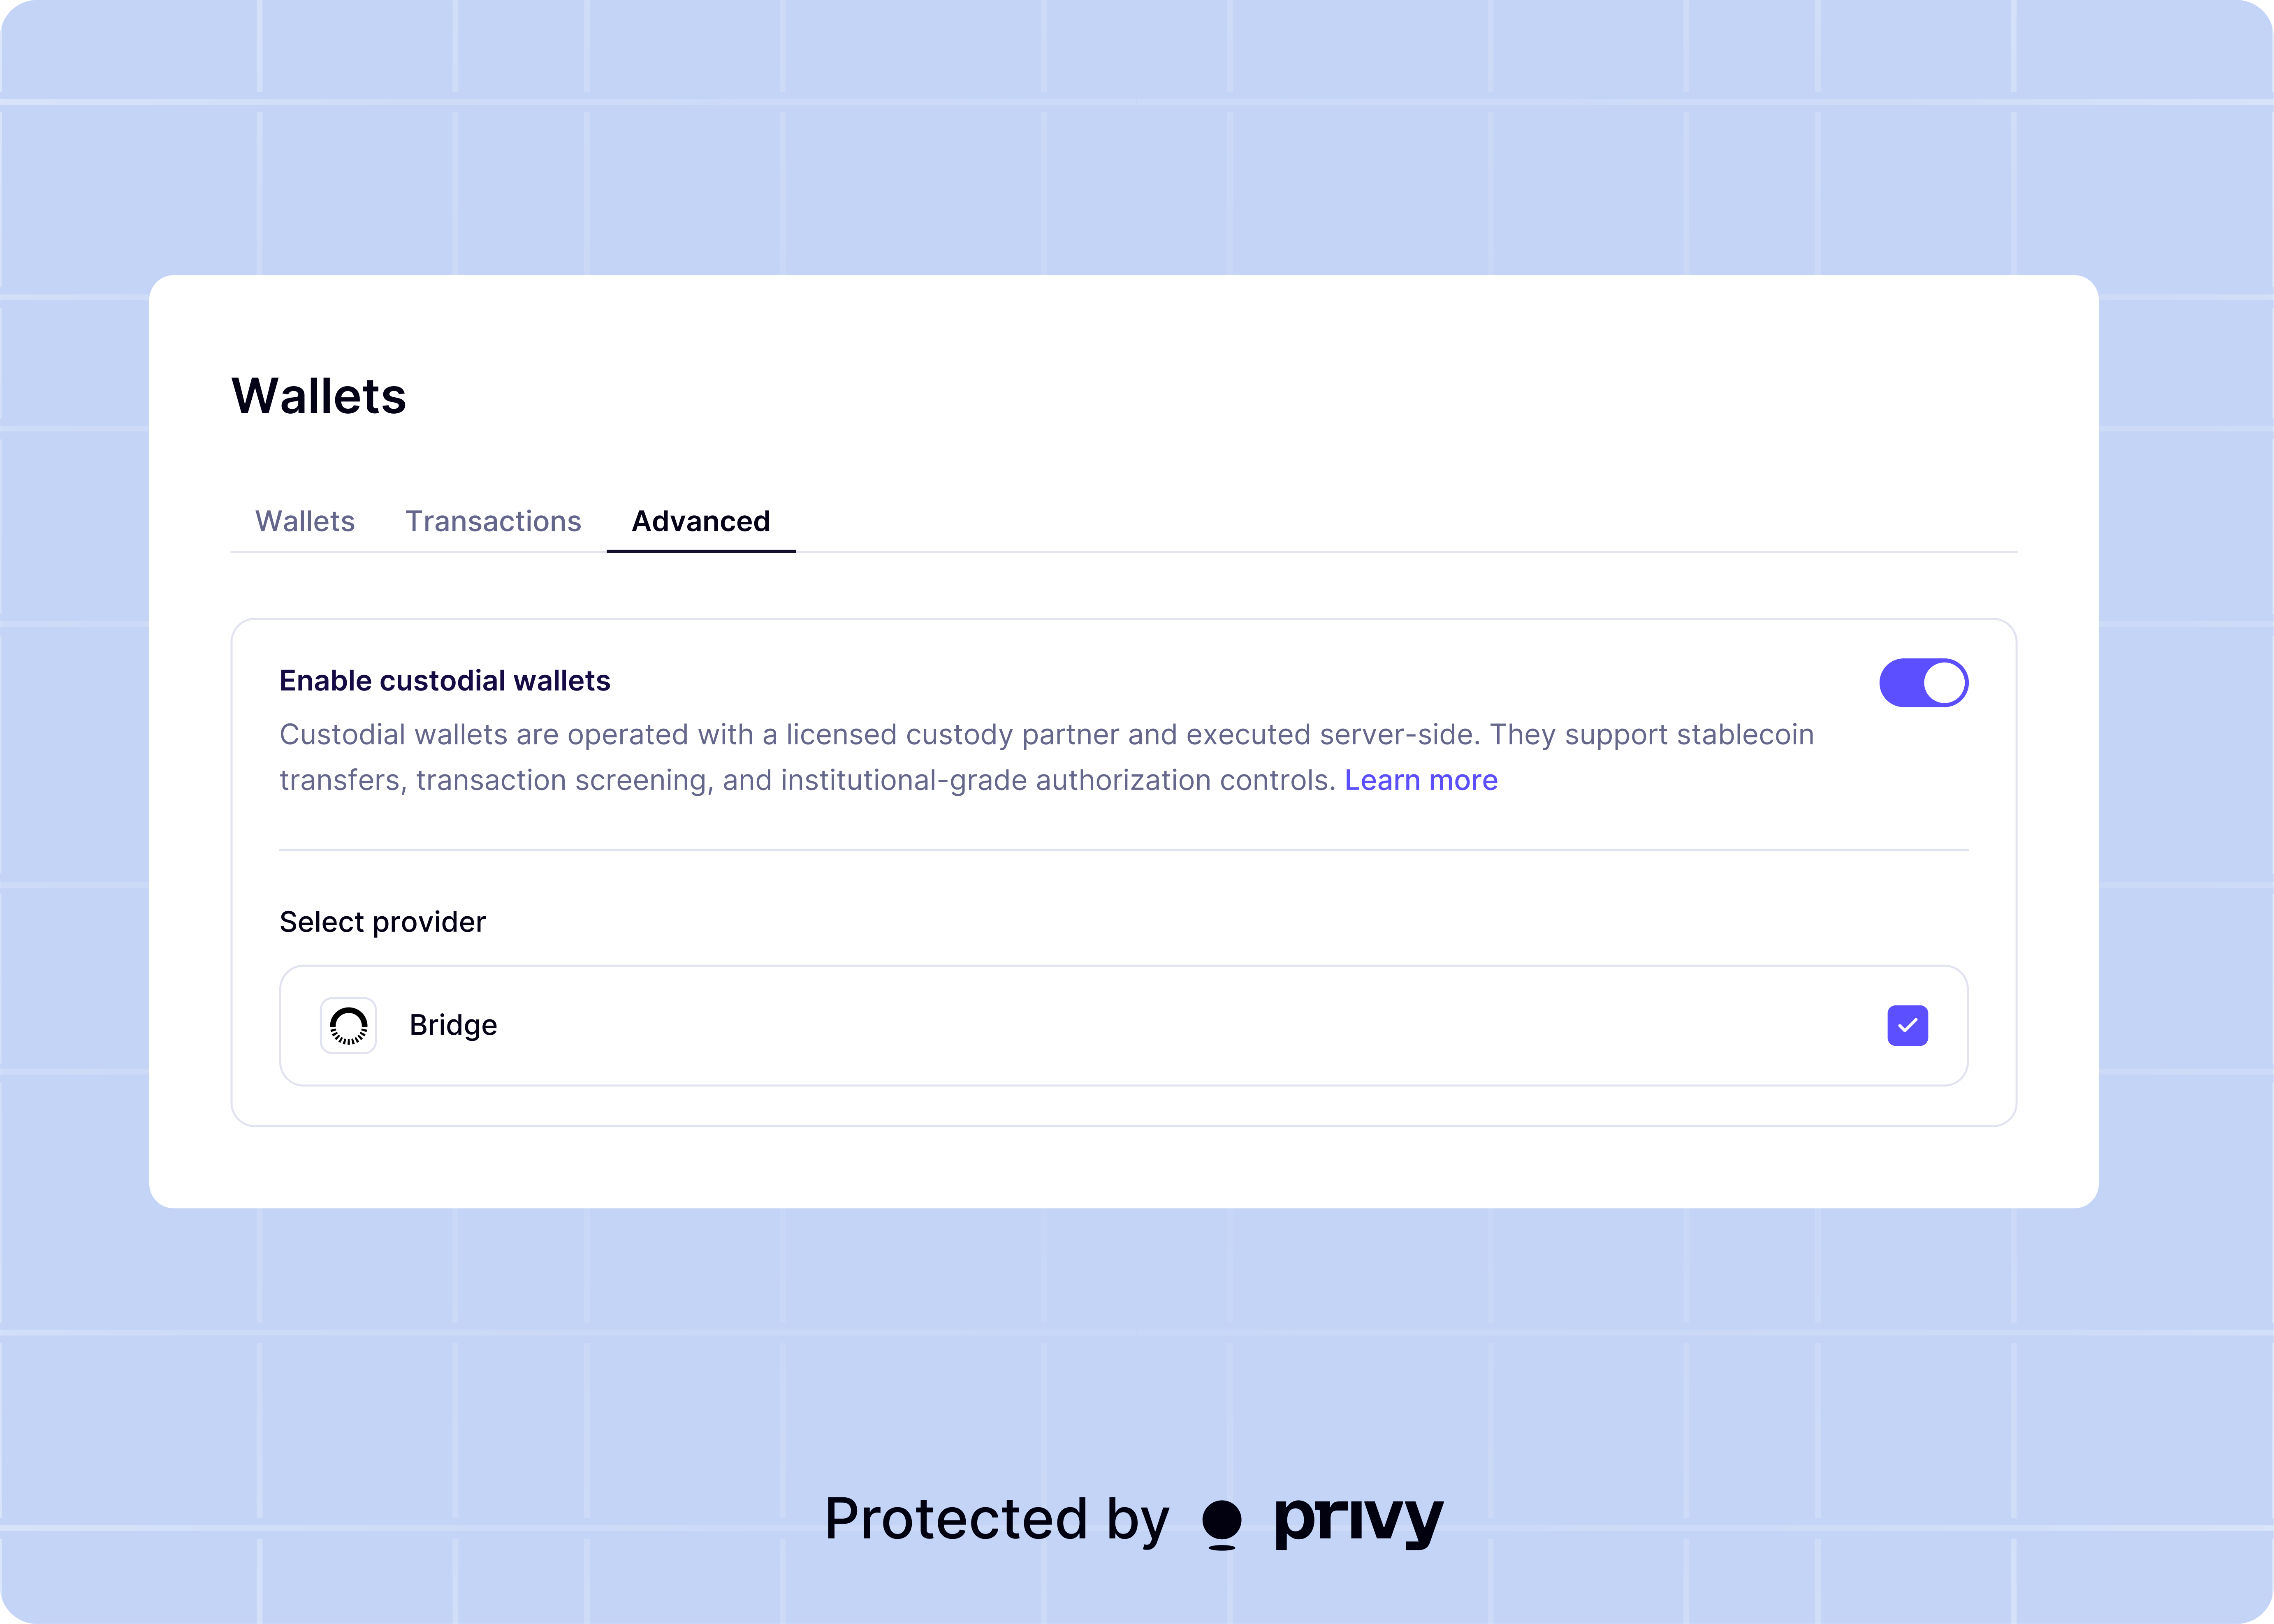
If you don’t see the custodial wallet settings, access to custodial wallets has not been granted
to your Privy account. Please make sure you’ve reached out to the Privy team and that they have
granted access.
Next steps
Now that you have enabled custodial wallets on your Privy account, you can create a custodial wallet.Create a custodial wallet
Learn how to create and provision custodial wallets
Send funds
Execute transactions and send funds from custodial wallets
Transaction lifecycle
Learn about the transaction lifecycle for custodial wallets