

1. Access the Treasury Management workspace
Access the Treasury Management workspace. You may also navigate to the workspace via the account level drop-down. Click Treasury, as demonstrated in the image below.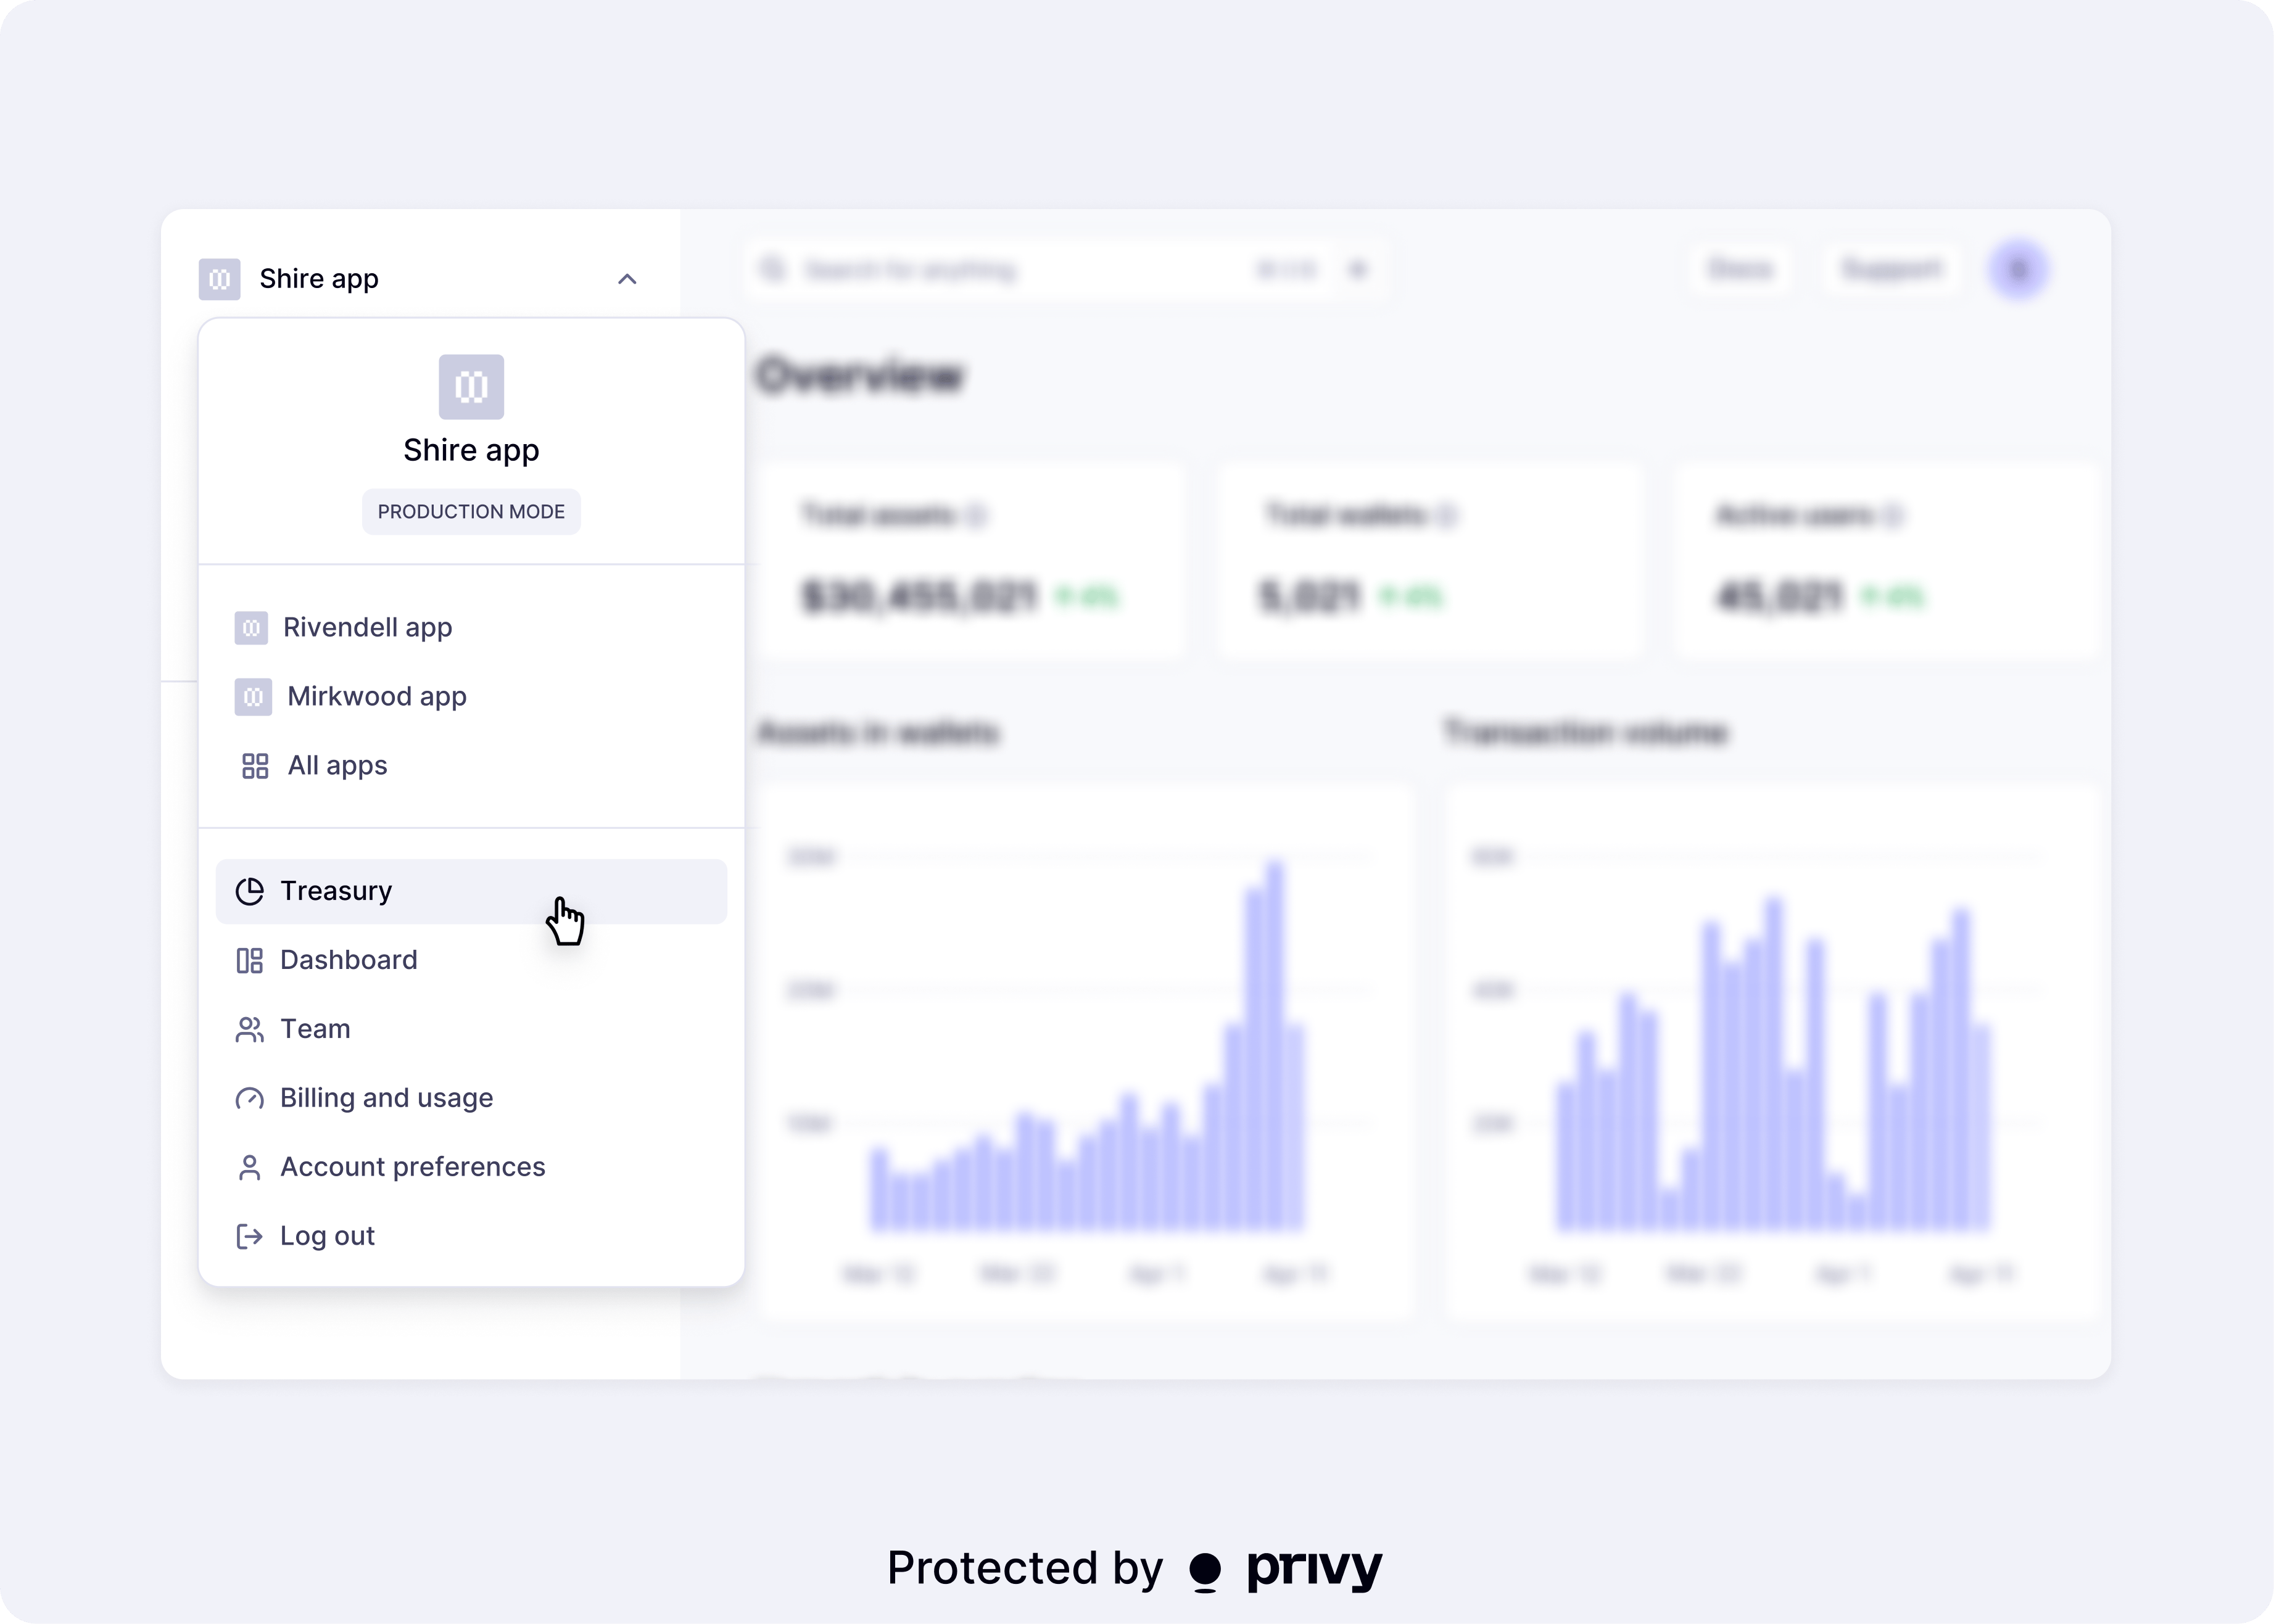
2. Set up gas sponsorship
Configure gas sponsorship to cover network fees for transactions initiated from the Treasury Management workspace. Gas sponsorship ensures that treasury wallets can transact without needing to hold native gas tokens on every chain.To enable non-EVM gas sponsorship for your Treasury Management workspace, please reach out to
[email protected].
3. Configure monitored assets
By default, the Treasury Management workspace supports all native tokens (ETH, SOL, POL) and all ERC20/SPL tokens, including stablecoins like USDC and USDT. Manage which default assets you want to monitor in the dashboard under Treasury > Settings > Assets. Unmonitored assets are still supported by Privy APIs but will not be visible in your dashboard.To monitor custom assets such as custom ERC20/SPL tokens, first add them to your Asset watchlist
in the Treasury Management workspace, under Treasury > Settings > Assets > Add custom asset.
4. Fund your wallet
There are two ways to deposit funds into a Treasury Management wallet:- Fund from a card-based onramp. From the Treasury Wallets view, click Fund next to the wallet you’d like to deposit into.
- Fund from an external funding source. You can retrieve the wallet’s address by clicking on the wallet name, selecting Details, then copying the Address. Share this address with your funding source (exchange, another wallet, or fiat onramp) to complete the deposit.
5. Add policies (optional)
You can optionally configure policies to enforce additional guardrails on your treasury wallets:- Transfer limits (per-transaction or time-windowed)
- Recipient allowlists or denylists
- Chain and token restrictions
- Smart contract interaction rules
Setting up policies
Policies are granular and expressive. The example below shows a simple policy to deny transactions worth over 2000 USDC.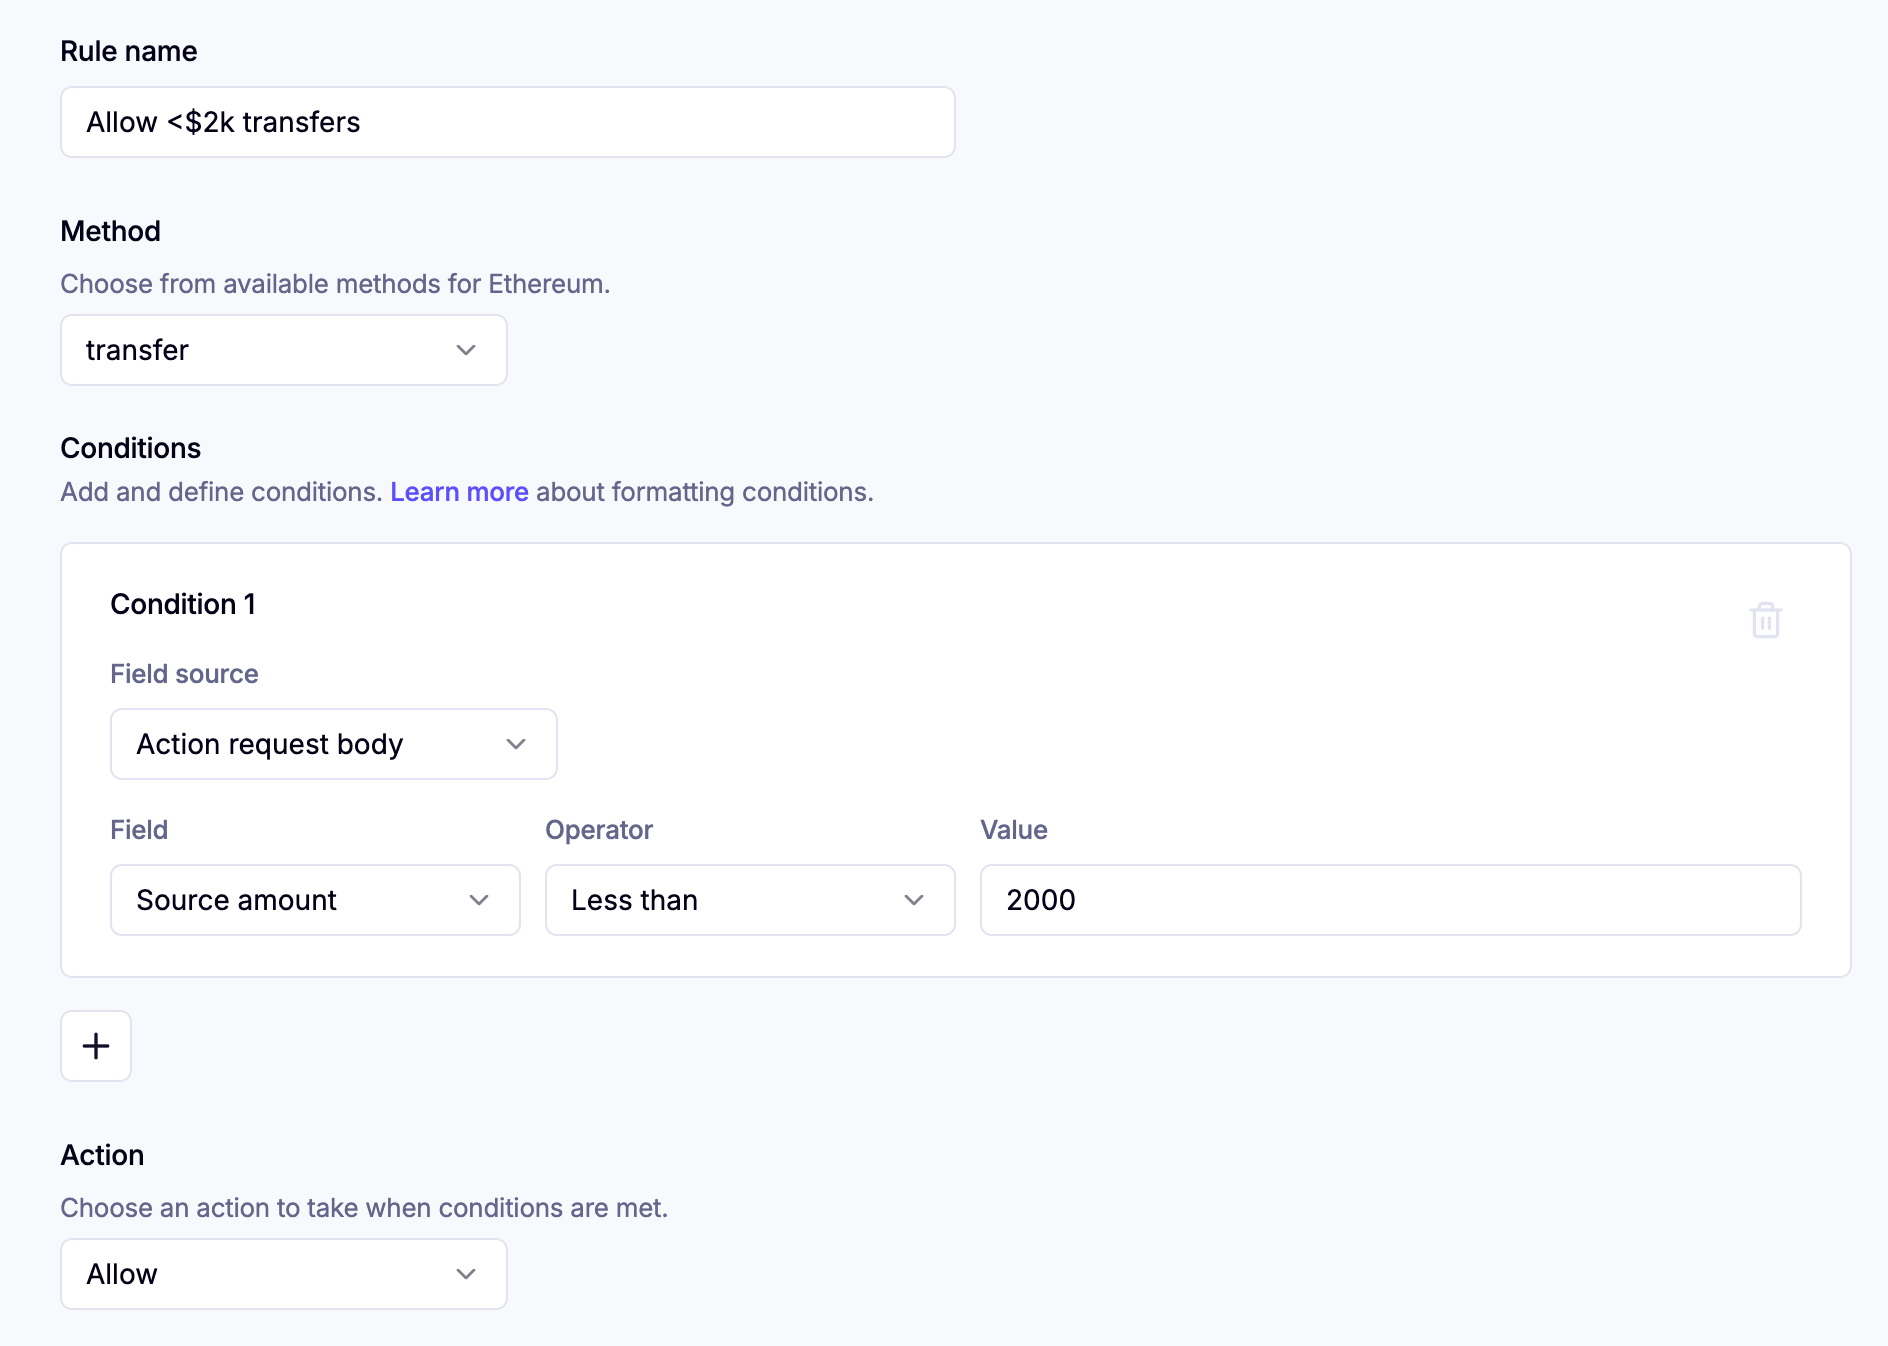
Applying policies
Once you create a policy, you will need to apply it to a specific wallet. Navigate to the Treasury > Wallets page, and click on the desired wallet that will be assigned the policy. Select the edit (pencil) icon, add your desired policies, then Save changes.6. Set up Manual Approvals (optional)
Manual Approvals is an Enterprise feature. Reach out to [email protected] to
request access.
What are Manual Approvals?
Manual Approvals let you require designated team members to review and approve certain actions before they can be executed. You can optionally use Manual Approvals to add an additional layer of review for proposed intents such as wallet or policy updates, and transactions in the Privy Treasury Management workspace. To determine who must approve an action, Manual Approvals uses key quorums.What are key quorums?
A key quorum is a group of team members with a defined approval threshold. When a quorum is assigned to a resource, such as a wallet or policy, the designated members must satisfy the configured threshold of approvals before an action can execute. A key quorum specifies:- Members: which team members are part of the approval group
- Threshold: how many members must approve before the action executes (e.g., 2-of-3)
- A 1-of-2 quorum for routine, lower-value transfers
- A 2-of-3 quorum for high-value or one-off transactions requiring greater team review
Creating a key quorum
To require manual approvals from a designated group of reviewers, create a quorum for manual review. At a high level, you will need to:- Invite the relevant team members to your Privy account
- Enroll those team members in MFA
- Register the quorum in the Treasury Management workspace
- Apply the quorum as the owner of the relevant resource, such as a wallet or policy
Applying quorums
Once you create a quorum, you will need to apply it to a specific resource, such as a wallet or policy. Navigate to the Treasury > Wallets page, and open any wallet you’d like to assign a quorum to. Select the edit (pencil) icon, input your desired key quorum in the Owner field, then Save changes.Once you apply ownership and controls, all further updates to the wallet will require the assigned
quorum’s approval.
Next steps
Transfers
Learn how and when to propose transactions day-to-day