Overview
This guide covers creating and using an ERC-4337 smart wallet from a native iOS or Android app. By the end, your app will be able to:- Create an embedded wallet on mobile that serves as the smart wallet’s signer
- Derive a deterministic smart wallet address from the signer
- Send gas-sponsored transactions via a hybrid client-server architecture
SmartWalletsProvider) is available for React and React Native. For iOS and Android apps, a hybrid architecture enables smart wallet functionality. The mobile app creates an embedded wallet and signs UserOperation hashes. A Node.js backend manages the smart wallet infrastructure.
This architecture keeps wallet keys on the device (self-custodial). Server-side tooling handles ERC-4337 operations.
Prerequisites
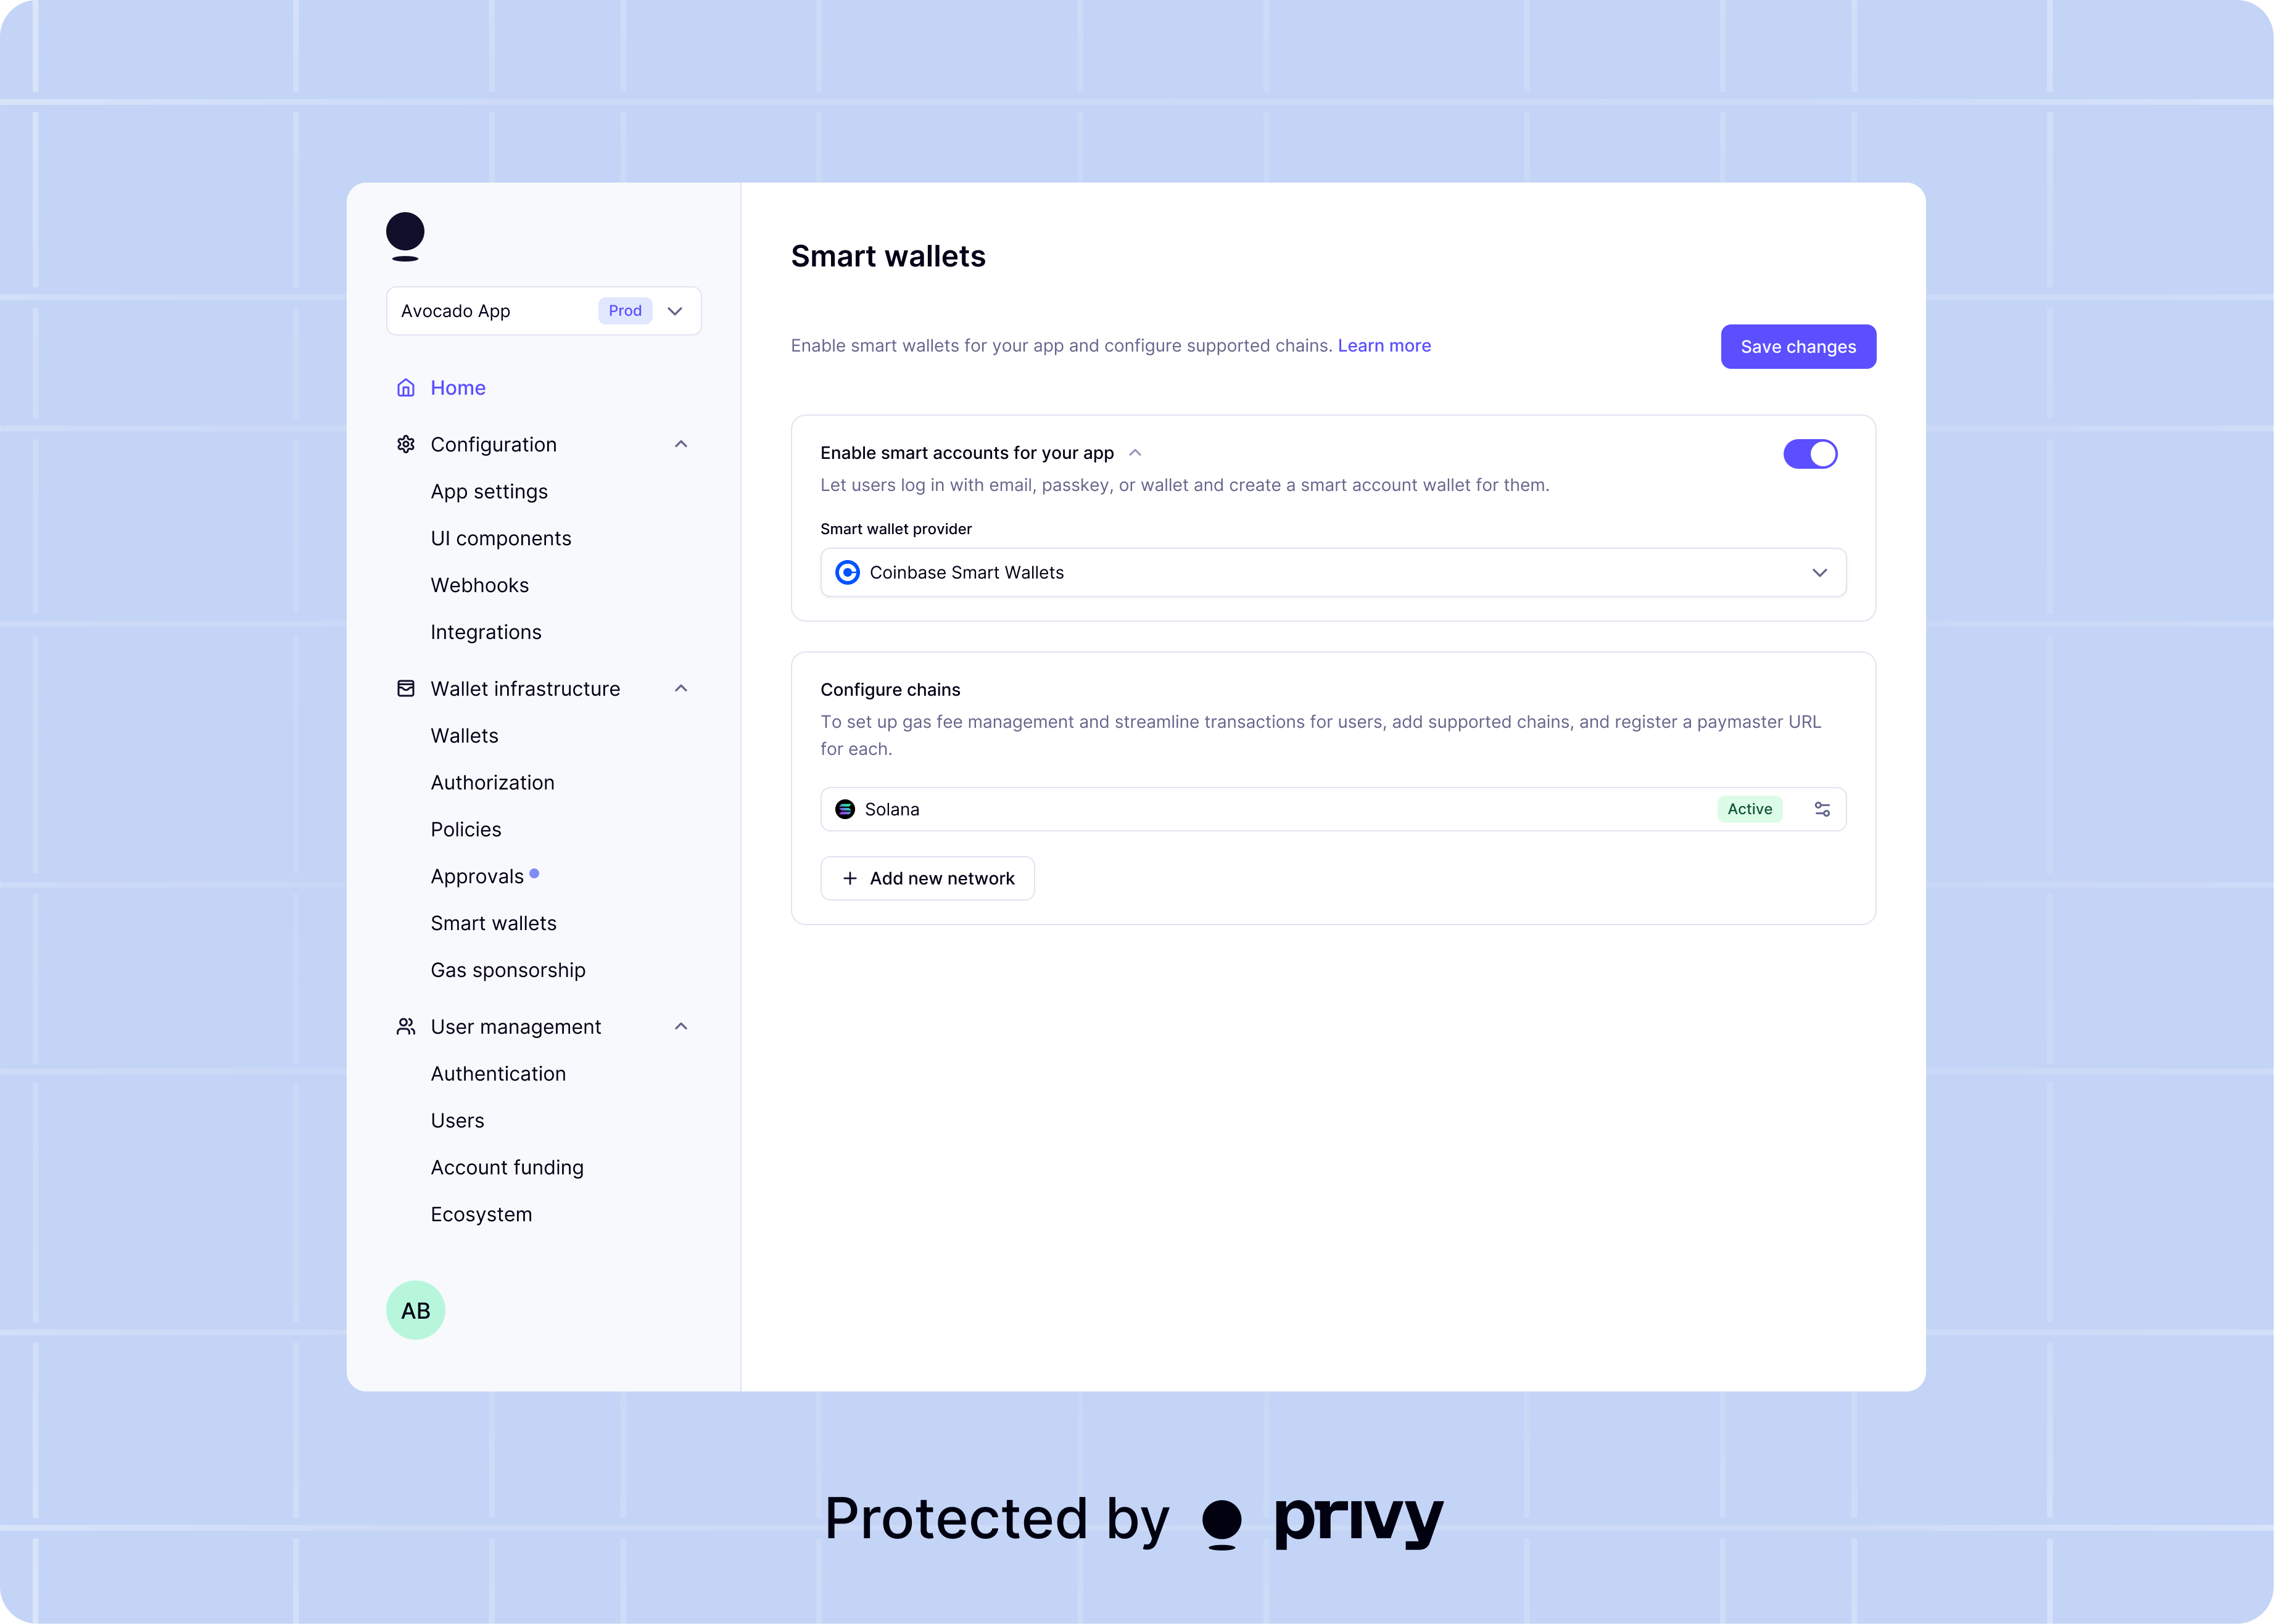
- Smart wallets enabled in the Privy Dashboard with a bundler and paymaster configured
- The iOS SDK or Android SDK installed and configured
- A Node.js backend with
permissionlessandvieminstalled
Architecture overview
The transaction flow for a smart wallet on native mobile:- The mobile app creates an embedded wallet (EOA). This wallet acts as the smart wallet’s signer.
- The backend derives a deterministic smart wallet address from the signer’s address.
- For each transaction:
- The mobile app sends transaction details to the backend.
- The backend constructs a UserOperation and returns the hash to sign.
- The mobile app signs the hash with the embedded wallet.
- The mobile app sends the signature back to the backend.
- The backend submits the signed UserOperation to the bundler.
Step 1: Create an embedded wallet
Create an Ethereum embedded wallet on the mobile device. This wallet acts as the EOA signer controlling the smart wallet.- iOS (Swift)
- Android (Kotlin)
If your app already creates embedded wallets for authenticated users, skip this step and use the
existing wallet as the signer.
Step 2: Set up the server-side smart wallet infrastructure
Usepermissionless and viem on the backend to derive the smart wallet address. This example uses Kernel (ZeroDev). Any ERC-4337 smart account implementation works.
Step 3: Prepare a UserOperation on the server
The backend constructs the UserOperation and returns the hash for the mobile app to sign.Step 4: Sign the UserOperation hash on mobile
The mobile app receives theuserOpHash from the backend and signs it with personal_sign.
- iOS (Swift)
- Android (Kotlin)
Step 5: Submit the signed UserOperation
The backend attaches the signature to the UserOperation and submits it to the bundler.Full example: Sponsored USDC transfer
This example shows the complete flow for a gas-sponsored USDC transfer.- iOS (Swift)
- Android (Kotlin)
- Server (Node.js)
Next steps
Gas sponsorship
Configure paymasters to sponsor gas fees for your users.
Smart wallet overview
Learn more about smart wallet features and supported providers.
Batch transactions
Send multiple transactions atomically from a smart wallet.
Dashboard configuration
Set up bundlers, paymasters, and supported networks.