Funding methods
Privy supports several ways for users to get assets into their wallets. Each method suits different use cases depending on where the user’s funds originate.Fiat-to-crypto onramps
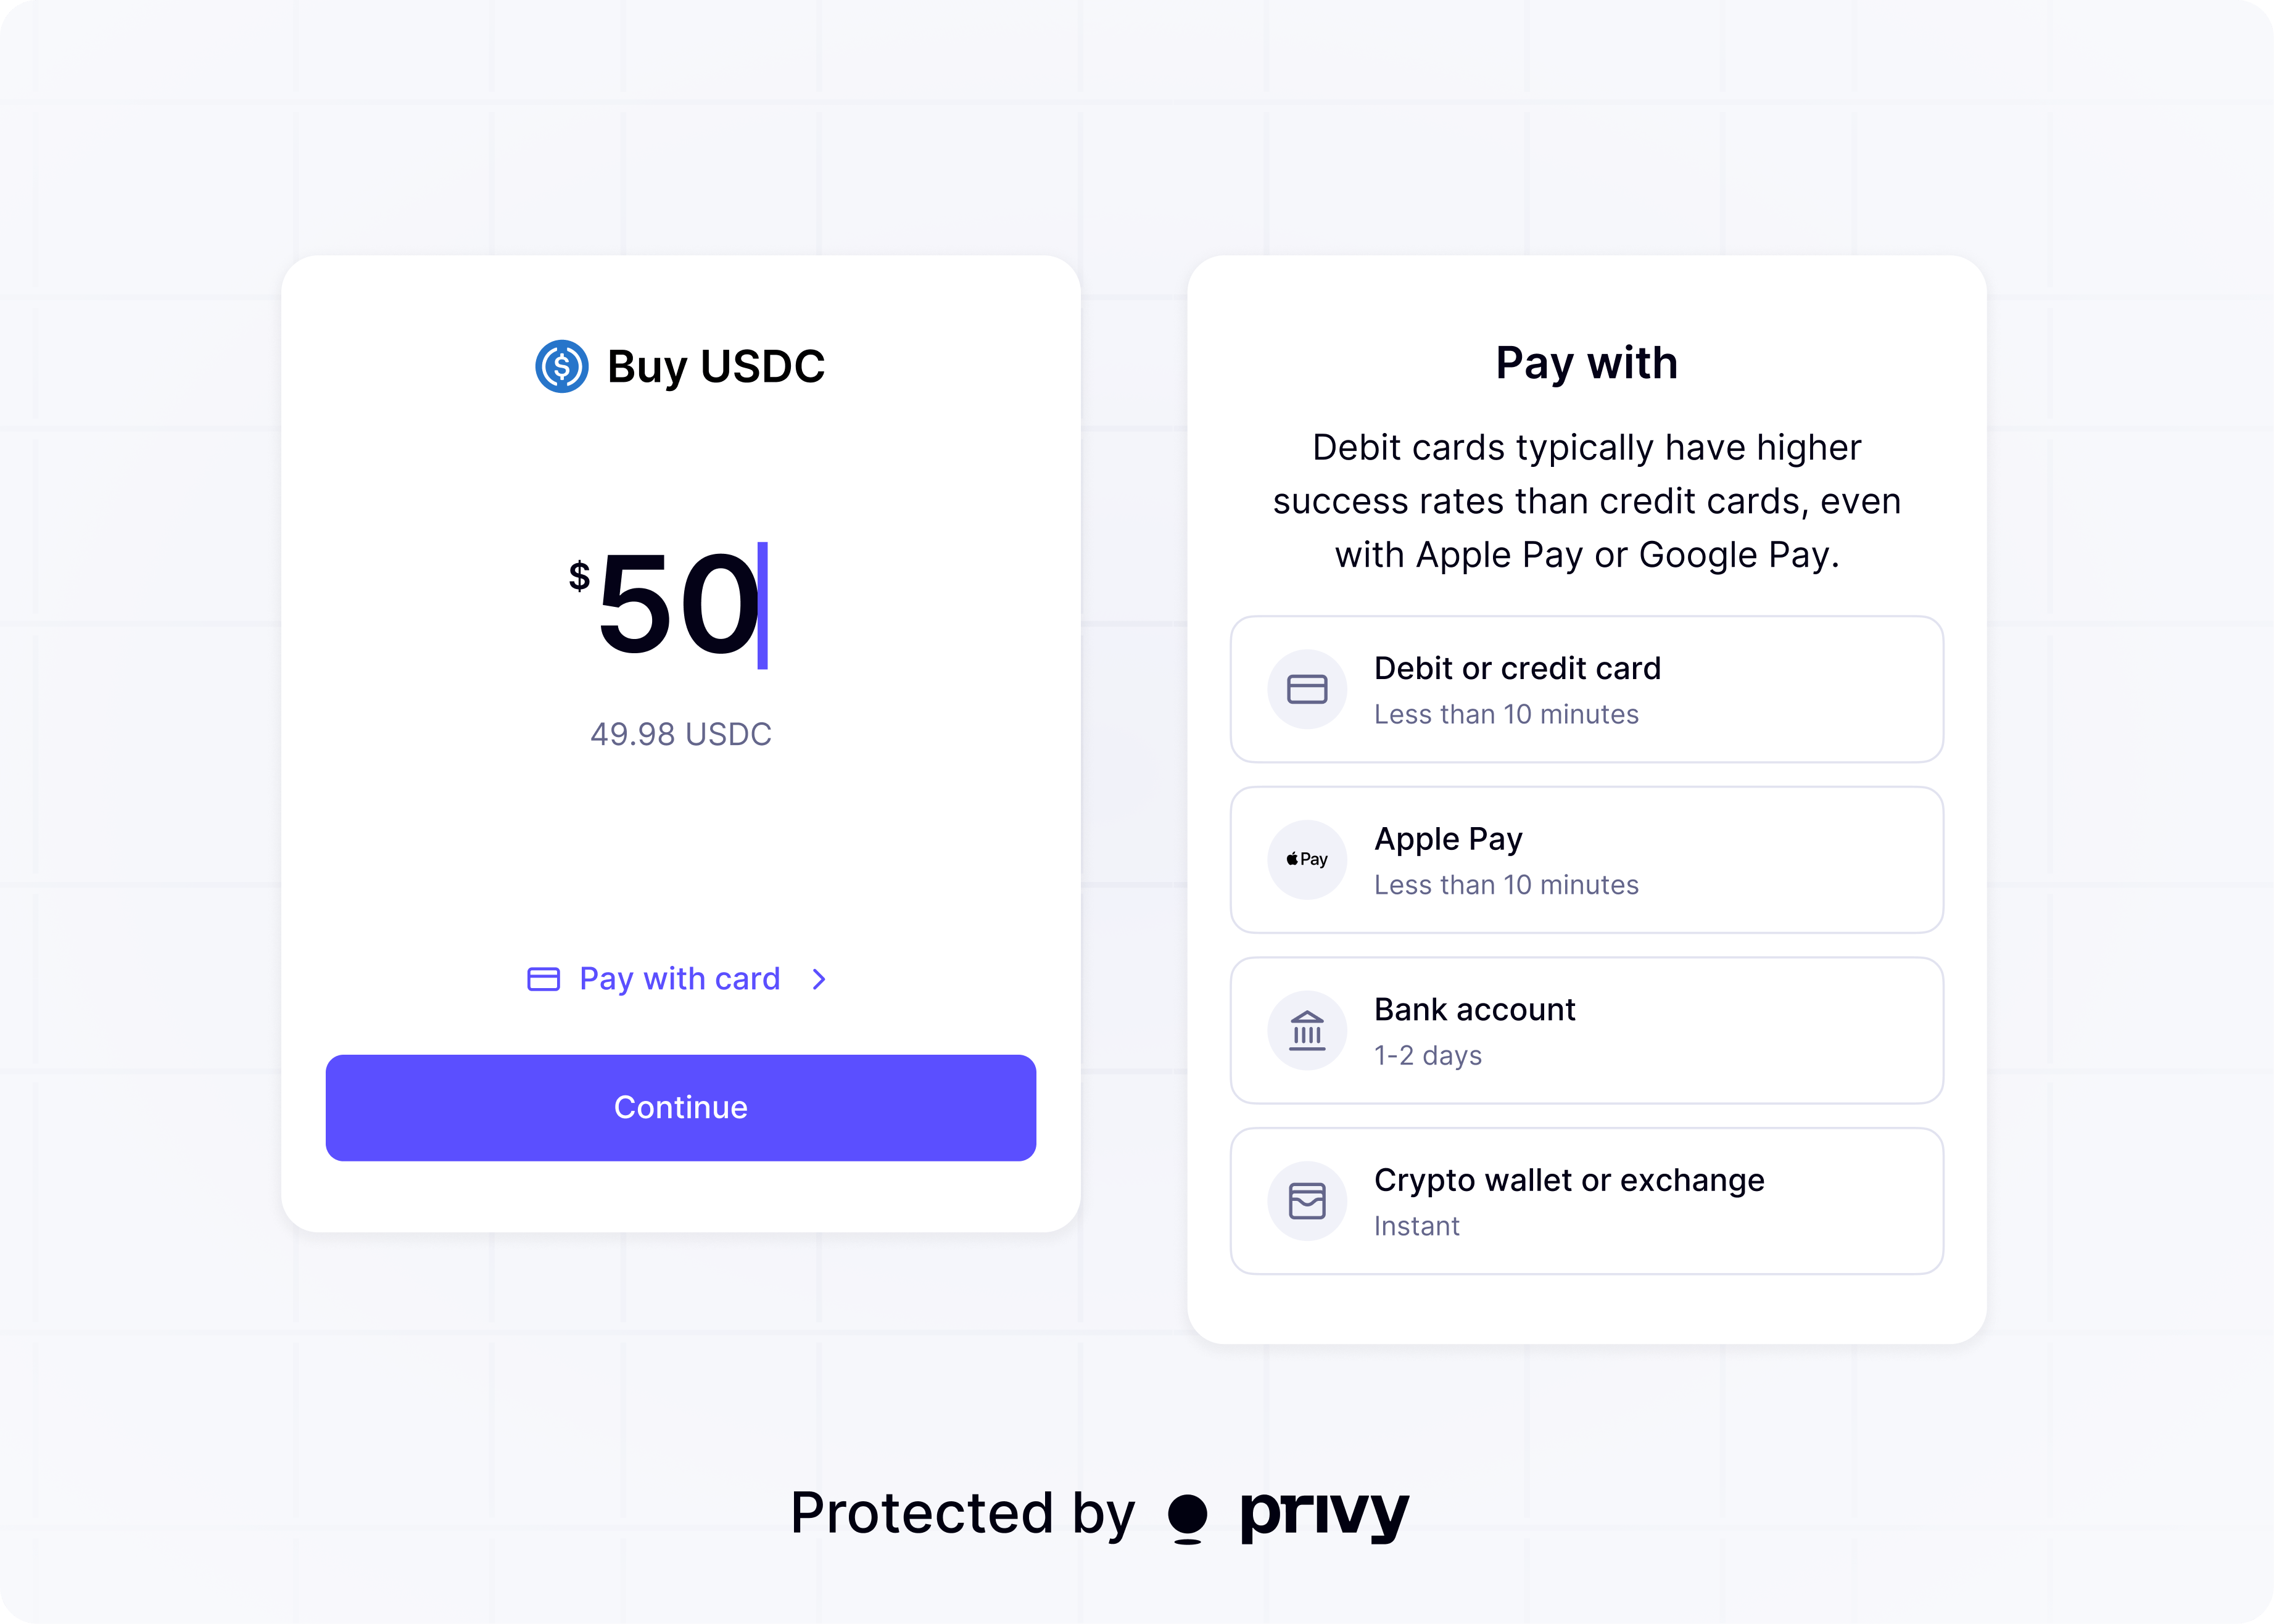
Your app can let users purchase crypto with fiat currencies (USD, EUR, GBP, and more) through Privy’s built-in onramp flow. TheuseFiatOnramp hook handles provider selection and payment processing.
Supported payment methods include debit and credit cards, Apple Pay, and Google Pay. Onramp providers Meld, MoonPay, and Coinbase process payments and deliver crypto to user wallets.
Card-based purchases are not always instantaneous. Funds may take a few minutes to a few days to
arrive. Debit cards generally have higher approval rates than credit cards.
Bank deposits
Your app can let users fund wallets by transferring fiat from a bank account (ACH, wire, or SEPA) through theuseFundWalletWithBankDeposit hook. The onramp provider converts the fiat deposit into crypto and delivers it to the destination wallet.
Bank deposits require Bridge API keys and KYC verification.
Crypto deposit addresses
Your app can let users fund wallets by sending crypto from any supported chain through theuseDepositAddress hook. Privy generates a unique deposit address, bridges or swaps the deposited tokens, and delivers them to the destination wallet.
This is useful when users already hold crypto on a different chain than the one your app uses, or in a different wallet, app, or exchange.
Getting started
Configure funding methods
Enable and configure funding methods in the Privy Dashboard. See the configuration guide for details.
Choose an integration
Select the integration that fits your use case:
| Use case | Integration |
|---|---|
| Fiat purchases via card, Apple Pay, or Google Pay | Fiat-to-crypto onramps |
| Bank transfers (ACH, wire, SEPA) | Bank deposits |
| Crypto deposit addresses | Crypto deposit addresses |