> ## Documentation Index
> Fetch the complete documentation index at: https://docs.privy.io/llms.txt
> Use this file to discover all available pages before exploring further.
# Create a smart wallet on iOS and Android
> Use Privy embedded wallets on native mobile as signers for ERC-4337 smart wallets
## Overview
This guide covers creating and using an ERC-4337 smart wallet from a native iOS or Android app. By the end, your app will be able to:
* Create an embedded wallet on mobile that serves as the smart wallet's signer
* Derive a deterministic smart wallet address from the signer
* Send gas-sponsored transactions via a hybrid client-server architecture
Privy's native smart wallet integration (`SmartWalletsProvider`) is available for React and React Native. For iOS and Android apps, a **hybrid architecture** enables smart wallet functionality. The mobile app creates an embedded wallet and signs UserOperation hashes. A Node.js backend manages the smart wallet infrastructure.
This architecture keeps wallet keys on the device (self-custodial). Server-side tooling handles ERC-4337 operations.
 ## Prerequisites
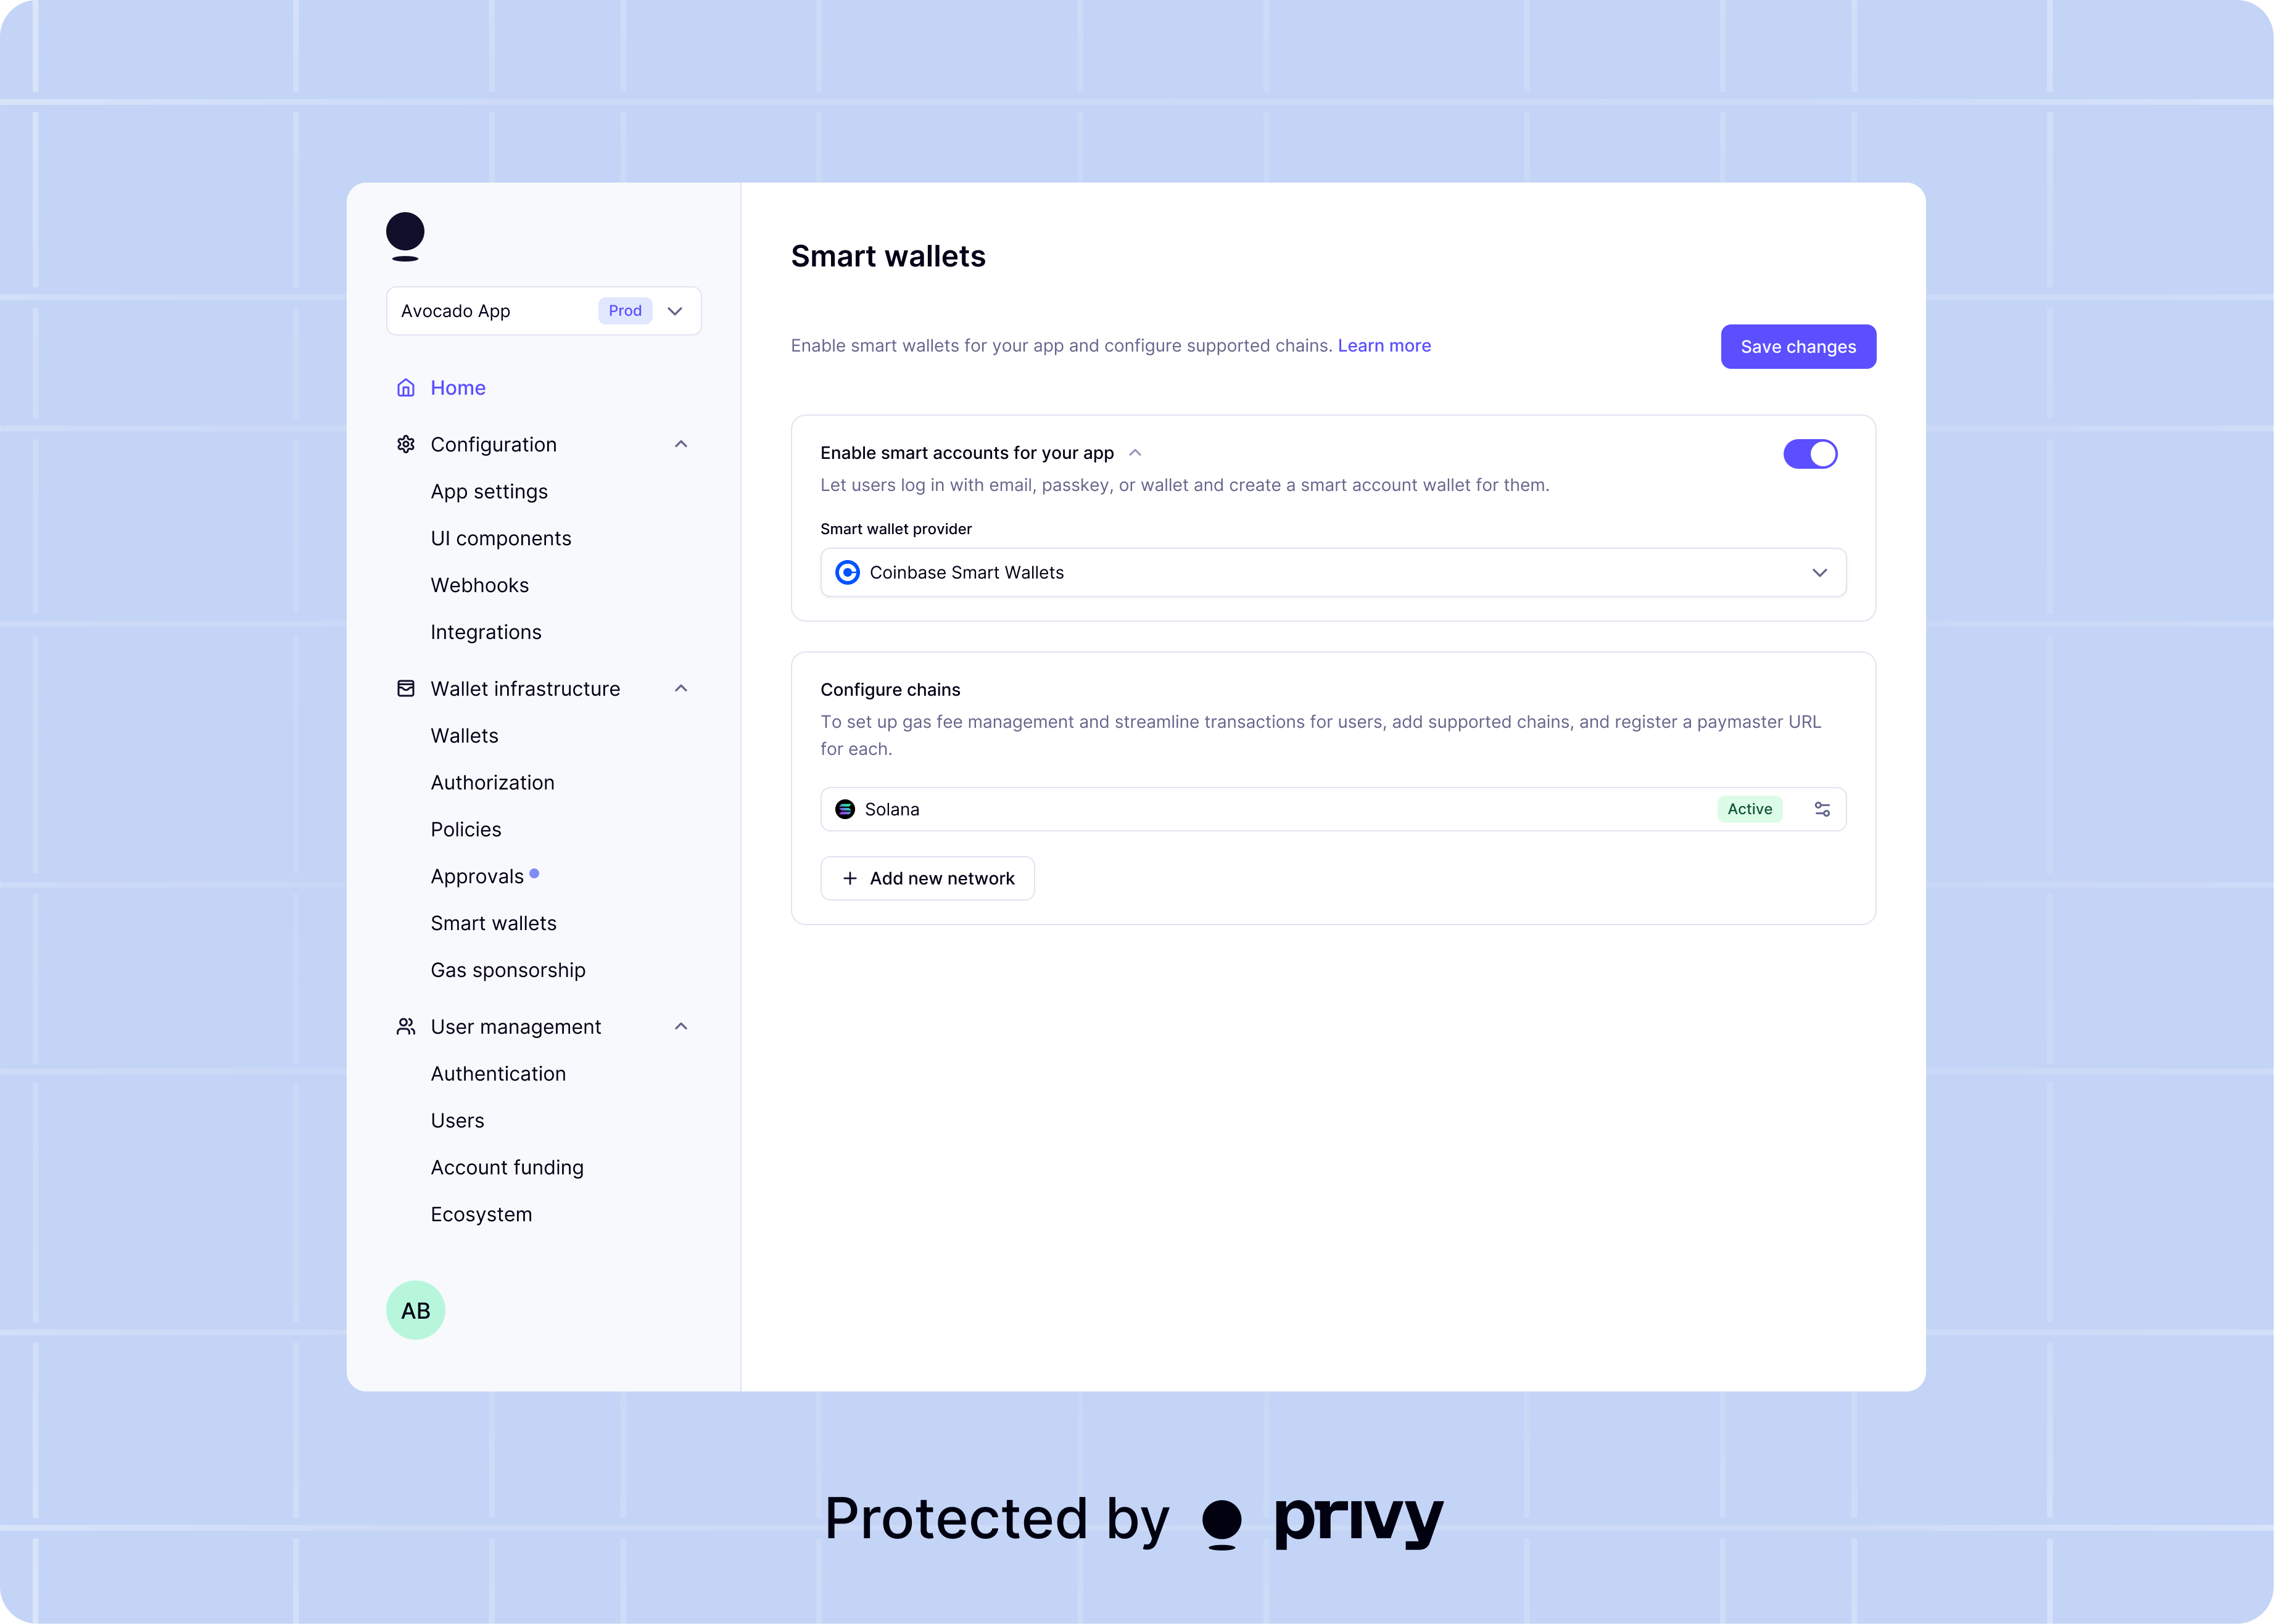
* Smart wallets [enabled in the Privy Dashboard](/wallets/using-wallets/evm-smart-wallets/setup/configuring-dashboard) with a bundler and paymaster configured
* The [iOS SDK](/basics/swift/setup) or [Android SDK](/basics/android/setup) installed and configured
* A Node.js backend with `permissionless` and `viem` installed
```sh theme={"system"}
npm i permissionless viem
```
## Architecture overview
The transaction flow for a smart wallet on native mobile:
1. The mobile app creates an embedded wallet (EOA). This wallet acts as the smart wallet's **signer**.
2. The backend derives a deterministic smart wallet address from the signer's address.
3. For each transaction:
* The mobile app sends transaction details to the backend.
* The backend constructs a UserOperation and returns the hash to sign.
* The mobile app signs the hash with the embedded wallet.
* The mobile app sends the signature back to the backend.
* The backend submits the signed UserOperation to the bundler.
## Step 1: Create an embedded wallet
Create an Ethereum embedded wallet on the mobile device. This wallet acts as the EOA signer controlling the smart wallet.
```swift theme={"system"}
guard let user = privy.user else {
return
}
do {
let ethereumWallet = try await user.createEthereumWallet()
let signerAddress = ethereumWallet.address
print("Signer address: \(signerAddress)")
} catch {
print("Error creating wallet: \(error.localizedDescription)")
}
```
```kotlin theme={"system"}
privy.user?.let { privyUser ->
val result = privyUser.createEthereumWallet(allowAdditional = false)
result.fold(
onSuccess = { ethereumWallet ->
val signerAddress = ethereumWallet.address
println("Signer address: $signerAddress")
},
onFailure = {
println("Error creating wallet: ${it.message}")
}
)
}
```
If your app already creates embedded wallets for authenticated users, skip this step and use the
existing wallet as the signer.
## Step 2: Set up the server-side smart wallet infrastructure
Use `permissionless` and `viem` on the backend to derive the smart wallet address. This example uses Kernel (ZeroDev). Any ERC-4337 smart account implementation works.
```ts theme={"system"}
import {toKernelSmartAccount} from 'permissionless/accounts';
import {createPublicClient, http} from 'viem';
import {base} from 'viem/chains';
import {entryPoint07Address} from 'viem/account-abstraction';
import {toAccount} from 'viem/accounts';
const publicClient = createPublicClient({
chain: base,
transport: http()
});
function createRemoteSigner(signerAddress: `0x${string}`) {
return toAccount({
address: signerAddress,
async signMessage({message}) {
// This will be replaced with the mobile app's signature
// See Step 4 for the full implementation
throw new Error('Use prepareUserOperation flow instead');
},
async signTransaction() {
throw new Error('Use prepareUserOperation flow instead');
},
async signTypedData() {
throw new Error('Use prepareUserOperation flow instead');
}
});
}
async function getSmartWalletAddress(signerAddress: `0x${string}`) {
const remoteSigner = createRemoteSigner(signerAddress);
const kernelAccount = await toKernelSmartAccount({
client: publicClient,
owners: [remoteSigner],
entryPoint: {
address: entryPoint07Address,
version: '0.7'
}
});
return kernelAccount.address;
}
```
The smart wallet address is deterministic. Given the same signer address, the derived smart wallet
address is always the same, even before deployment.
## Step 3: Prepare a UserOperation on the server
The backend constructs the UserOperation and returns the hash for the mobile app to sign.
```ts theme={"system"}
import {createSmartAccountClient} from 'permissionless';
import {createPimlicoClient} from 'permissionless/clients/pimlico';
import {encodeFunctionData} from 'viem';
const bundlerUrl = 'https://api.pimlico.io/v2/base/rpc?apikey=YOUR_PIMLICO_API_KEY';
const paymasterUrl = 'https://api.pimlico.io/v2/base/rpc?apikey=YOUR_PIMLICO_API_KEY';
const pimlicoClient = createPimlicoClient({
transport: http(paymasterUrl),
entryPoint: {
address: entryPoint07Address,
version: '0.7'
}
});
async function prepareUserOperation(
signerAddress: `0x${string}`,
transaction: {to: `0x${string}`; value?: bigint; data?: `0x${string}`}
) {
const remoteSigner = createRemoteSigner(signerAddress);
const kernelAccount = await toKernelSmartAccount({
client: publicClient,
owners: [remoteSigner],
entryPoint: {
address: entryPoint07Address,
version: '0.7'
}
});
const smartAccountClient = createSmartAccountClient({
account: kernelAccount,
chain: base,
bundlerTransport: http(bundlerUrl),
paymaster: pimlicoClient,
userOperation: {
estimateFeesPerGas: async () => (await pimlicoClient.getUserOperationGasPrice()).fast
}
});
const userOp = await smartAccountClient.prepareUserOperation({
calls: [transaction]
});
const userOpHash = kernelAccount.getUserOpHash({
...userOp,
chainId: base.id,
entryPointAddress: entryPoint07Address,
entryPointVersion: '0.7'
});
return {userOp, userOpHash, smartWalletAddress: kernelAccount.address};
}
```
## Step 4: Sign the UserOperation hash on mobile
The mobile app receives the `userOpHash` from the backend and signs it with `personal_sign`.
```swift theme={"system"}
func signUserOperationHash(wallet: EmbeddedEthereumWallet, userOpHash: String) async throws -> String {
let request = EthereumRpcRequest(
method: "personal_sign",
params: [userOpHash, wallet.address]
)
let signature = try await wallet.provider.request(request)
return signature
}
// Usage
if let wallet = privy.user?.embeddedEthereumWallets.first {
do {
// 1. Request UserOperation preparation from your backend
let prepareResponse = try await yourBackend.prepareUserOperation(
signerAddress: wallet.address,
to: "0xRecipientAddress",
value: "0x0",
data: "0x"
)
// 2. Sign the UserOperation hash
let signature = try await signUserOperationHash(
wallet: wallet,
userOpHash: prepareResponse.userOpHash
)
// 3. Submit the signed UserOperation via your backend
let txHash = try await yourBackend.submitUserOperation(
userOpHash: prepareResponse.userOpHash,
signature: signature
)
print("Transaction hash: \(txHash)")
} catch {
print("Error: \(error.localizedDescription)")
}
}
```
```kotlin theme={"system"}
suspend fun signUserOperationHash(
wallet: EmbeddedEthereumWallet,
userOpHash: String
): Result {
return wallet.provider.request(
request = EthereumRpcRequest.personalSign(userOpHash, wallet.address)
).map { response ->
response.result
}
}
// Usage
privy.user?.embeddedEthereumWallets?.firstOrNull()?.let { wallet ->
coroutineScope.launch {
// 1. Request UserOperation preparation from your backend
val prepareResponse = yourBackend.prepareUserOperation(
signerAddress = wallet.address,
to = "0xRecipientAddress",
value = "0x0",
data = "0x"
)
// 2. Sign the UserOperation hash
val signResult = signUserOperationHash(
wallet = wallet,
userOpHash = prepareResponse.userOpHash
)
signResult.fold(
onSuccess = { signature ->
// 3. Submit the signed UserOperation via your backend
val txHash = yourBackend.submitUserOperation(
userOpHash = prepareResponse.userOpHash,
signature = signature
)
println("Transaction hash: $txHash")
},
onFailure = { error ->
println("Error signing: ${error.message}")
}
)
}
}
```
## Step 5: Submit the signed UserOperation
The backend attaches the signature to the UserOperation and submits it to the bundler.
```ts theme={"system"}
import {bundlerActions} from 'viem/account-abstraction';
async function submitUserOperation(userOp: any, signature: `0x${string}`) {
const bundlerClient = publicClient.extend(
bundlerActions({
entryPoint: {
address: entryPoint07Address,
version: '0.7'
}
})
);
const hash = await bundlerClient.sendUserOperation({
...userOp,
signature
});
const receipt = await bundlerClient.waitForUserOperationReceipt({hash});
return receipt.receipt.transactionHash;
}
```
## Full example: Sponsored USDC transfer
This example shows the complete flow for a gas-sponsored USDC transfer.
```swift theme={"system"}
import PrivySDK
func sendSponsoredUSDC(wallet: EmbeddedEthereumWallet, to: String, amount: String) async throws -> String {
// 1. Prepare the UserOperation on the server
let prepareResponse = try await yourBackend.prepareUserOperation(
signerAddress: wallet.address,
to: "0xUSDC_CONTRACT_ADDRESS",
value: "0x0",
data: encodeTransferData(to: to, amount: amount)
)
// 2. Sign the UserOperation hash
let request = EthereumRpcRequest(
method: "personal_sign",
params: [prepareResponse.userOpHash, wallet.address]
)
let signature = try await wallet.provider.request(request)
// 3. Submit to bundler via server
let txHash = try await yourBackend.submitUserOperation(
userOpHash: prepareResponse.userOpHash,
signature: signature
)
return txHash
}
```
```kotlin theme={"system"}
import io.privy.android.EmbeddedEthereumWallet
import io.privy.android.EthereumRpcRequest
suspend fun sendSponsoredUSDC(
wallet: EmbeddedEthereumWallet,
to: String,
amount: String
): String {
// 1. Prepare the UserOperation on the server
val prepareResponse = yourBackend.prepareUserOperation(
signerAddress = wallet.address,
to = "0xUSDC_CONTRACT_ADDRESS",
value = "0x0",
data = encodeTransferData(to, amount)
)
// 2. Sign the UserOperation hash
val signResult = wallet.provider.request(
request = EthereumRpcRequest.personalSign(
prepareResponse.userOpHash,
wallet.address
)
)
val signature = signResult.getOrThrow().result
// 3. Submit to bundler via server
return yourBackend.submitUserOperation(
userOpHash = prepareResponse.userOpHash,
signature = signature
)
}
```
```ts theme={"system"}
import {toKernelSmartAccount} from 'permissionless/accounts';
import {createSmartAccountClient} from 'permissionless';
import {createPimlicoClient} from 'permissionless/clients/pimlico';
import {createPublicClient, http, encodeFunctionData, parseAbi} from 'viem';
import {base} from 'viem/chains';
import {entryPoint07Address, bundlerActions} from 'viem/account-abstraction';
import {toAccount} from 'viem/accounts';
const PIMLICO_API_KEY = 'YOUR_PIMLICO_API_KEY';
const bundlerUrl = `https://api.pimlico.io/v2/base/rpc?apikey=${PIMLICO_API_KEY}`;
const publicClient = createPublicClient({
chain: base,
transport: http()
});
const pimlicoClient = createPimlicoClient({
transport: http(bundlerUrl),
entryPoint: {
address: entryPoint07Address,
version: '0.7'
}
});
// POST /prepare-user-operation
async function handlePrepare(
signerAddress: `0x${string}`,
to: `0x${string}`,
value: bigint,
data: `0x${string}`
) {
const remoteSigner = toAccount({
address: signerAddress,
async signMessage() {
throw new Error('Signing handled by mobile client');
},
async signTransaction() {
throw new Error('Signing handled by mobile client');
},
async signTypedData() {
throw new Error('Signing handled by mobile client');
}
});
const kernelAccount = await toKernelSmartAccount({
client: publicClient,
owners: [remoteSigner],
entryPoint: {
address: entryPoint07Address,
version: '0.7'
}
});
const smartAccountClient = createSmartAccountClient({
account: kernelAccount,
chain: base,
bundlerTransport: http(bundlerUrl),
paymaster: pimlicoClient,
userOperation: {
estimateFeesPerGas: async () => (await pimlicoClient.getUserOperationGasPrice()).fast
}
});
const userOp = await smartAccountClient.prepareUserOperation({
calls: [{to, value, data}]
});
const userOpHash = kernelAccount.getUserOpHash({
...userOp,
chainId: base.id,
entryPointAddress: entryPoint07Address,
entryPointVersion: '0.7'
});
return {userOp, userOpHash, smartWalletAddress: kernelAccount.address};
}
// POST /submit-user-operation
async function handleSubmit(userOp: any, signature: `0x${string}`) {
const bundlerClient = publicClient.extend(
bundlerActions({
entryPoint: {
address: entryPoint07Address,
version: '0.7'
}
})
);
const hash = await bundlerClient.sendUserOperation({
...userOp,
signature
});
const receipt = await bundlerClient.waitForUserOperationReceipt({hash});
return receipt.receipt.transactionHash;
}
```
## Next steps
Configure paymasters to sponsor gas fees for your users.
Learn more about smart wallet features and supported providers.
Send multiple transactions atomically from a smart wallet.
Set up bundlers, paymasters, and supported networks.
## Prerequisites
* Smart wallets [enabled in the Privy Dashboard](/wallets/using-wallets/evm-smart-wallets/setup/configuring-dashboard) with a bundler and paymaster configured
* The [iOS SDK](/basics/swift/setup) or [Android SDK](/basics/android/setup) installed and configured
* A Node.js backend with `permissionless` and `viem` installed
```sh theme={"system"}
npm i permissionless viem
```
## Architecture overview
The transaction flow for a smart wallet on native mobile:
1. The mobile app creates an embedded wallet (EOA). This wallet acts as the smart wallet's **signer**.
2. The backend derives a deterministic smart wallet address from the signer's address.
3. For each transaction:
* The mobile app sends transaction details to the backend.
* The backend constructs a UserOperation and returns the hash to sign.
* The mobile app signs the hash with the embedded wallet.
* The mobile app sends the signature back to the backend.
* The backend submits the signed UserOperation to the bundler.
## Step 1: Create an embedded wallet
Create an Ethereum embedded wallet on the mobile device. This wallet acts as the EOA signer controlling the smart wallet.
```swift theme={"system"}
guard let user = privy.user else {
return
}
do {
let ethereumWallet = try await user.createEthereumWallet()
let signerAddress = ethereumWallet.address
print("Signer address: \(signerAddress)")
} catch {
print("Error creating wallet: \(error.localizedDescription)")
}
```
```kotlin theme={"system"}
privy.user?.let { privyUser ->
val result = privyUser.createEthereumWallet(allowAdditional = false)
result.fold(
onSuccess = { ethereumWallet ->
val signerAddress = ethereumWallet.address
println("Signer address: $signerAddress")
},
onFailure = {
println("Error creating wallet: ${it.message}")
}
)
}
```
If your app already creates embedded wallets for authenticated users, skip this step and use the
existing wallet as the signer.
## Step 2: Set up the server-side smart wallet infrastructure
Use `permissionless` and `viem` on the backend to derive the smart wallet address. This example uses Kernel (ZeroDev). Any ERC-4337 smart account implementation works.
```ts theme={"system"}
import {toKernelSmartAccount} from 'permissionless/accounts';
import {createPublicClient, http} from 'viem';
import {base} from 'viem/chains';
import {entryPoint07Address} from 'viem/account-abstraction';
import {toAccount} from 'viem/accounts';
const publicClient = createPublicClient({
chain: base,
transport: http()
});
function createRemoteSigner(signerAddress: `0x${string}`) {
return toAccount({
address: signerAddress,
async signMessage({message}) {
// This will be replaced with the mobile app's signature
// See Step 4 for the full implementation
throw new Error('Use prepareUserOperation flow instead');
},
async signTransaction() {
throw new Error('Use prepareUserOperation flow instead');
},
async signTypedData() {
throw new Error('Use prepareUserOperation flow instead');
}
});
}
async function getSmartWalletAddress(signerAddress: `0x${string}`) {
const remoteSigner = createRemoteSigner(signerAddress);
const kernelAccount = await toKernelSmartAccount({
client: publicClient,
owners: [remoteSigner],
entryPoint: {
address: entryPoint07Address,
version: '0.7'
}
});
return kernelAccount.address;
}
```
The smart wallet address is deterministic. Given the same signer address, the derived smart wallet
address is always the same, even before deployment.
## Step 3: Prepare a UserOperation on the server
The backend constructs the UserOperation and returns the hash for the mobile app to sign.
```ts theme={"system"}
import {createSmartAccountClient} from 'permissionless';
import {createPimlicoClient} from 'permissionless/clients/pimlico';
import {encodeFunctionData} from 'viem';
const bundlerUrl = 'https://api.pimlico.io/v2/base/rpc?apikey=YOUR_PIMLICO_API_KEY';
const paymasterUrl = 'https://api.pimlico.io/v2/base/rpc?apikey=YOUR_PIMLICO_API_KEY';
const pimlicoClient = createPimlicoClient({
transport: http(paymasterUrl),
entryPoint: {
address: entryPoint07Address,
version: '0.7'
}
});
async function prepareUserOperation(
signerAddress: `0x${string}`,
transaction: {to: `0x${string}`; value?: bigint; data?: `0x${string}`}
) {
const remoteSigner = createRemoteSigner(signerAddress);
const kernelAccount = await toKernelSmartAccount({
client: publicClient,
owners: [remoteSigner],
entryPoint: {
address: entryPoint07Address,
version: '0.7'
}
});
const smartAccountClient = createSmartAccountClient({
account: kernelAccount,
chain: base,
bundlerTransport: http(bundlerUrl),
paymaster: pimlicoClient,
userOperation: {
estimateFeesPerGas: async () => (await pimlicoClient.getUserOperationGasPrice()).fast
}
});
const userOp = await smartAccountClient.prepareUserOperation({
calls: [transaction]
});
const userOpHash = kernelAccount.getUserOpHash({
...userOp,
chainId: base.id,
entryPointAddress: entryPoint07Address,
entryPointVersion: '0.7'
});
return {userOp, userOpHash, smartWalletAddress: kernelAccount.address};
}
```
## Step 4: Sign the UserOperation hash on mobile
The mobile app receives the `userOpHash` from the backend and signs it with `personal_sign`.
```swift theme={"system"}
func signUserOperationHash(wallet: EmbeddedEthereumWallet, userOpHash: String) async throws -> String {
let request = EthereumRpcRequest(
method: "personal_sign",
params: [userOpHash, wallet.address]
)
let signature = try await wallet.provider.request(request)
return signature
}
// Usage
if let wallet = privy.user?.embeddedEthereumWallets.first {
do {
// 1. Request UserOperation preparation from your backend
let prepareResponse = try await yourBackend.prepareUserOperation(
signerAddress: wallet.address,
to: "0xRecipientAddress",
value: "0x0",
data: "0x"
)
// 2. Sign the UserOperation hash
let signature = try await signUserOperationHash(
wallet: wallet,
userOpHash: prepareResponse.userOpHash
)
// 3. Submit the signed UserOperation via your backend
let txHash = try await yourBackend.submitUserOperation(
userOpHash: prepareResponse.userOpHash,
signature: signature
)
print("Transaction hash: \(txHash)")
} catch {
print("Error: \(error.localizedDescription)")
}
}
```
```kotlin theme={"system"}
suspend fun signUserOperationHash(
wallet: EmbeddedEthereumWallet,
userOpHash: String
): Result {
return wallet.provider.request(
request = EthereumRpcRequest.personalSign(userOpHash, wallet.address)
).map { response ->
response.result
}
}
// Usage
privy.user?.embeddedEthereumWallets?.firstOrNull()?.let { wallet ->
coroutineScope.launch {
// 1. Request UserOperation preparation from your backend
val prepareResponse = yourBackend.prepareUserOperation(
signerAddress = wallet.address,
to = "0xRecipientAddress",
value = "0x0",
data = "0x"
)
// 2. Sign the UserOperation hash
val signResult = signUserOperationHash(
wallet = wallet,
userOpHash = prepareResponse.userOpHash
)
signResult.fold(
onSuccess = { signature ->
// 3. Submit the signed UserOperation via your backend
val txHash = yourBackend.submitUserOperation(
userOpHash = prepareResponse.userOpHash,
signature = signature
)
println("Transaction hash: $txHash")
},
onFailure = { error ->
println("Error signing: ${error.message}")
}
)
}
}
```
## Step 5: Submit the signed UserOperation
The backend attaches the signature to the UserOperation and submits it to the bundler.
```ts theme={"system"}
import {bundlerActions} from 'viem/account-abstraction';
async function submitUserOperation(userOp: any, signature: `0x${string}`) {
const bundlerClient = publicClient.extend(
bundlerActions({
entryPoint: {
address: entryPoint07Address,
version: '0.7'
}
})
);
const hash = await bundlerClient.sendUserOperation({
...userOp,
signature
});
const receipt = await bundlerClient.waitForUserOperationReceipt({hash});
return receipt.receipt.transactionHash;
}
```
## Full example: Sponsored USDC transfer
This example shows the complete flow for a gas-sponsored USDC transfer.
```swift theme={"system"}
import PrivySDK
func sendSponsoredUSDC(wallet: EmbeddedEthereumWallet, to: String, amount: String) async throws -> String {
// 1. Prepare the UserOperation on the server
let prepareResponse = try await yourBackend.prepareUserOperation(
signerAddress: wallet.address,
to: "0xUSDC_CONTRACT_ADDRESS",
value: "0x0",
data: encodeTransferData(to: to, amount: amount)
)
// 2. Sign the UserOperation hash
let request = EthereumRpcRequest(
method: "personal_sign",
params: [prepareResponse.userOpHash, wallet.address]
)
let signature = try await wallet.provider.request(request)
// 3. Submit to bundler via server
let txHash = try await yourBackend.submitUserOperation(
userOpHash: prepareResponse.userOpHash,
signature: signature
)
return txHash
}
```
```kotlin theme={"system"}
import io.privy.android.EmbeddedEthereumWallet
import io.privy.android.EthereumRpcRequest
suspend fun sendSponsoredUSDC(
wallet: EmbeddedEthereumWallet,
to: String,
amount: String
): String {
// 1. Prepare the UserOperation on the server
val prepareResponse = yourBackend.prepareUserOperation(
signerAddress = wallet.address,
to = "0xUSDC_CONTRACT_ADDRESS",
value = "0x0",
data = encodeTransferData(to, amount)
)
// 2. Sign the UserOperation hash
val signResult = wallet.provider.request(
request = EthereumRpcRequest.personalSign(
prepareResponse.userOpHash,
wallet.address
)
)
val signature = signResult.getOrThrow().result
// 3. Submit to bundler via server
return yourBackend.submitUserOperation(
userOpHash = prepareResponse.userOpHash,
signature = signature
)
}
```
```ts theme={"system"}
import {toKernelSmartAccount} from 'permissionless/accounts';
import {createSmartAccountClient} from 'permissionless';
import {createPimlicoClient} from 'permissionless/clients/pimlico';
import {createPublicClient, http, encodeFunctionData, parseAbi} from 'viem';
import {base} from 'viem/chains';
import {entryPoint07Address, bundlerActions} from 'viem/account-abstraction';
import {toAccount} from 'viem/accounts';
const PIMLICO_API_KEY = 'YOUR_PIMLICO_API_KEY';
const bundlerUrl = `https://api.pimlico.io/v2/base/rpc?apikey=${PIMLICO_API_KEY}`;
const publicClient = createPublicClient({
chain: base,
transport: http()
});
const pimlicoClient = createPimlicoClient({
transport: http(bundlerUrl),
entryPoint: {
address: entryPoint07Address,
version: '0.7'
}
});
// POST /prepare-user-operation
async function handlePrepare(
signerAddress: `0x${string}`,
to: `0x${string}`,
value: bigint,
data: `0x${string}`
) {
const remoteSigner = toAccount({
address: signerAddress,
async signMessage() {
throw new Error('Signing handled by mobile client');
},
async signTransaction() {
throw new Error('Signing handled by mobile client');
},
async signTypedData() {
throw new Error('Signing handled by mobile client');
}
});
const kernelAccount = await toKernelSmartAccount({
client: publicClient,
owners: [remoteSigner],
entryPoint: {
address: entryPoint07Address,
version: '0.7'
}
});
const smartAccountClient = createSmartAccountClient({
account: kernelAccount,
chain: base,
bundlerTransport: http(bundlerUrl),
paymaster: pimlicoClient,
userOperation: {
estimateFeesPerGas: async () => (await pimlicoClient.getUserOperationGasPrice()).fast
}
});
const userOp = await smartAccountClient.prepareUserOperation({
calls: [{to, value, data}]
});
const userOpHash = kernelAccount.getUserOpHash({
...userOp,
chainId: base.id,
entryPointAddress: entryPoint07Address,
entryPointVersion: '0.7'
});
return {userOp, userOpHash, smartWalletAddress: kernelAccount.address};
}
// POST /submit-user-operation
async function handleSubmit(userOp: any, signature: `0x${string}`) {
const bundlerClient = publicClient.extend(
bundlerActions({
entryPoint: {
address: entryPoint07Address,
version: '0.7'
}
})
);
const hash = await bundlerClient.sendUserOperation({
...userOp,
signature
});
const receipt = await bundlerClient.waitForUserOperationReceipt({hash});
return receipt.receipt.transactionHash;
}
```
## Next steps
Configure paymasters to sponsor gas fees for your users.
Learn more about smart wallet features and supported providers.
Send multiple transactions atomically from a smart wallet.
Set up bundlers, paymasters, and supported networks.