> ## Documentation Index
> Fetch the complete documentation index at: https://docs.privy.io/llms.txt
> Use this file to discover all available pages before exploring further.
# Using default Privy UIs
> Use Privy built-in default UI components for MFA enrollment and verification in React
Enable MFA methods in the [Privy
Dashboard](https://dashboard.privy.io/apps?page=login-methods\&logins=mfa) before implementing this
feature.
Privy's default MFA UIs are available for **React and React Native only**. If you are using
another SDK (Swift, Android, Flutter, Unity), use the [custom UI
approach](/authentication/user-authentication/mfa/custom-ui/overview) instead.
### Enrolling users in MFA
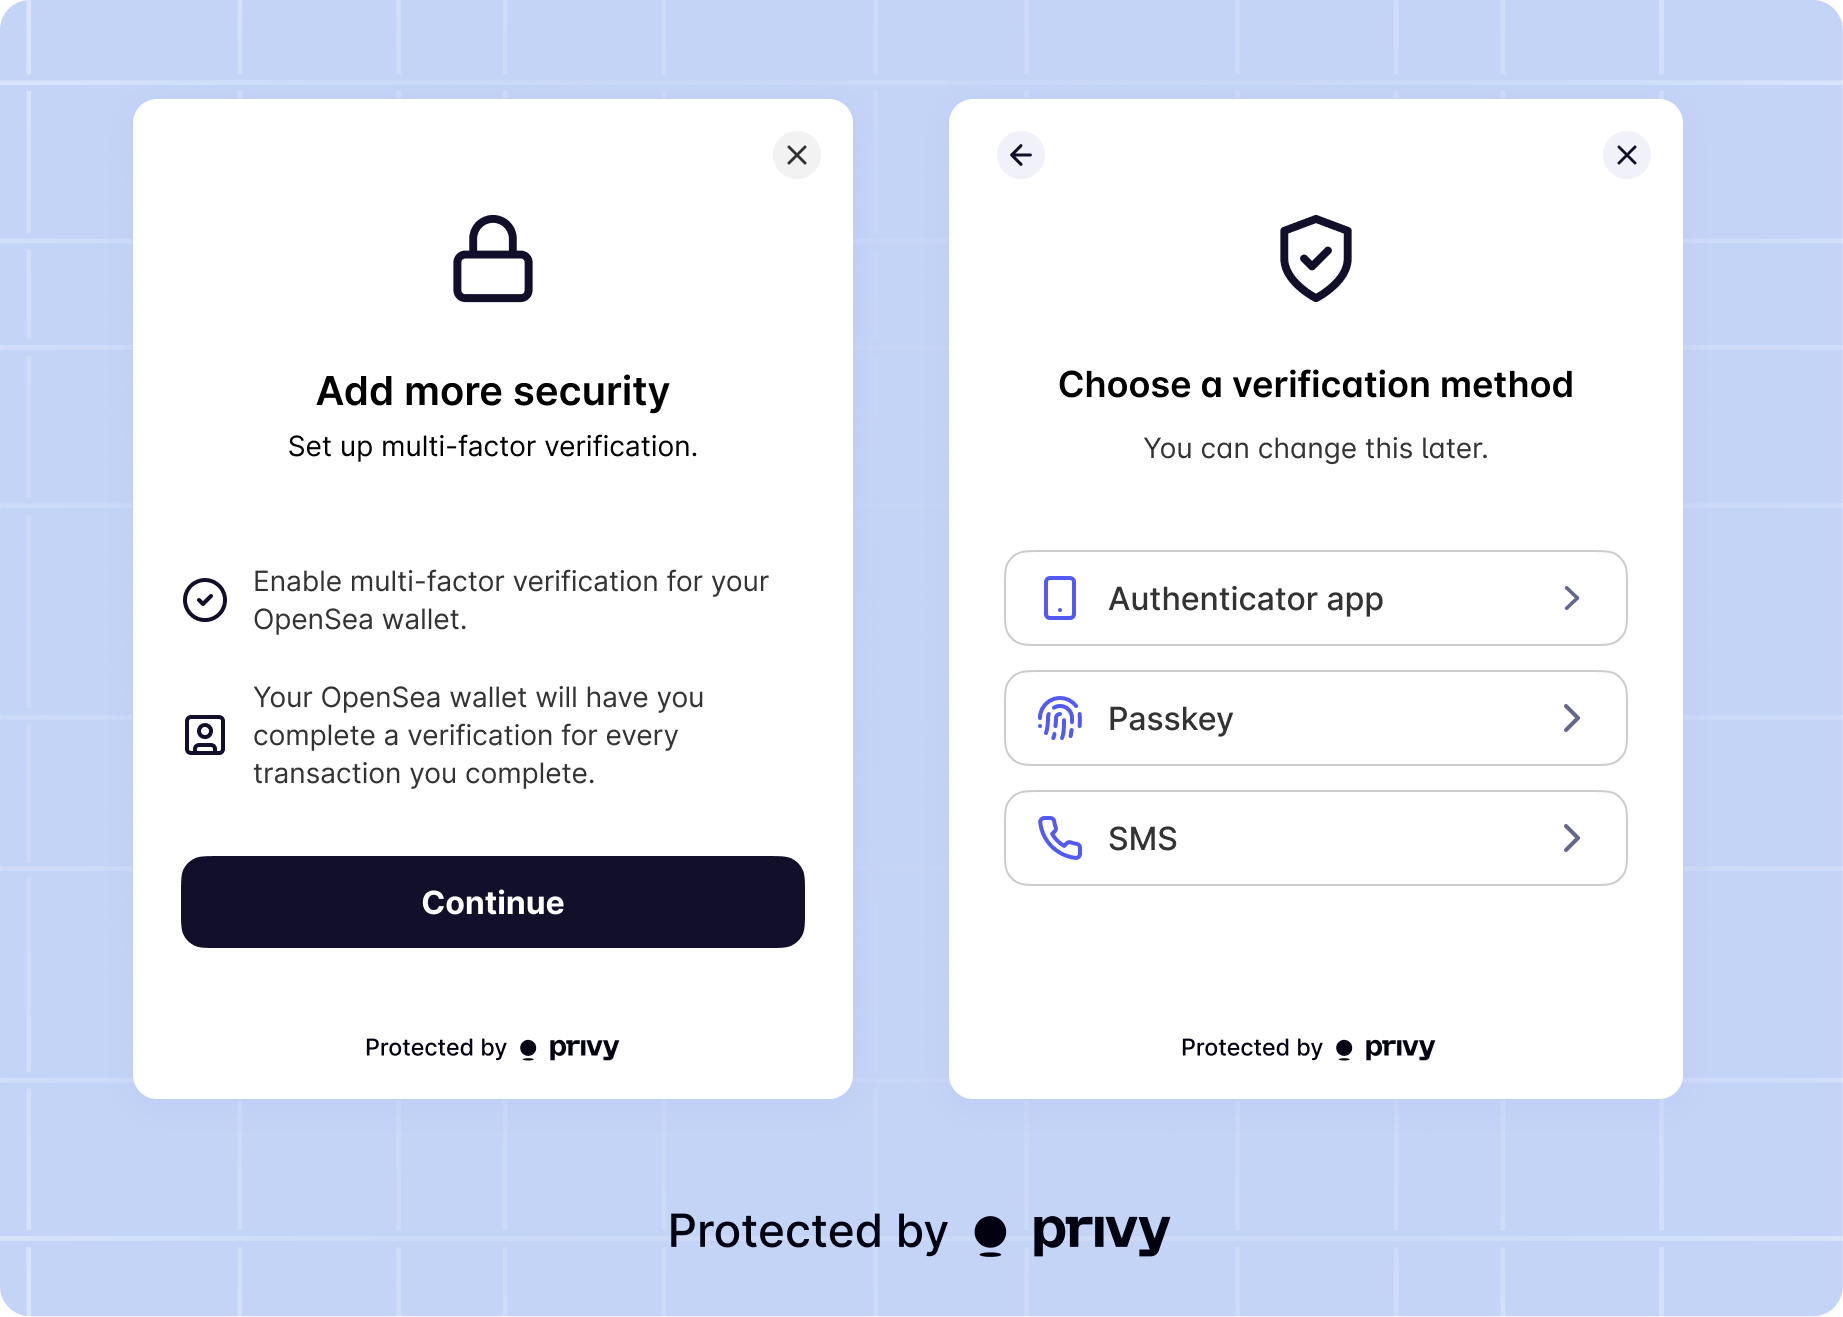
Once you have enabled MFA for your app, **to prompt your users to enroll in MFA for their embedded wallet, use the `showMfaEnrollmentModal` method from the `useMfaEnrollment` hook.**
```tsx Example button for enrolling in wallet MFA theme={"system"}
import {useMfaEnrollment} from '@privy-io/react-auth';
function MfaEnrollmentButton() {
const {showMfaEnrollmentModal} = useMfaEnrollment();
return ;
}
```
When invoked, will open a Privy modal that prompts the user to select their desired MFA method from the ones you've enabled for your app, and will guide them through the enrollment process.
 Once a user has successfully enrolled an MFA method, the user's enrolled method will appear under the field of their object:
```tsx theme={"system"}
const {user} = usePrivy();
console.log(user.mfaMethods);
// ['sms', 'totp', 'passkey'] for a user who has enrolled in all of SMS, TOTP, and passkey MFA
```
### Managing MFA methods
To allow your users to modify their MFA methods, **simply invoke the `showMfaEnrollmentModal` method from the `useMfaEnrollment` hook.** This is the *same* method you would use to prompt your user to enroll in MFA for the first time.
Within this modal, users can **remove existing MFA methods or enroll in additional ones** for their embedded wallet. Prior to making changes to their MFA methods, users will be prompted to re-verify their identity using one of their existing MFA methods.
By default, removing a passkey as MFA will also unlink it as a valid login method. In order to modify this behavior, you can set the `shouldUnlinkOnUnenrollMfa` option to `false` under the `passkeys` config in `PrivyProvider`.
```tsx theme={"system"}
{/* your app's content */}
```
### Authorizing signatures and transactions
Once a user has enrolled in MFA, **every attempt to use the wallet's private key (every signature or transaction) will require the user to complete MFA using their method.** This logic is automatic; you do not need to do anything else once your user has enrolled in wallet MFA.
When your app requests a signature or a transaction from the embedded wallet, **Privy will show the user a modal prompting them to enter a 6-digit MFA code sent to their MFA method.** If the user has enrolled in multiple MFA methods, they can choose which method they'd like to use for this given request.
Once a user has successfully enrolled an MFA method, the user's enrolled method will appear under the field of their object:
```tsx theme={"system"}
const {user} = usePrivy();
console.log(user.mfaMethods);
// ['sms', 'totp', 'passkey'] for a user who has enrolled in all of SMS, TOTP, and passkey MFA
```
### Managing MFA methods
To allow your users to modify their MFA methods, **simply invoke the `showMfaEnrollmentModal` method from the `useMfaEnrollment` hook.** This is the *same* method you would use to prompt your user to enroll in MFA for the first time.
Within this modal, users can **remove existing MFA methods or enroll in additional ones** for their embedded wallet. Prior to making changes to their MFA methods, users will be prompted to re-verify their identity using one of their existing MFA methods.
By default, removing a passkey as MFA will also unlink it as a valid login method. In order to modify this behavior, you can set the `shouldUnlinkOnUnenrollMfa` option to `false` under the `passkeys` config in `PrivyProvider`.
```tsx theme={"system"}
{/* your app's content */}
```
### Authorizing signatures and transactions
Once a user has enrolled in MFA, **every attempt to use the wallet's private key (every signature or transaction) will require the user to complete MFA using their method.** This logic is automatic; you do not need to do anything else once your user has enrolled in wallet MFA.
When your app requests a signature or a transaction from the embedded wallet, **Privy will show the user a modal prompting them to enter a 6-digit MFA code sent to their MFA method.** If the user has enrolled in multiple MFA methods, they can choose which method they'd like to use for this given request.
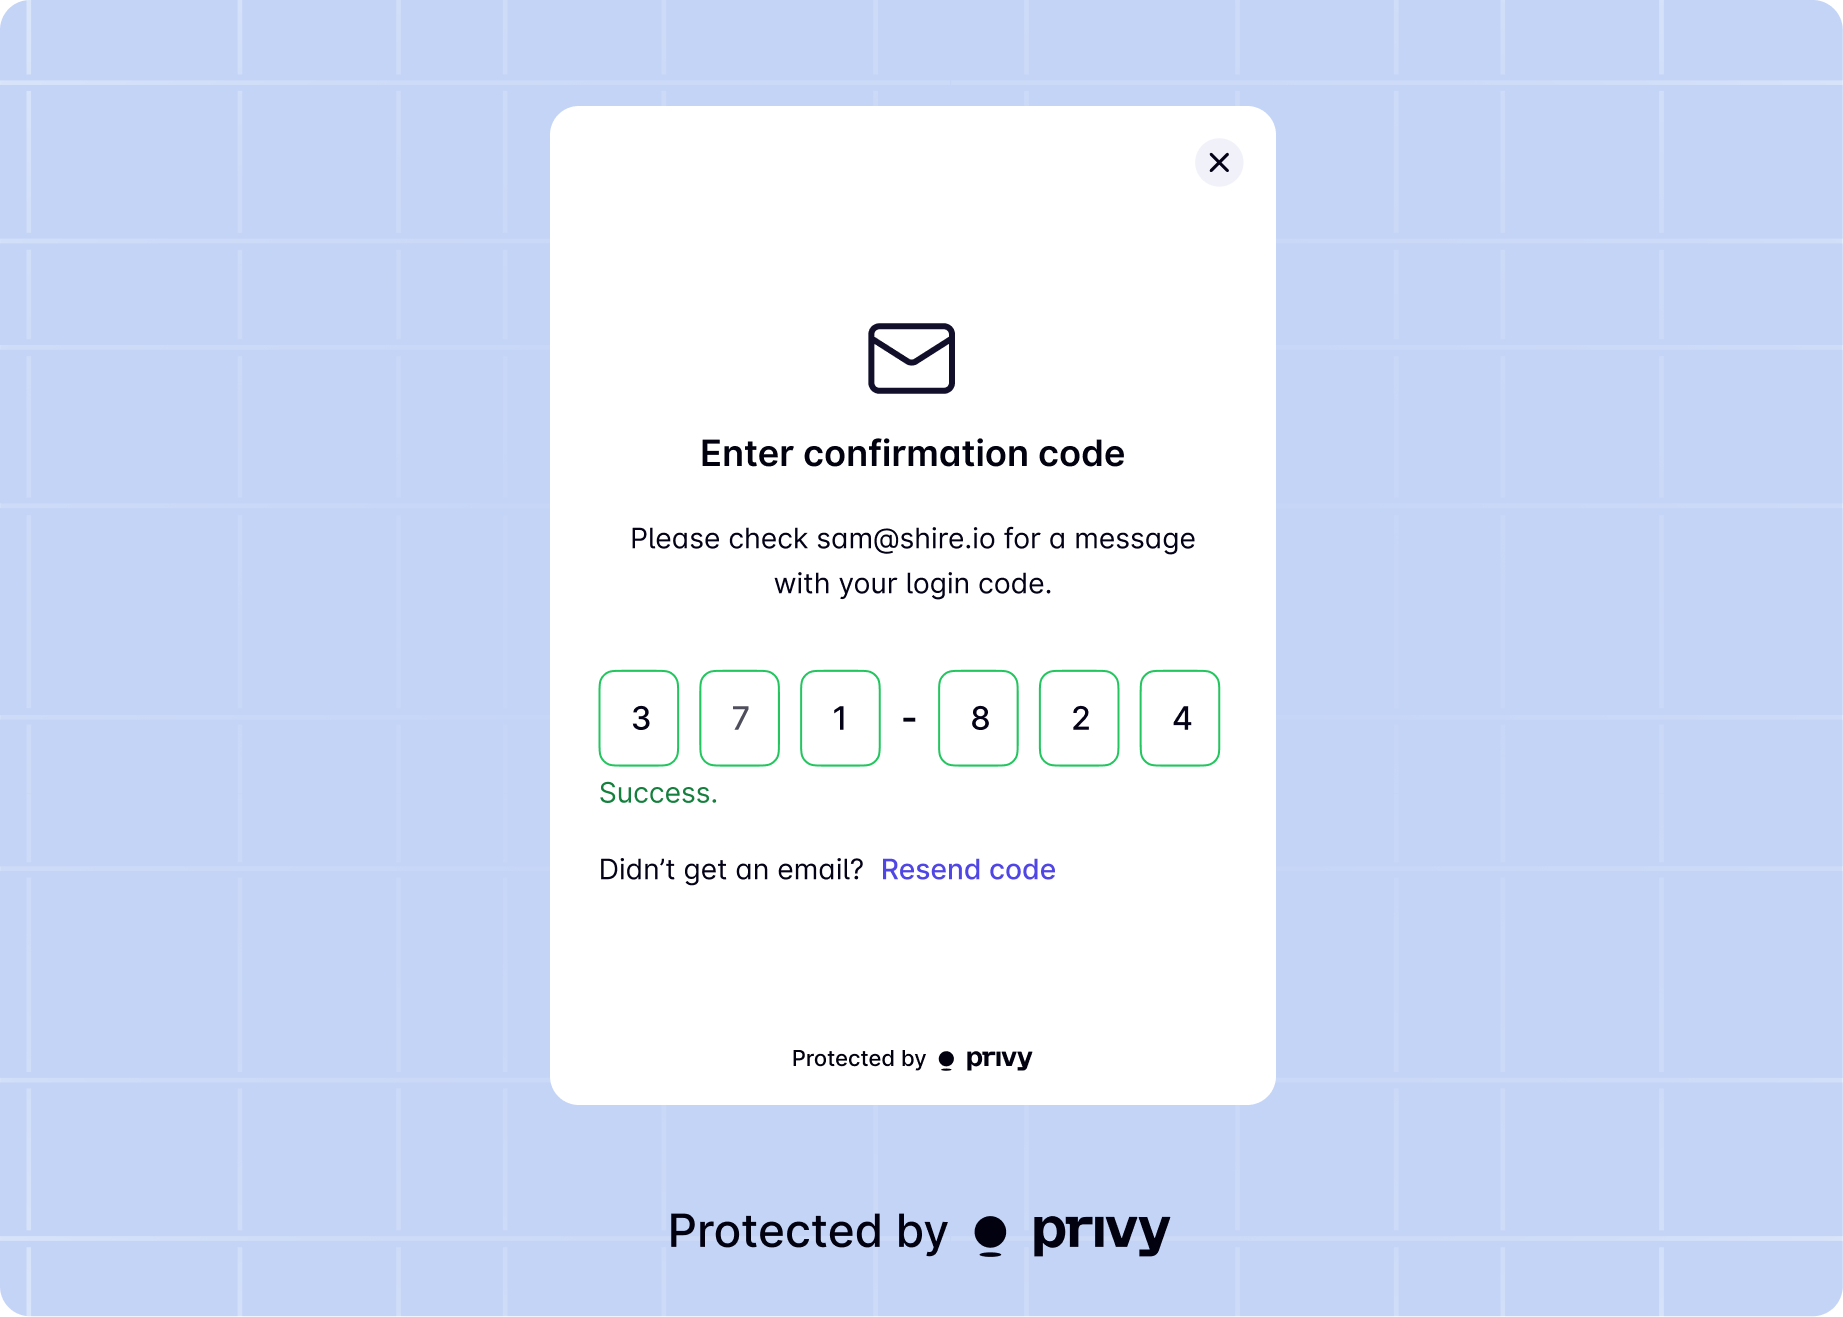 Users must enter their MFA code within 5 minutes of receiving it, and are allowed up to a maximum of 4 code attempts if they incorrectly enter their code.
**If the user correctly enters their MFA code, the signature or transaction request will be processed by the wallet.** Additionally, their MFA verification status will be cached for **15 minutes**. This means that for additional signatures or transactions requested within this window, Privy will **not** prompt the user to re-complete MFA.
**If the user does not complete MFA or enters in an incorrect code 4 times or more, the signature or transaction will raise an error as if the user rejected the request.**
### Manually prompting for MFA verification
If you want to manually prompt your users for MFA verification, you can use the `useMfa` hook. The `useMfa` hook provides a set of functions and state for managing MFA flows in your application. It allows you to:
* Prompt the user to complete MFA verification if required.
* Initialize and submit MFA challenges (e.g., sending and verifying codes).
* Cancel and ongoing MFA flow.
* Access the list of available MFA methods for your app.
Here's an example of how to use the `useMfa` hook to prompt for MFA verification:
```tsx Example button for prompting MFA verification theme={"system"}
import {useMfa} from '@privy-io/react-auth';
function MfaVerificationButton() {
const {promptMfa, init} = useMfa();
const handleMfaVerification = async () => {
try {
await init('totp')
await promptMfa();
// Your code on successful MFA verification
} catch (error) {
// Your code on cancelled or otherwise unsuccessful MFA verification
}
};
return ;
}
```
In this example, when the user clicks the "Verify MFA" button, the `promptMfa` function is called. If the user has enrolled in MFA, they will be prompted to complete the verification process. If successful, you can execute your desired actions after the verification.
### Setting up MFA UIs in React Native
Once you've set up `PrivyElements`, you can use Privy's default UIs to enroll your users in MFA and prompt them for MFA during wallet actions.
Before integrating MFA UIs, make sure to also set up multi-factor authentication in the dashboard per [this guide](/authentication/user-authentication/mfa).
### MFA enrollment
Privy's default UIs for React Native can also be used for allowing your users to enroll their first MFA verification method, or any number of additional ones.
For this, use the `useMfaEnrollmentUI` hook to get an `init` method, that you can use to launch the flow. This method takes in a configuration object with the following fields:
This will be the array of mfa methods that will be available in the UI. Make sure to have the methods you set here enabled.
It should be the URL origin where your [Apple App Site Association](/authentication/user-authentication/login-methods/passkey) or [Digital Asset Links](/authentication/user-authentication/login-methods/passkey) are available (e.g. `https://example.com`).
```tsx theme={"system"}
import {useMfaEnrollmentUI} from '@privy-io/expo/ui';
export function EnrollMFAMethodButton() {
const {init: initMfaEnrollmentUI} = useMfaEnrollmentUI();
const onEnrollMfa = async () => {
try {
await initMfaEnrollmentUI({mfaMethods: ['sms', 'totp', 'passkey']});
// Your code on actions to execute after successful mfa enrollment
} catch (error) {
// Your code on cancelled or otherwise unsuccessful mfa enrollment
}
};
return ;
}
```
The UIs that will show up using `useMfaEnrollmentUI` will also **allow the user to unenroll** MFA methods.
### Passkey unenrollment
Using the MFA enrollment UIs means users will also be able to **unenroll** a method they had previously set up too.
For passkeys, the default behavior when unenrolling is that the passkey is also **removed** as a valid login method.
You can change this behavior in the MFA UIs, by setting the `shouldUnlinkOnUnenrollMfa` option in the `PrivyElements` component:
```tsx theme={"system"}
import {PrivyElements} from '@privy-io/expo/ui';
export default function RootLayout() {
return (
<>
{/* Your app's content */}
);
}
```
### MFA verification
Privy's default UIs for React Native can be used for your users to verify their already set MFA methods, such as SMS or passkeys.
You can use Privy's default UIs for MFA verification even if you're using headless flows for working with the wallet. This way, Privy's UIs can integrate smoothly with your custom flows and experiences.
To do this, you must enable the `enableMfaVerificationUIs` option on the `PrivyElements` component:
```tsx theme={"system"}
import {PrivyElements} from '@privy-io/expo/ui';
export default function RootLayout() {
return (
<>
{/* Your app's content */}
);
}
```
After doing this, all operations you do on the wallet (such as signing messages or preparing transactions) will automatically trigger the MFA UIs if MFA verification is required at that moment.
If you were using the `useRegisterMfaListener` hook before you should now remove it from your codebase, as Privy will handle the MFA events and UI for you.
### Manually prompting for MFA verification
If you want to manually prompt your users for MFA verification, you can use the `useMfa` hook. The `useMfa` hook provides a set of functions and state for managing Multi-Factor Authentication (MFA) flows in your application. It allows you to:
* Prompt the user to complete MFA verification if required.
* Initialize and submit MFA challenges (e.g., sending and verifying codes).
* Cancel and ongoing MFA flow.
* Access the list of available MFA methods for your app.
Here's an example of how to use the `useMfa` hook to prompt for MFA verification:
```tsx Example button for prompting MFA verification theme={"system"}
import {useMfa} from '@privy-io/expo';
import {Button} from 'react-native';
export function MfaVerificationButton() {
const {prompt, init} = useMfa();
const handleMfaVerification = async () => {
try {
await init({ mfaMethods: ['sms', 'totp', 'passkey']});
await prompt();
// Your code on successful MFA verification
} catch (error) {
// Your code on cancelled or otherwise unsuccessful MFA verification
}
};
return ;
}
```
Users must enter their MFA code within 5 minutes of receiving it, and are allowed up to a maximum of 4 code attempts if they incorrectly enter their code.
**If the user correctly enters their MFA code, the signature or transaction request will be processed by the wallet.** Additionally, their MFA verification status will be cached for **15 minutes**. This means that for additional signatures or transactions requested within this window, Privy will **not** prompt the user to re-complete MFA.
**If the user does not complete MFA or enters in an incorrect code 4 times or more, the signature or transaction will raise an error as if the user rejected the request.**
### Manually prompting for MFA verification
If you want to manually prompt your users for MFA verification, you can use the `useMfa` hook. The `useMfa` hook provides a set of functions and state for managing MFA flows in your application. It allows you to:
* Prompt the user to complete MFA verification if required.
* Initialize and submit MFA challenges (e.g., sending and verifying codes).
* Cancel and ongoing MFA flow.
* Access the list of available MFA methods for your app.
Here's an example of how to use the `useMfa` hook to prompt for MFA verification:
```tsx Example button for prompting MFA verification theme={"system"}
import {useMfa} from '@privy-io/react-auth';
function MfaVerificationButton() {
const {promptMfa, init} = useMfa();
const handleMfaVerification = async () => {
try {
await init('totp')
await promptMfa();
// Your code on successful MFA verification
} catch (error) {
// Your code on cancelled or otherwise unsuccessful MFA verification
}
};
return ;
}
```
In this example, when the user clicks the "Verify MFA" button, the `promptMfa` function is called. If the user has enrolled in MFA, they will be prompted to complete the verification process. If successful, you can execute your desired actions after the verification.
### Setting up MFA UIs in React Native
Once you've set up `PrivyElements`, you can use Privy's default UIs to enroll your users in MFA and prompt them for MFA during wallet actions.
Before integrating MFA UIs, make sure to also set up multi-factor authentication in the dashboard per [this guide](/authentication/user-authentication/mfa).
### MFA enrollment
Privy's default UIs for React Native can also be used for allowing your users to enroll their first MFA verification method, or any number of additional ones.
For this, use the `useMfaEnrollmentUI` hook to get an `init` method, that you can use to launch the flow. This method takes in a configuration object with the following fields:
This will be the array of mfa methods that will be available in the UI. Make sure to have the methods you set here enabled.
It should be the URL origin where your [Apple App Site Association](/authentication/user-authentication/login-methods/passkey) or [Digital Asset Links](/authentication/user-authentication/login-methods/passkey) are available (e.g. `https://example.com`).
```tsx theme={"system"}
import {useMfaEnrollmentUI} from '@privy-io/expo/ui';
export function EnrollMFAMethodButton() {
const {init: initMfaEnrollmentUI} = useMfaEnrollmentUI();
const onEnrollMfa = async () => {
try {
await initMfaEnrollmentUI({mfaMethods: ['sms', 'totp', 'passkey']});
// Your code on actions to execute after successful mfa enrollment
} catch (error) {
// Your code on cancelled or otherwise unsuccessful mfa enrollment
}
};
return ;
}
```
The UIs that will show up using `useMfaEnrollmentUI` will also **allow the user to unenroll** MFA methods.
### Passkey unenrollment
Using the MFA enrollment UIs means users will also be able to **unenroll** a method they had previously set up too.
For passkeys, the default behavior when unenrolling is that the passkey is also **removed** as a valid login method.
You can change this behavior in the MFA UIs, by setting the `shouldUnlinkOnUnenrollMfa` option in the `PrivyElements` component:
```tsx theme={"system"}
import {PrivyElements} from '@privy-io/expo/ui';
export default function RootLayout() {
return (
<>
{/* Your app's content */}
);
}
```
### MFA verification
Privy's default UIs for React Native can be used for your users to verify their already set MFA methods, such as SMS or passkeys.
You can use Privy's default UIs for MFA verification even if you're using headless flows for working with the wallet. This way, Privy's UIs can integrate smoothly with your custom flows and experiences.
To do this, you must enable the `enableMfaVerificationUIs` option on the `PrivyElements` component:
```tsx theme={"system"}
import {PrivyElements} from '@privy-io/expo/ui';
export default function RootLayout() {
return (
<>
{/* Your app's content */}
);
}
```
After doing this, all operations you do on the wallet (such as signing messages or preparing transactions) will automatically trigger the MFA UIs if MFA verification is required at that moment.
If you were using the `useRegisterMfaListener` hook before you should now remove it from your codebase, as Privy will handle the MFA events and UI for you.
### Manually prompting for MFA verification
If you want to manually prompt your users for MFA verification, you can use the `useMfa` hook. The `useMfa` hook provides a set of functions and state for managing Multi-Factor Authentication (MFA) flows in your application. It allows you to:
* Prompt the user to complete MFA verification if required.
* Initialize and submit MFA challenges (e.g., sending and verifying codes).
* Cancel and ongoing MFA flow.
* Access the list of available MFA methods for your app.
Here's an example of how to use the `useMfa` hook to prompt for MFA verification:
```tsx Example button for prompting MFA verification theme={"system"}
import {useMfa} from '@privy-io/expo';
import {Button} from 'react-native';
export function MfaVerificationButton() {
const {prompt, init} = useMfa();
const handleMfaVerification = async () => {
try {
await init({ mfaMethods: ['sms', 'totp', 'passkey']});
await prompt();
// Your code on successful MFA verification
} catch (error) {
// Your code on cancelled or otherwise unsuccessful MFA verification
}
};
return ;
}
```